Settings
Overview
The Settings module enables you to configure integrations available in the tool. To configure an integration, click on any integration card and follow the displayed steps.
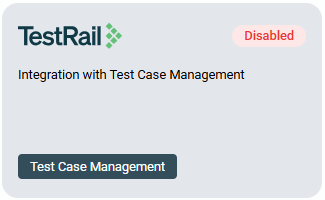
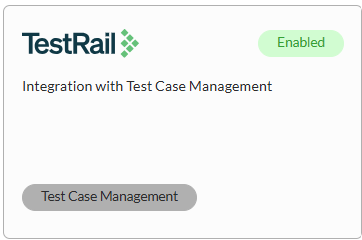
TestRail
TestRail is a web-based test management tool used to organize and manage test cases, plans, and test runs. Our TA Tool now supports seamless integration with TestRail, allowing users to synchronize and manage test artifacts efficiently. If you already have a TestRail account, proceed to Pre-configure TestRail. Otherwise, create a TestRail account in TestRail.
To configure integrations in projects, see Configure project integrations.
To synchronize integrations in test flows and test runs, see Sync to TestRail.
Prerequisites
You need to do the following to configure and integrate TestRail:
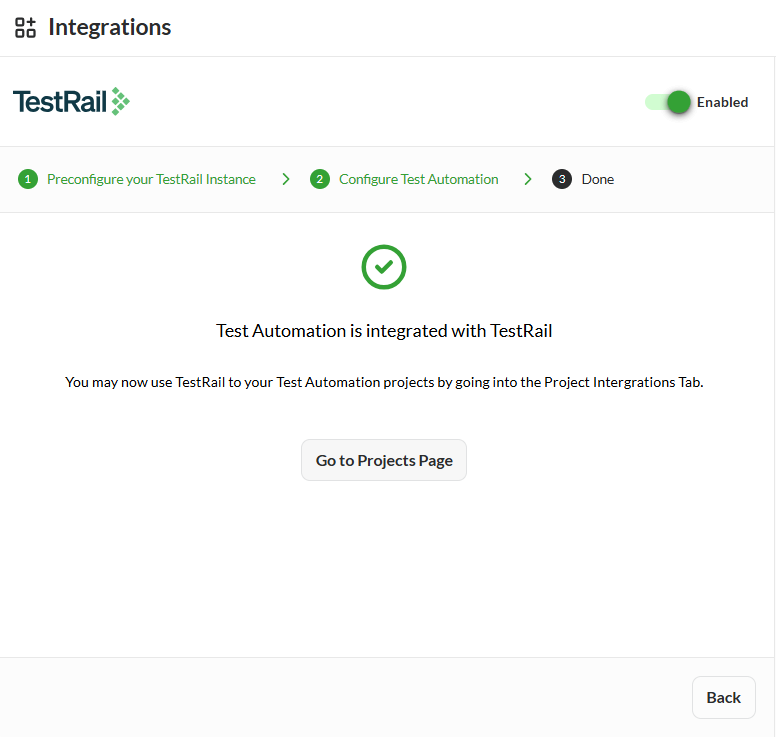
Pre-configure TestRail
To configure TestRail, follow these steps:
- After clicking the TestRail card, follow the instructions in the TestRail Pre-Configurations Steps.
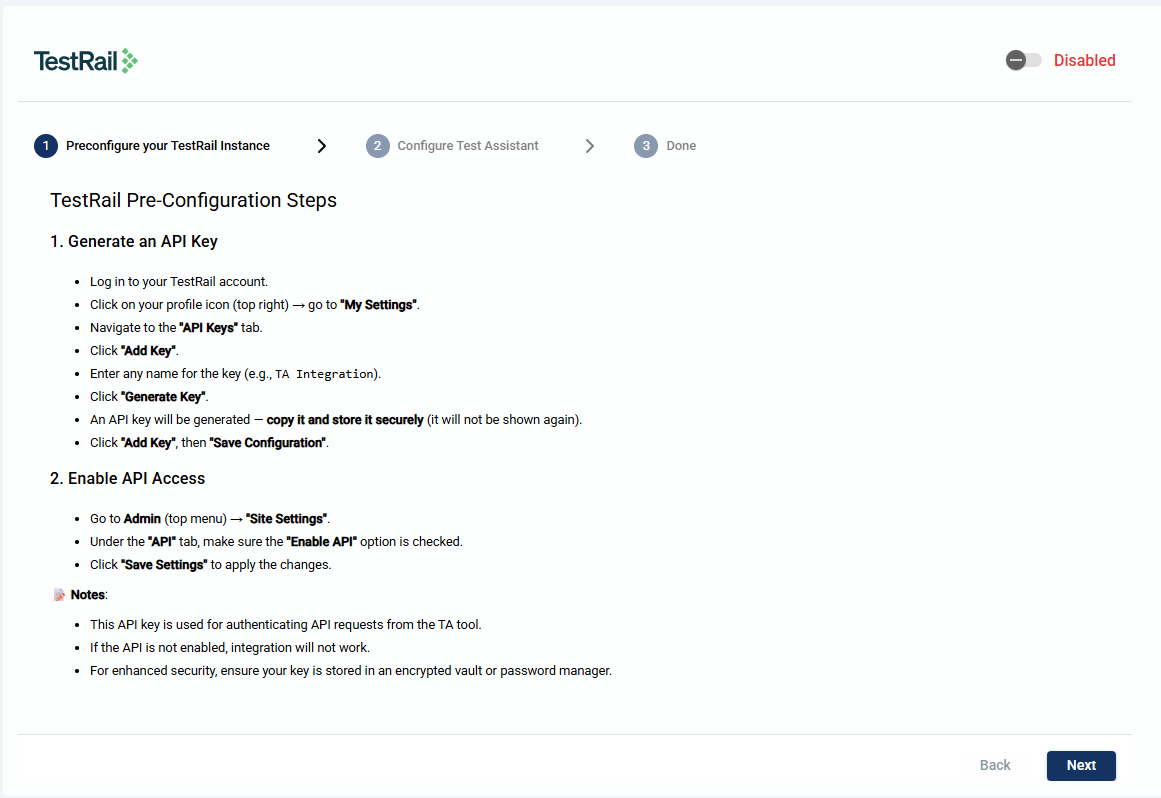
- Click Next.
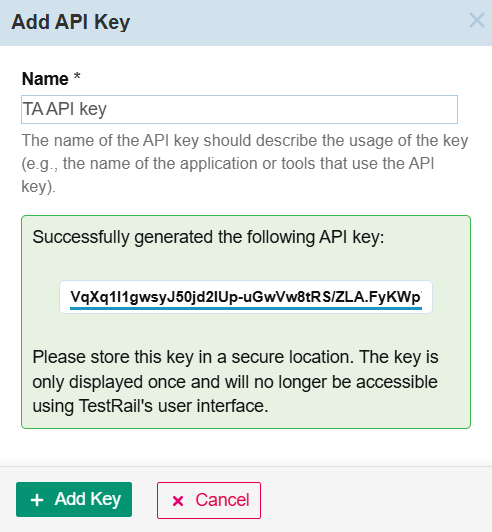
Generate an API Key
-
Login to your TestRail account.
-
Click on your profile icon.
-
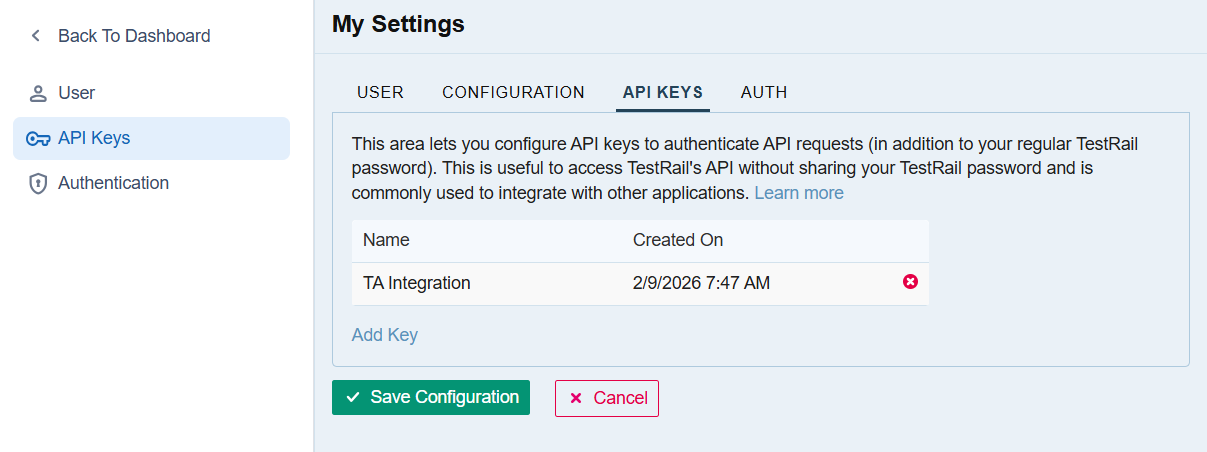
Click My Settings link.
-
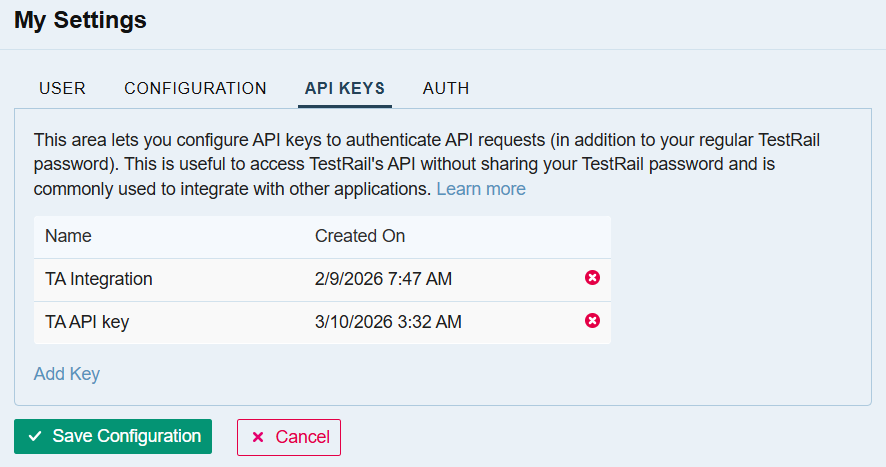
Navigate to the API tab.
-
Click Add key.
-
Enter a valid name for the key.

-
Click Generate Key.
-
Copy and paste the generated key to a secure file.
-
Click Add Key.
-
Click Save Configuration.
Get Base URL
To get the base URL, follow these steps:
- Open TestRail and log in.
- Copy the URL.
- Store the URL securely.
Enable TestRail integration
To integrate TestRail, follow these steps:
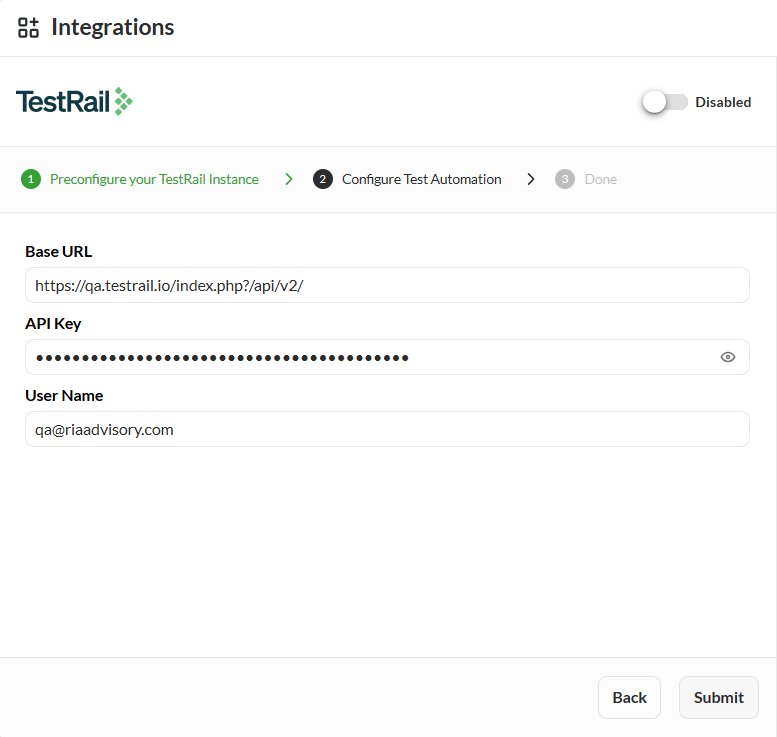
-
Paste the base URL in the Base URL field.
The base URL was from Getting the Base URL. -
Paste the API key from the TestRail pre-configurations in the API Key field.
The API key was from the pre-configuration in step one. -
Enter the email you use when logging into your TestRail account.
-
Click Submit.
-
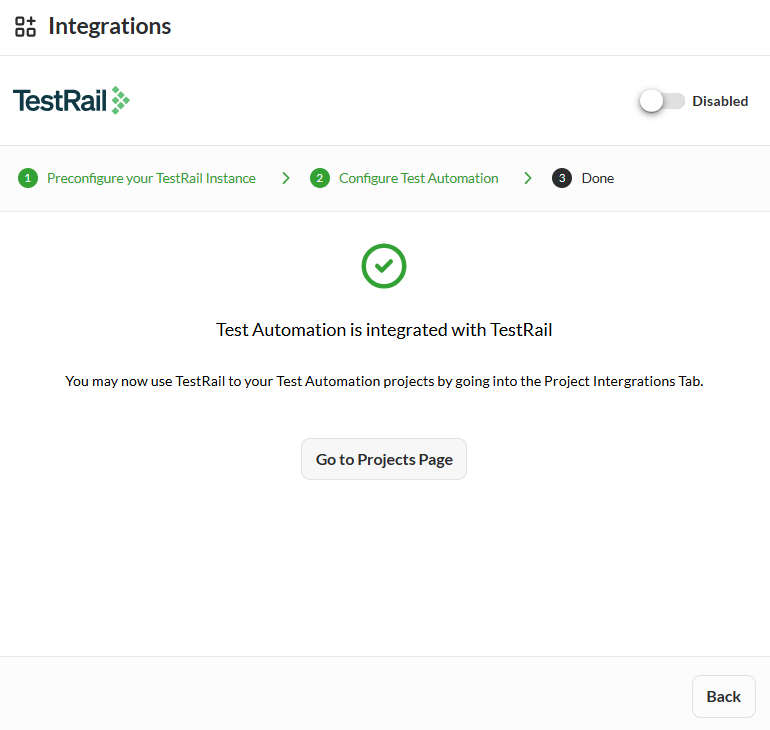
Click the toggle to activate the integration.
 The toggle will be switched to Enabled.
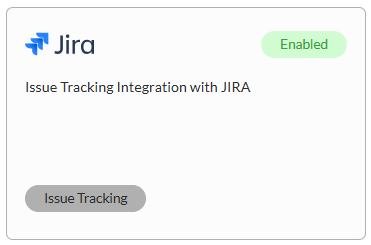
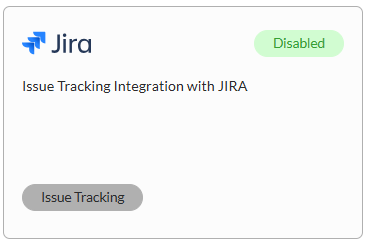
JIRA
The Jira Integration allows your portal to connect securely with Atlassian Jira Cloud using OAuth 2.0 (3LO) authorization. It enables your application to access Jira data such as projects, issues, and users, perform updates, and manage workflows directly from within your portal without manual Jira interaction.
To configure integrations in projects, see Configure project integrations.
To link issues in test flows, see Issue Tracking.
Enable JIRA integration
To integrate JIRA, follow these steps:
-
Click the JIRA card.
-
Follow the instructions in the Preconfigure your JIRA Instance.
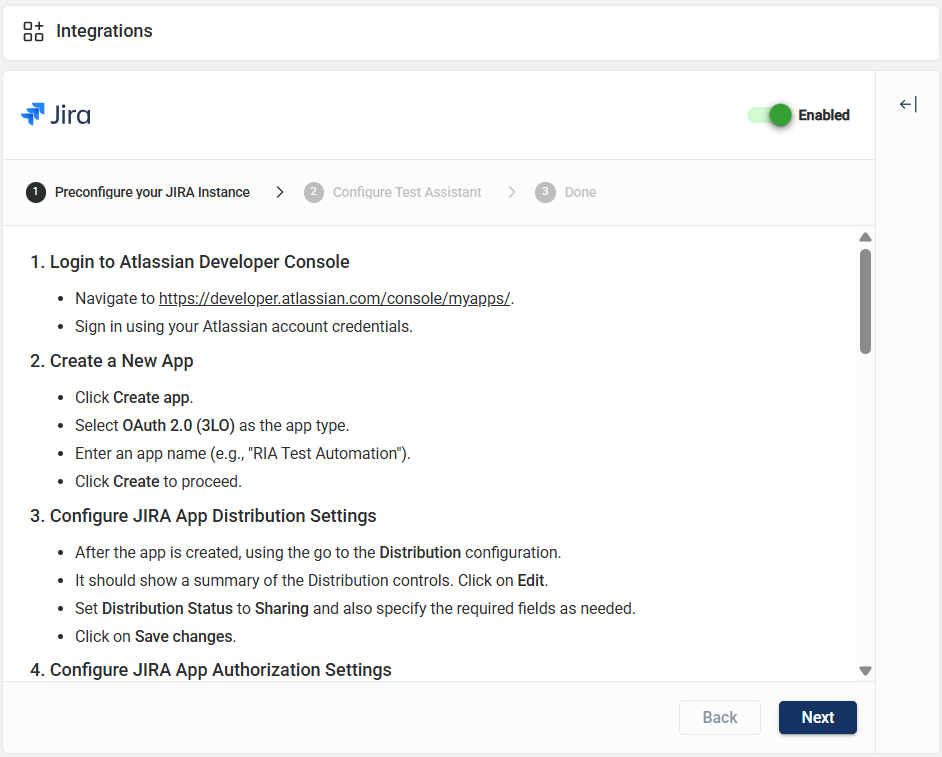
-
Click Next.
-
Enter valid values in the madatory fields in the Configure Test Assistant.
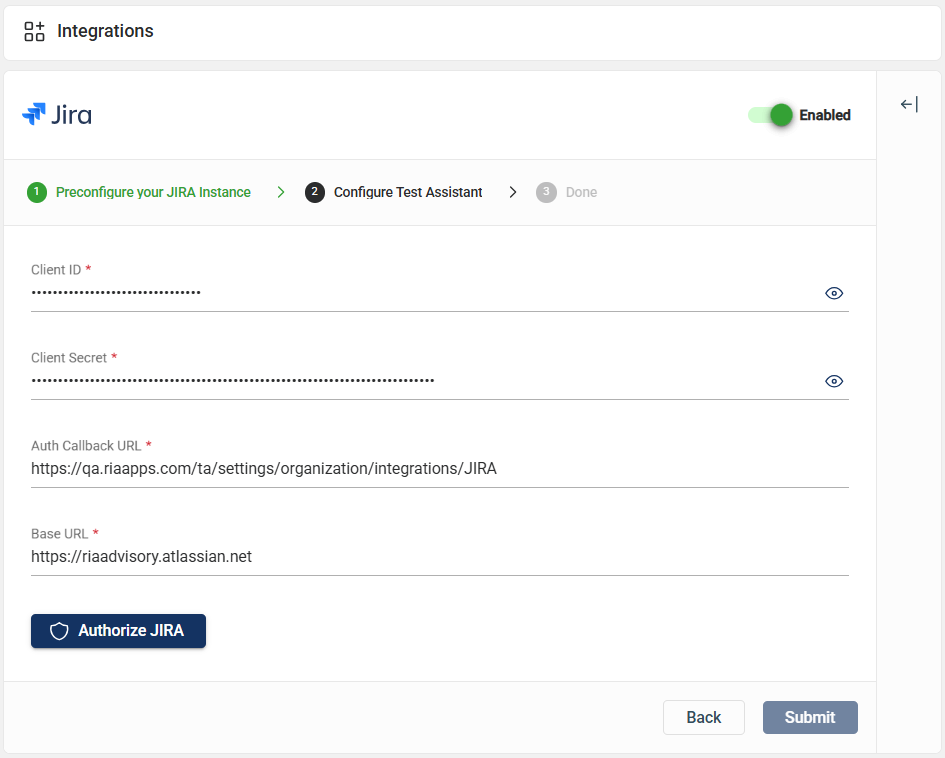
-
Click Authorize JIRA.
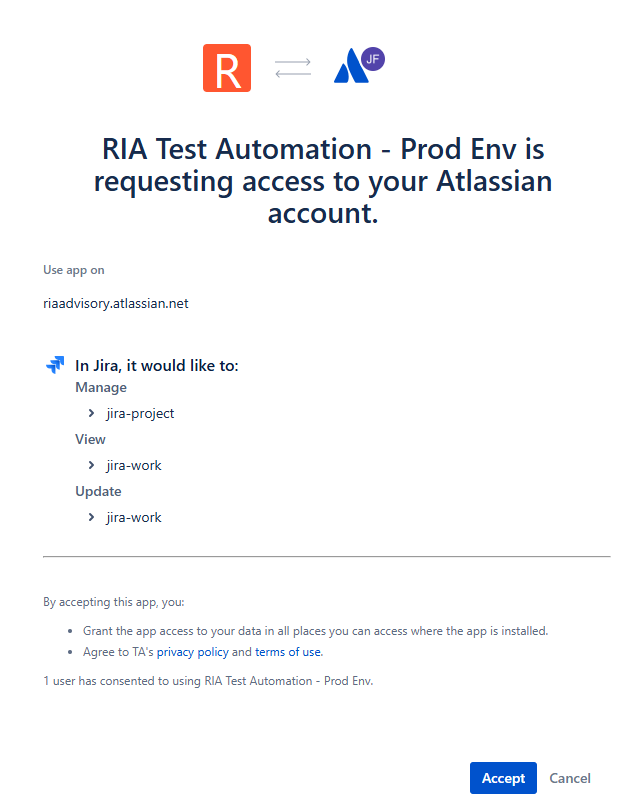
-
Click Accept in the popup window requesting access to your acocunt.
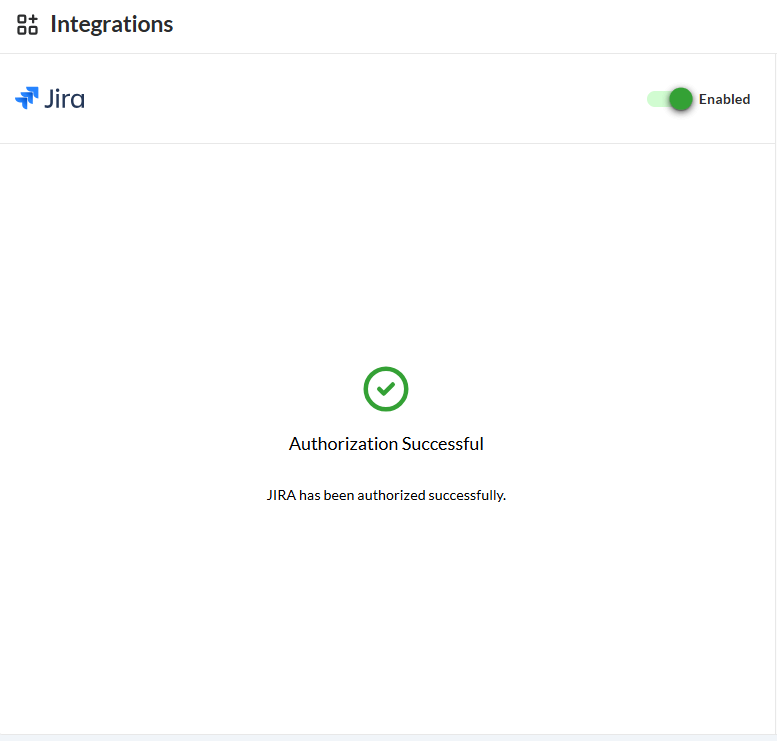
An
Authorization Successfulmessage is displayed.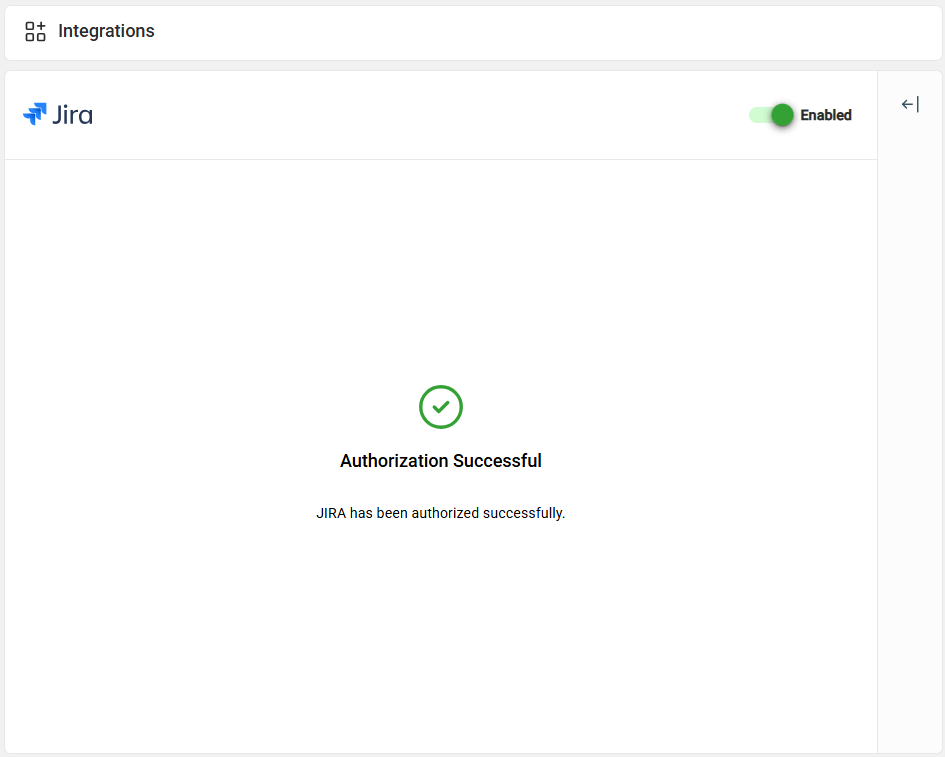
-
Click the toggle to activate the integration.
 The toggle will be switched to Enabled.