list test block
Flow
Overview
A test flow is a sequence of scenarios that verifies the functionality or correctness of your business system. The Flow module allows you to manage all your test flows in a project. This includes defining Scenarios, choosing or creating the steps and assertions for each scenario, and modifying or running test flows.
View
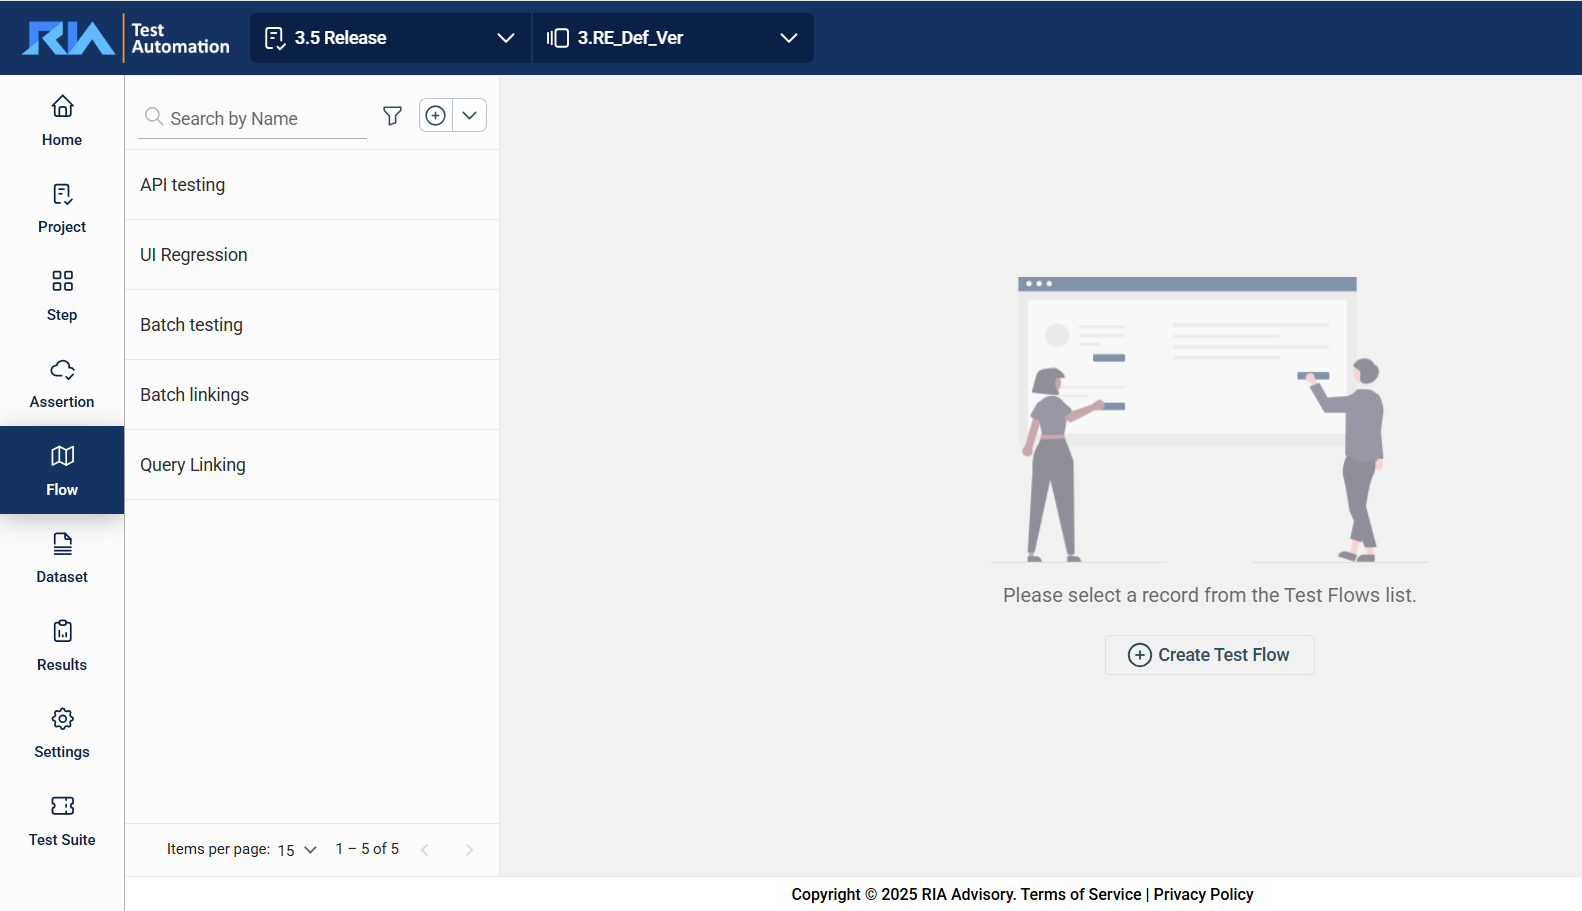
In the upper left corner, select your project from the Select Project dropdown list and version from the Version dropdown list. Only the flows associated with the selected project and version are displayed on the left pane.
Edit a test flow
To view or modify the details of a flow, select the flow from the left pane that lists all flows associated with the selected project. You can change any detail by directly editing the corresponding field. Ensure to click Update after making your modifications.
Search
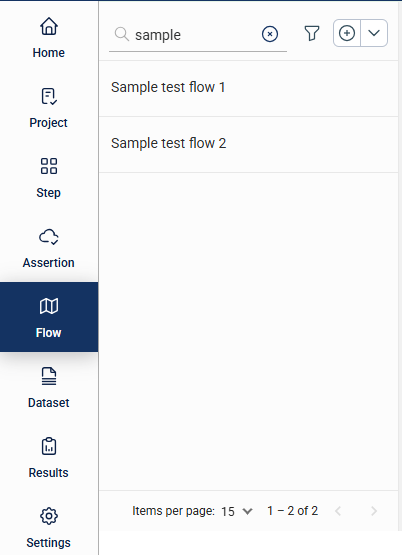
The filter feature allows you to filter the list of test flows by providing a keyword or the full name of the flow. Only the flows that match the provided keyword or name will be displayed in the view.
Filter
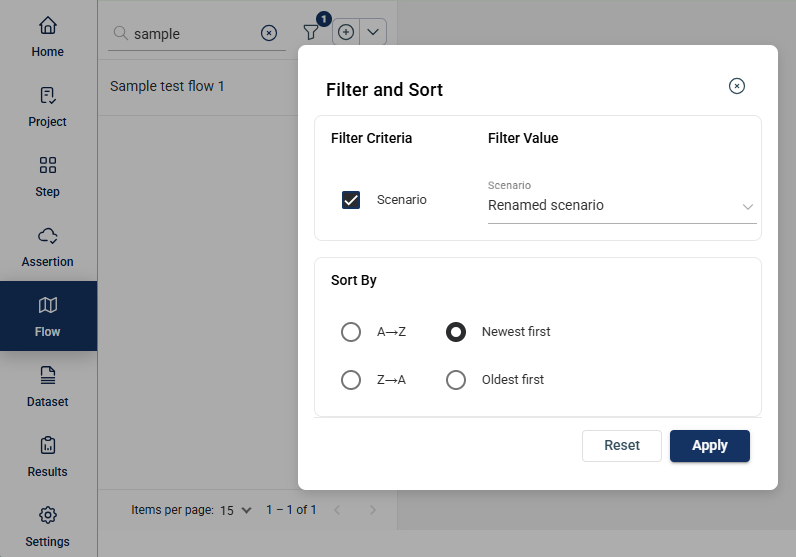
Click the  icon to display additional filtering and sorting options. For filtering, a dropdown list of available filter parameters will show all associated values for the selected project and version.
Create a test flow
To create a simple sequential test flow, follow these steps. Same steps apply when creating a parallel execution with multiple scenarios connected from the Start node or any scenario. For more information, see Parallel executions.
-
Select the Project and the Version on the upper left dropdown lists. If there are existing test flows in the selected project and version, they will be displayed on the left pane.
-
Click the plus icon.
-
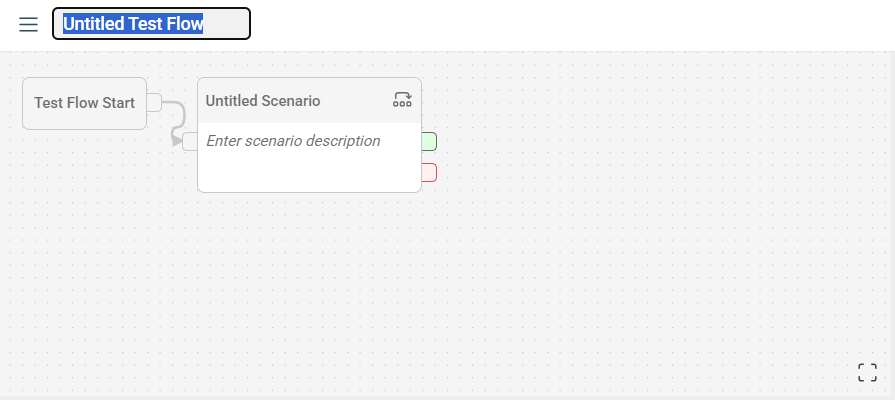
Enter a valid test flow title, replacing
Untitled Test Flow.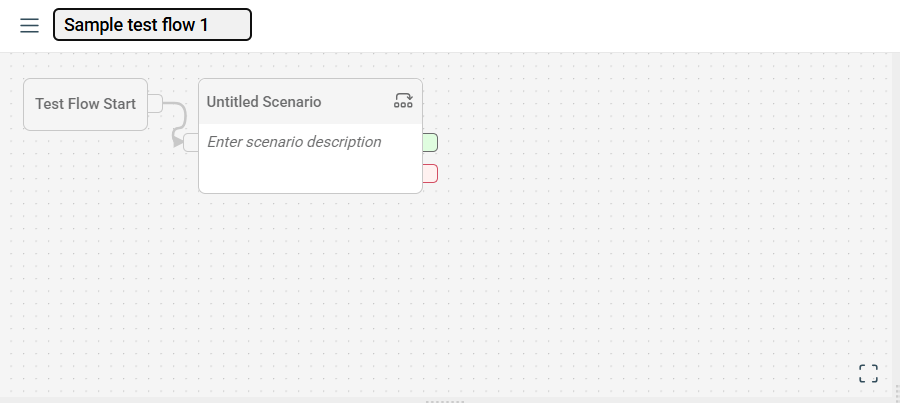
-
Click on the
Untitled Scenario, which is automatically added when creating a new flow.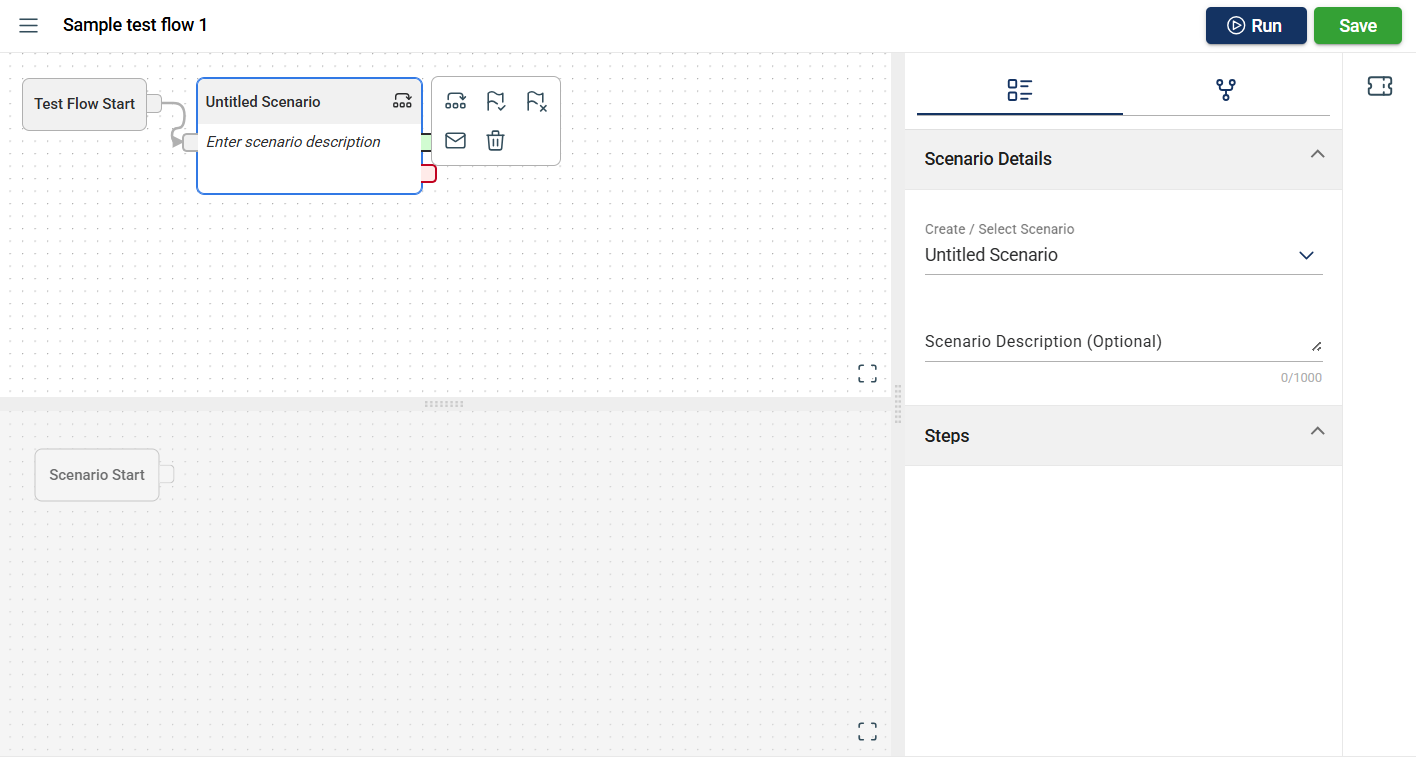
-
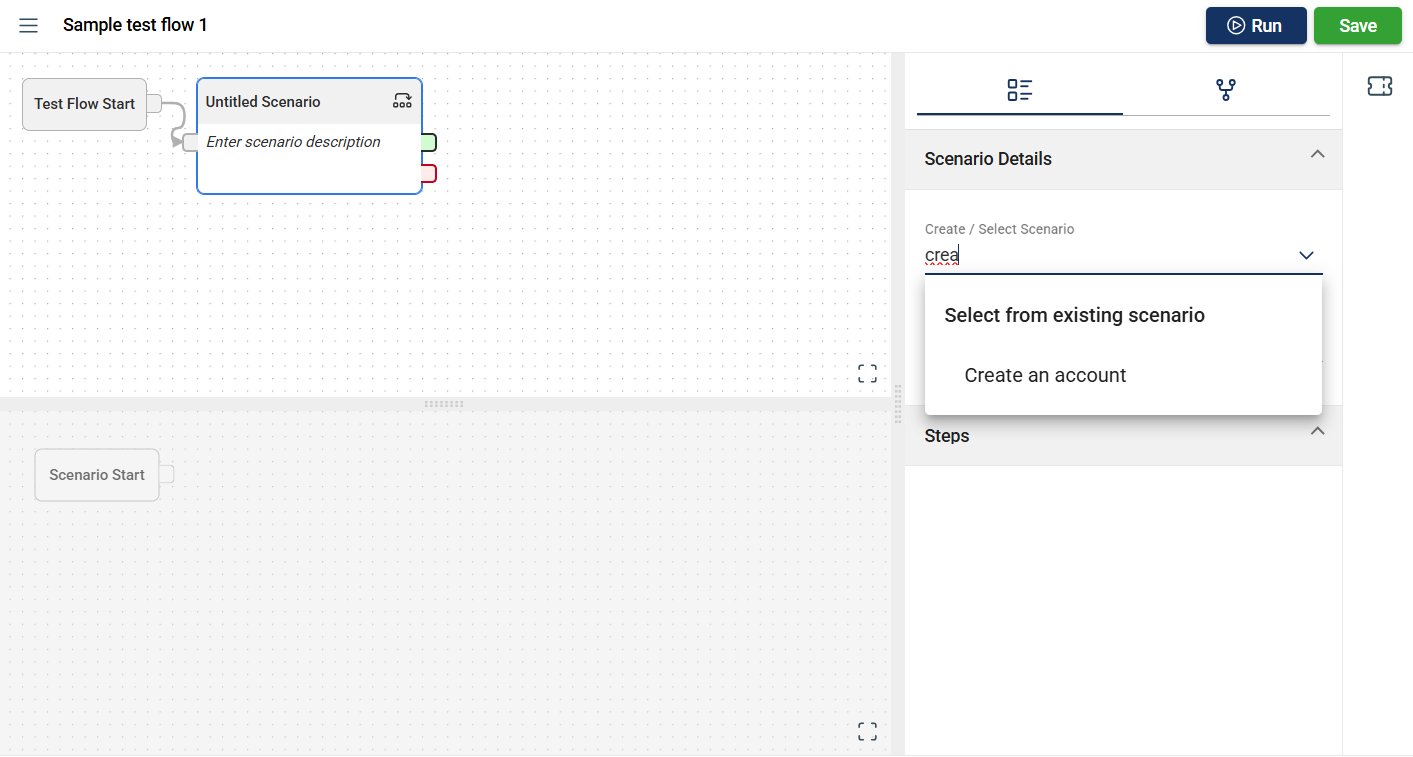
Add your first scenario by selecting an existing scenario within your project in the Create/Select Scenario field in the Scenario Details section. You can also Create a new scenario.
Note that if you are using an existing scenario, the steps, sources, targets, and assertions configured in that scenario for other flows will be included.
-
Verify that all the associated steps for the selected and applied scenario are displayed. You can also Create a step in the flow module.
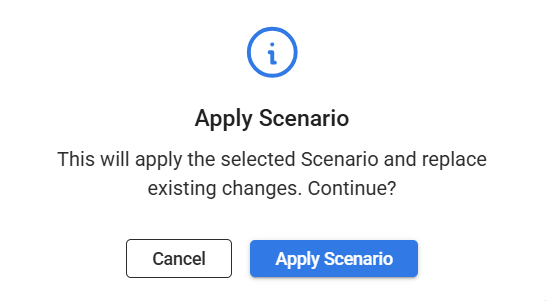
-
Optional. Add a source and target parameters to the steps.
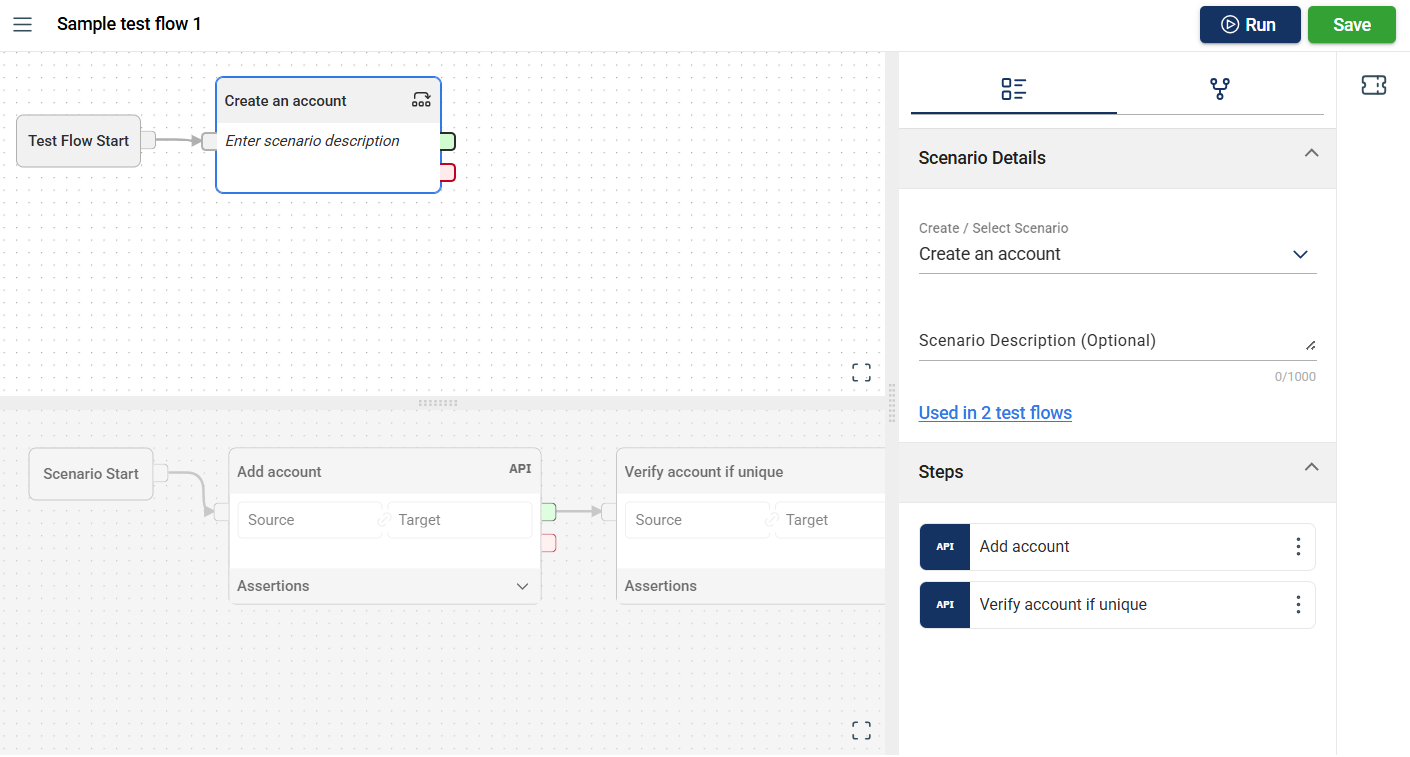
- Verify if the automatically added assertion is correct.
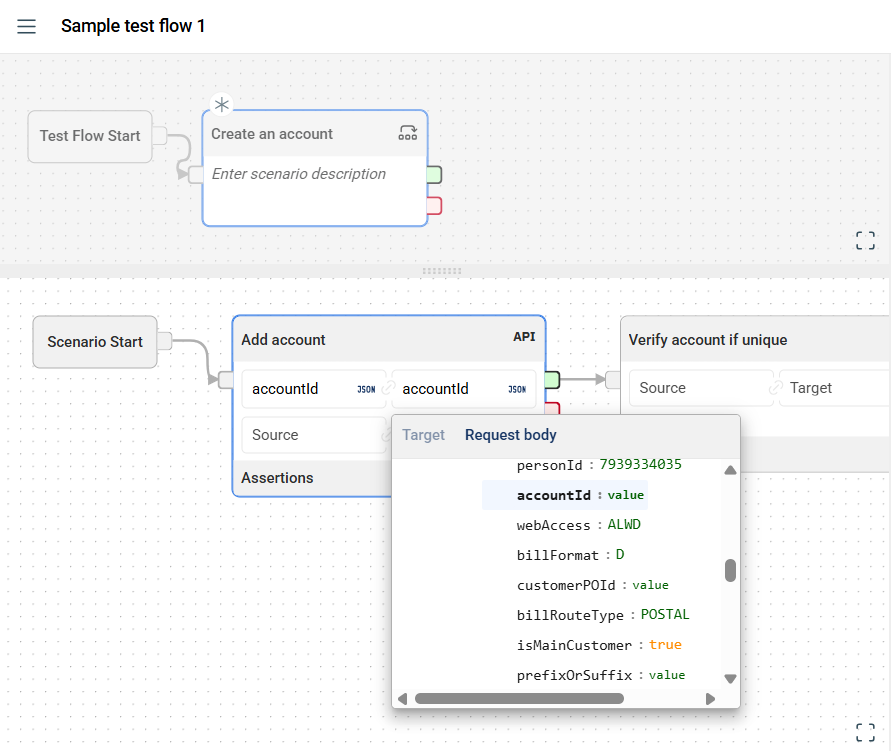
- Click Save.
Scenario fail nodes
Scenarios connected from a fail node are only executed only after the parent scenario fails. If the parent scenario passed, the fail-node scenario will be skipped.
Step fail nodes
Steps connected from a fail node are only executed only after the parent step fails. If the parent step passed, the fail-node step will be skipped.
Modify a test flow
You can also modify the configuration of test flows that have already been added to a test suite.
You can change the execution order of test flows by using the drag-and-drop functionality.
You can also modify the the dataset associated with a test flow or configure multiple datasets for it even after it has been added to the test suite. For more information, see Edit a dataset.
Similarly, if you need to run the test flow in a different environment you can also modify the environment. For more information, see Modify a step in the Flow module
Run a test flow
To run the test flow, click the Run button to view the Run Setup Form. Configure the necessary parameters in the following sections, then click the Run button.
Once the flow is executed, a new browser tab displaying the Run Details page will open. For more information, see Results.
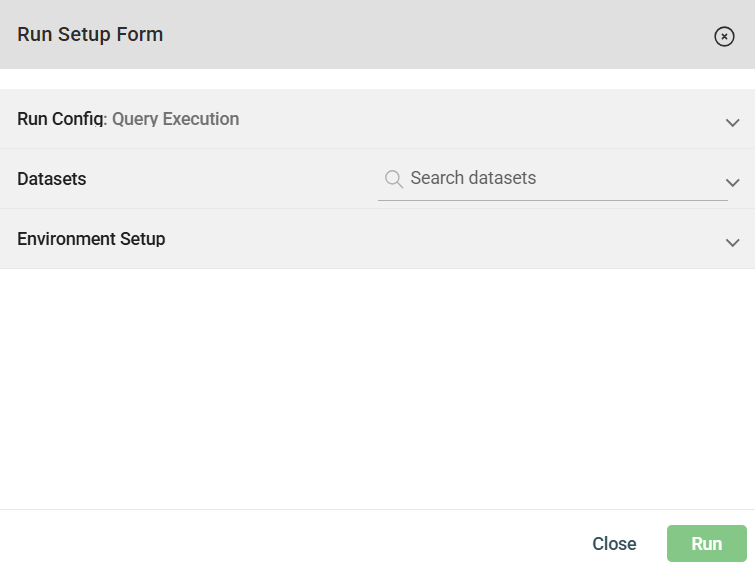
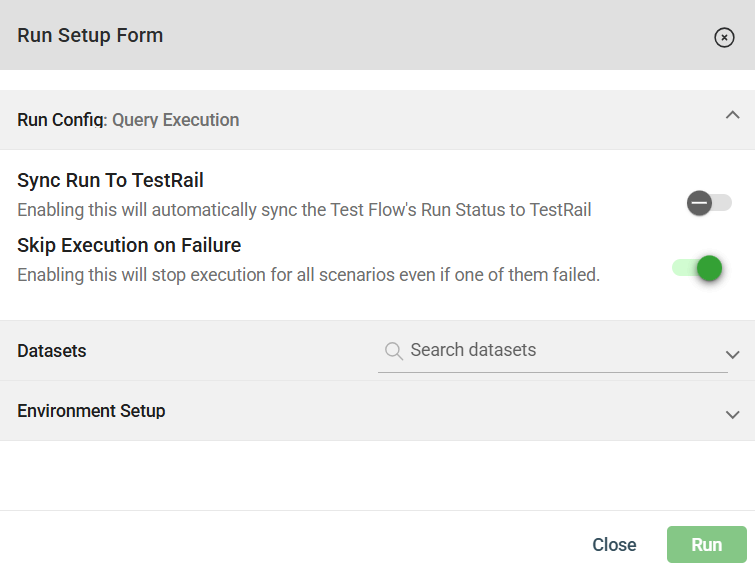
Run config
The Run configuration allows you to enable the following options for flow execution:
- Sync run to TestRail — Automatically syncs the run to the TestRail project associated with the flow.
- Skip execution on failure — If enabled, the flow automatically stops execution when a scenario fails.
- Use New Execution Egine — If enabled, the flow execution will use the new engine.
Datasets
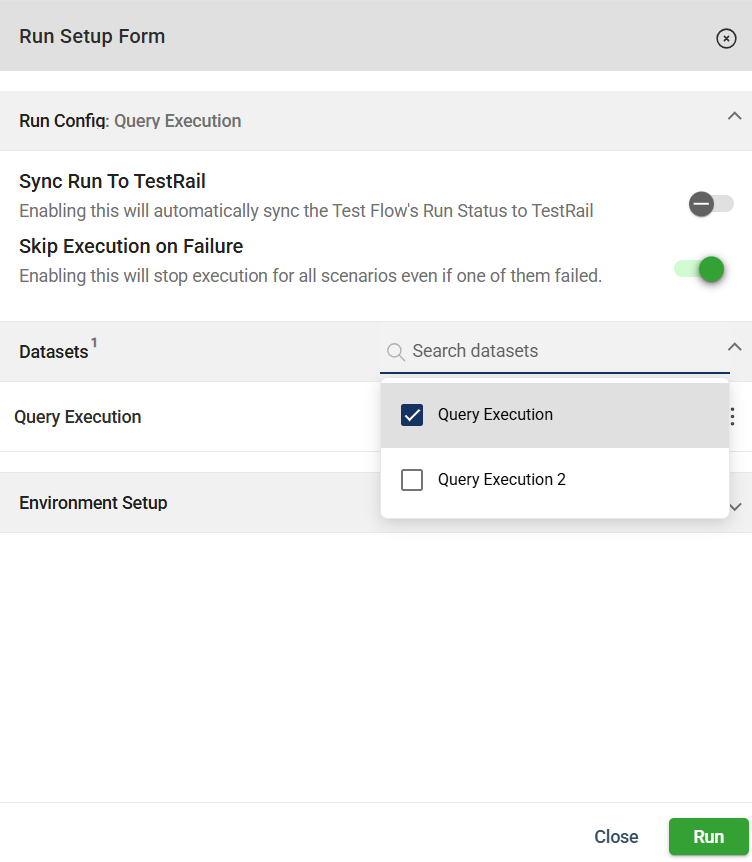
Add the datasets to be used for execution by searching in the Search datasets field. All datasets associated with the flow are displayed. A counter in the header shows the number of selected datasets. Once selected, the datasets appear in the list.
Environment Setup
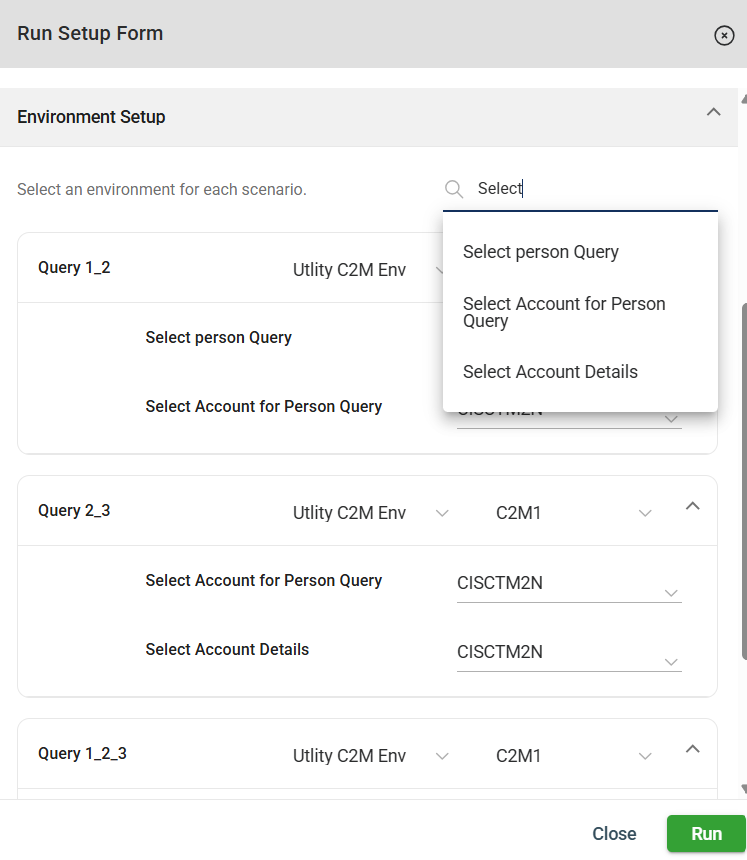
Before running a flow, you can also configure the environment for each scenario. All scenarios are listed in this section. The following settings can be configured for each scenario:
- Environment
- Database
- Schema for each step in a scenario
Resume or stop an execution
Resume an execution
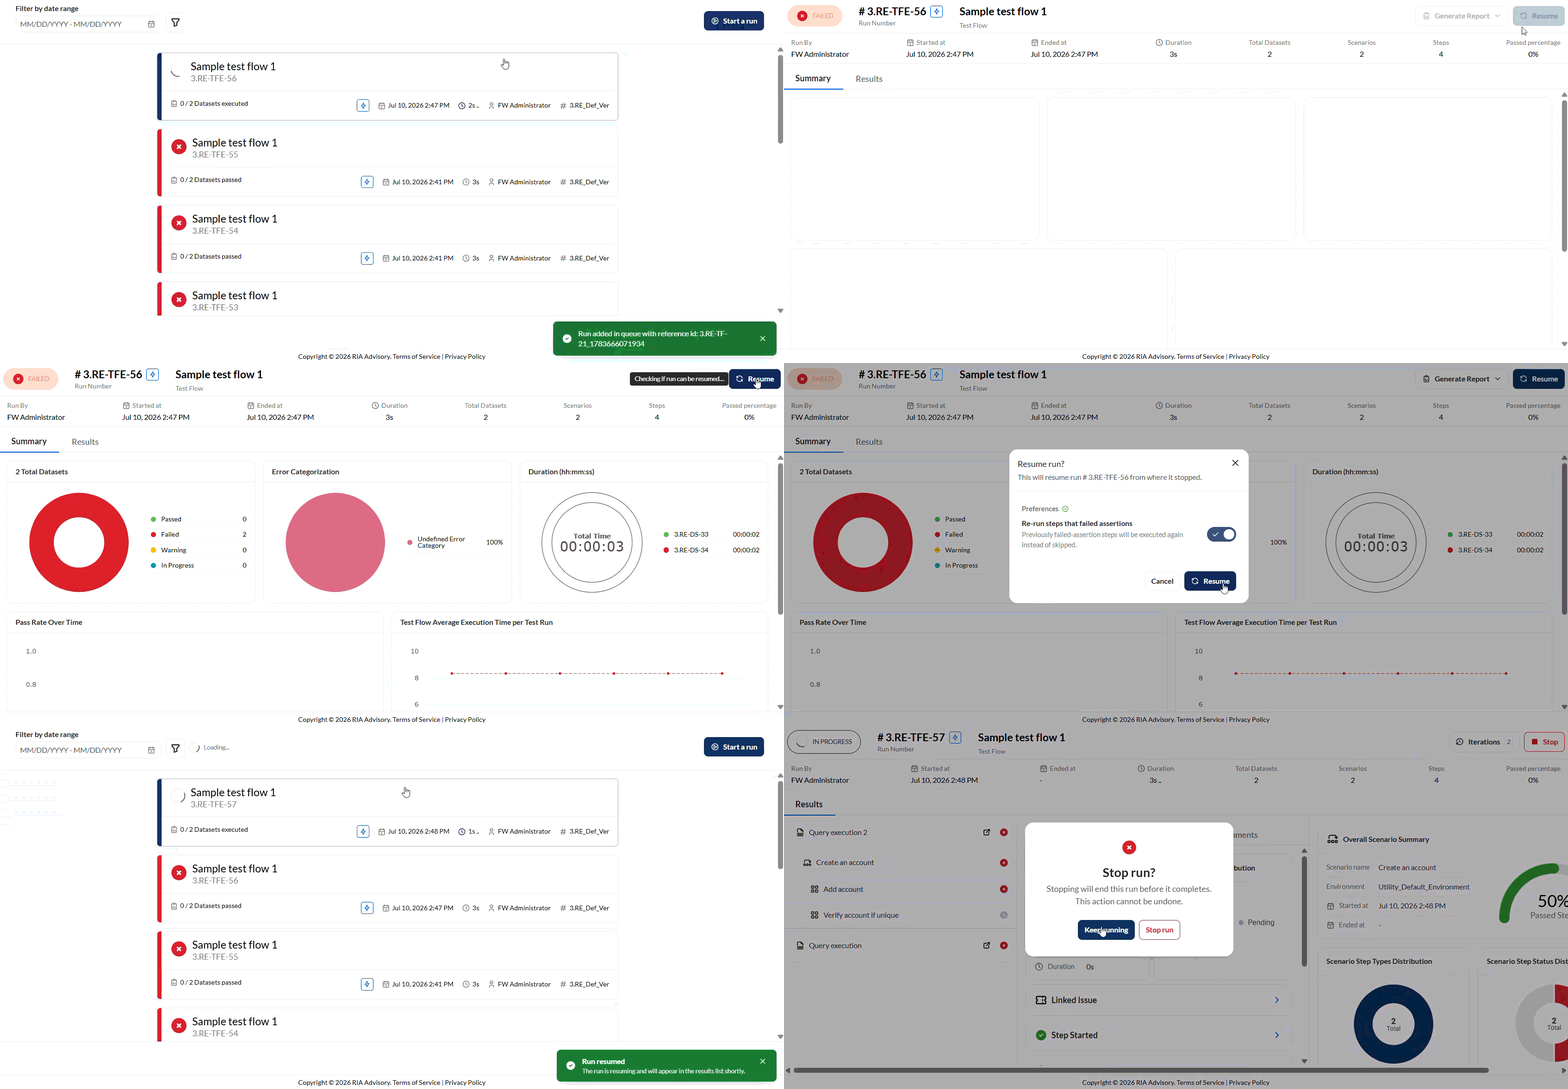
To resume an execution, click the Resume button.
You will have an option to rerun steps that failed assertion by enabling or disabling the toggle. If this is enabled, steps with failed assertions will be reexecuted. If not, steps with failed assertions will be skipped.
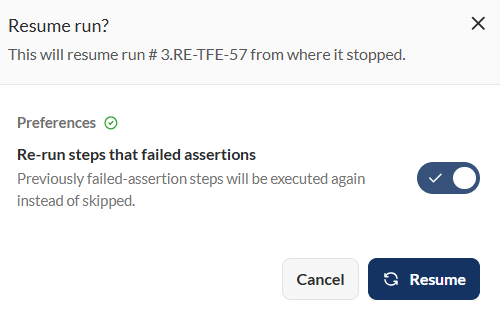
Then, click Resume on the confirmation prompt.
The execution will then be resumed from where it was stopped.
Stop an execution
Note: Only executions with an enabled Use New Execution Engine can be stopped.
If you want to stop an execution, click the Stop button on the upper-right corner of the Results screen.
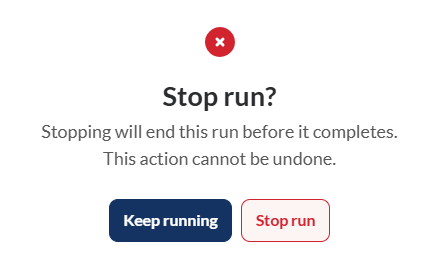
Then, click the Stop run button on the confirmation prompt.
Once an execution has been stopped, the Resume button will be displayed.
Iterations
To view all iterations generated during a resumed execution, click Iterations on the upper-right of the Results page.
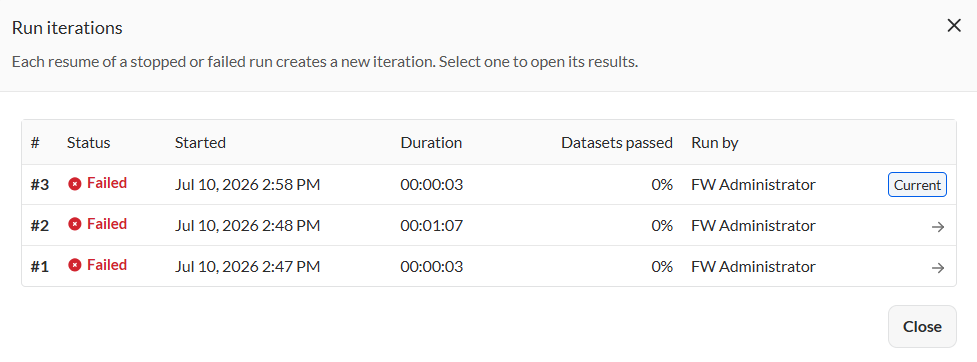
The currently viewed iteration will be mark as Current. If you wish to view the results of a different iteration, click the -> icon for that iteration.
Import a test flow
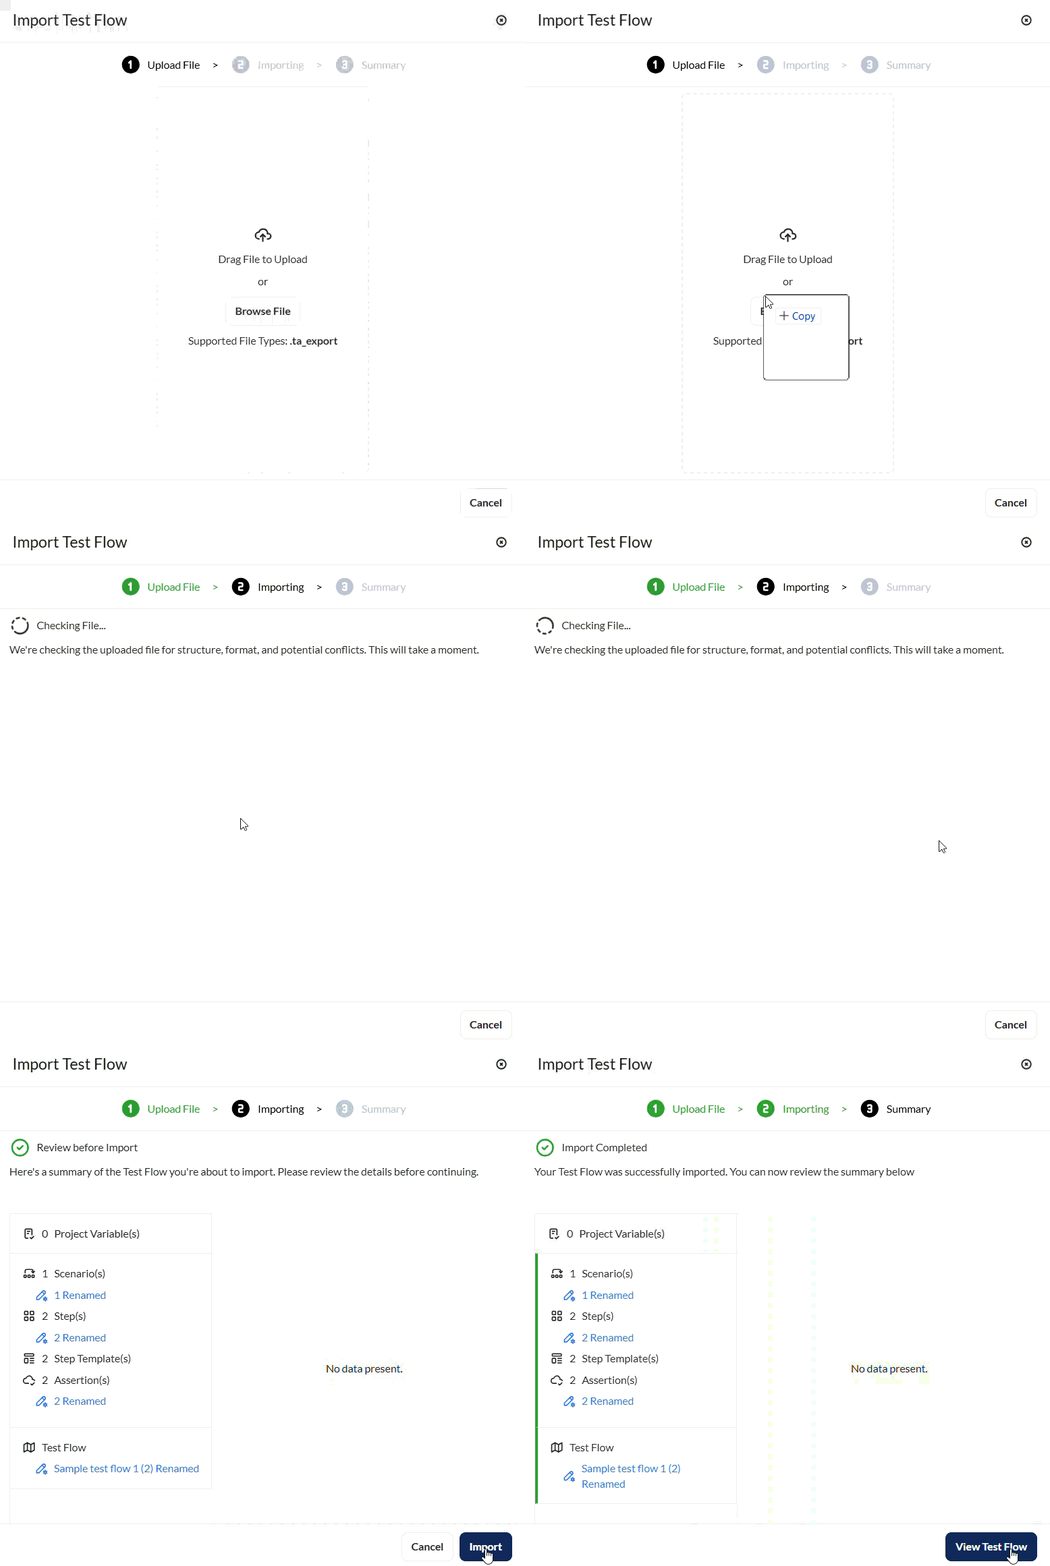
The Flow module enables you to import existing flows by clicking the down arrow in the left menu and select Import.
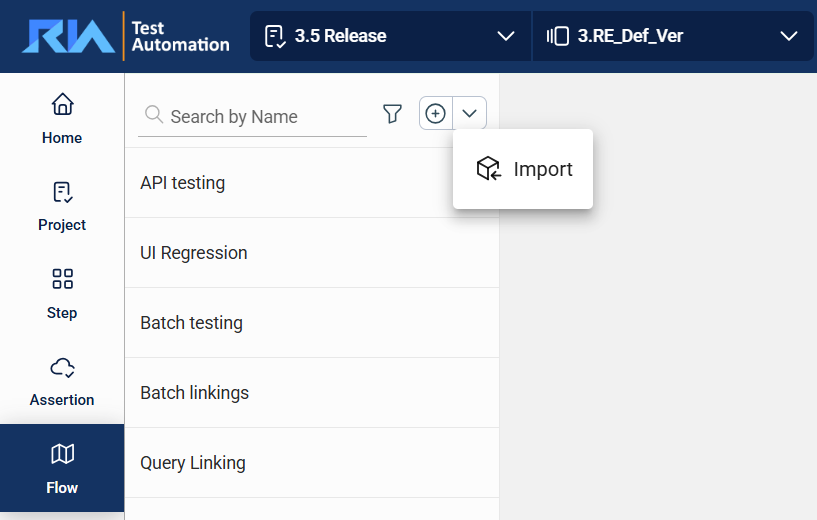
Drag or browse the file to be imported. The only supported file type is .ta_export.
Export a test flow
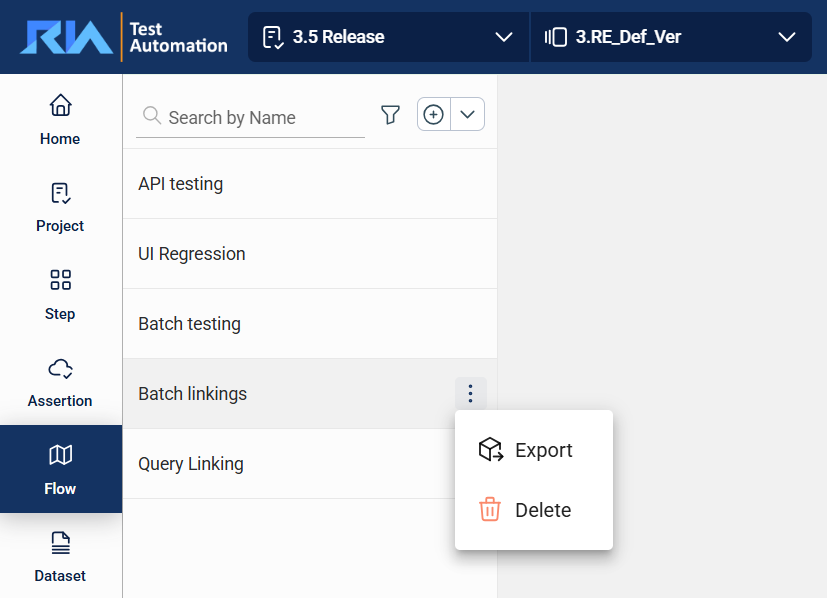
To export a flow, hover over the flow you want to export. An icon will appear. Click on this icon and select Export.
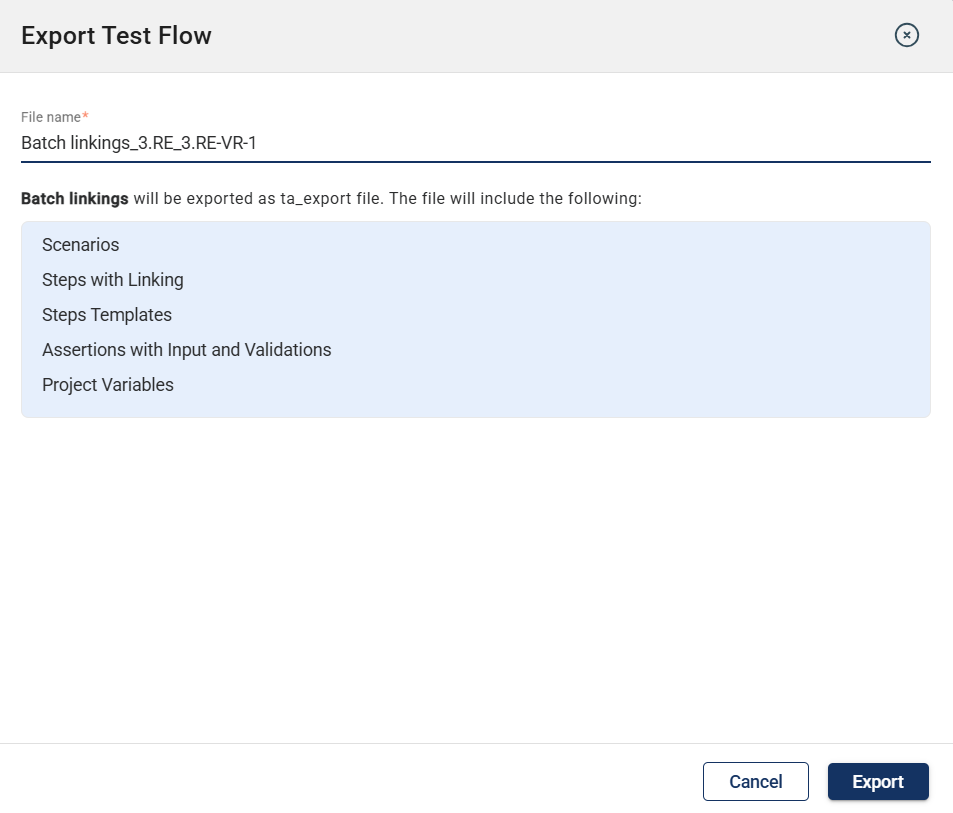
A list of all items to be exported is displayed.
After confirming the list, TA begins the export process.
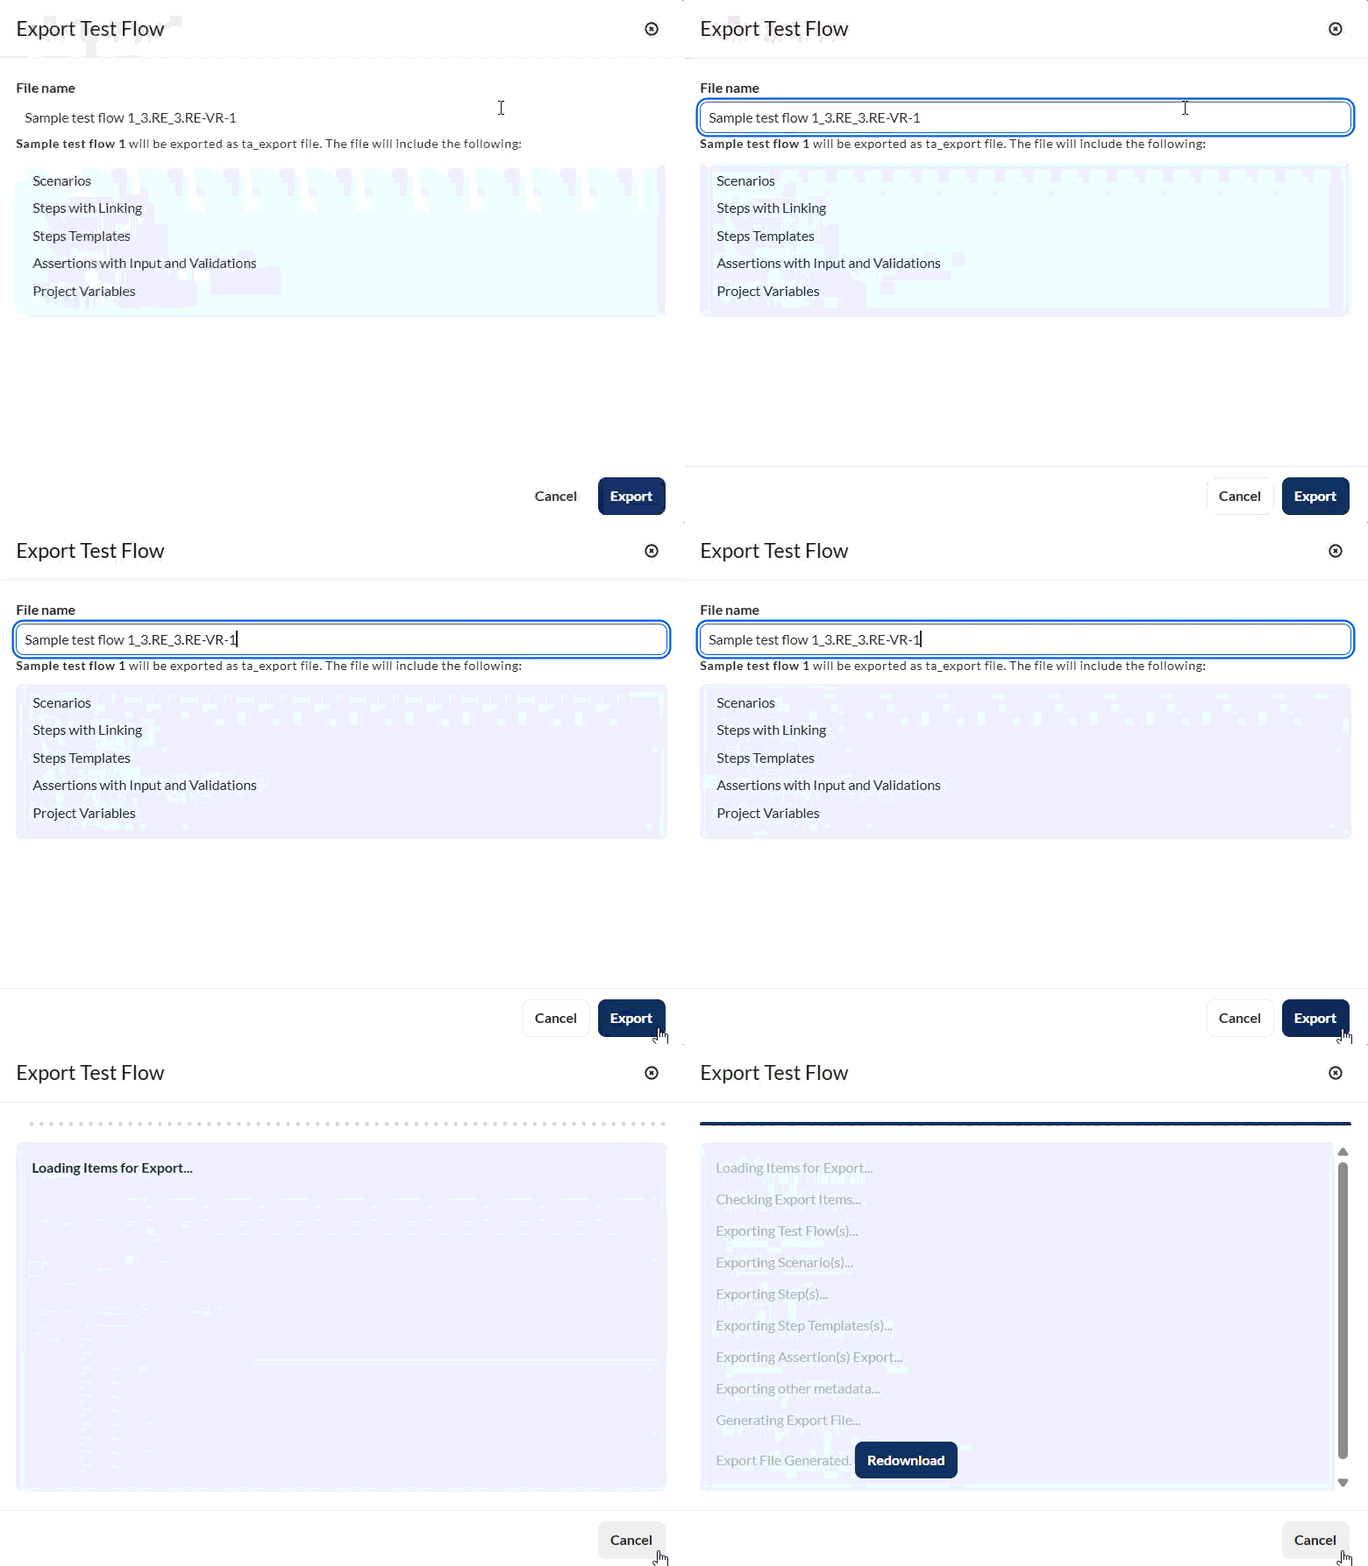
Once complete, the file is automatically downloaded to your machine.
Delete a test flow
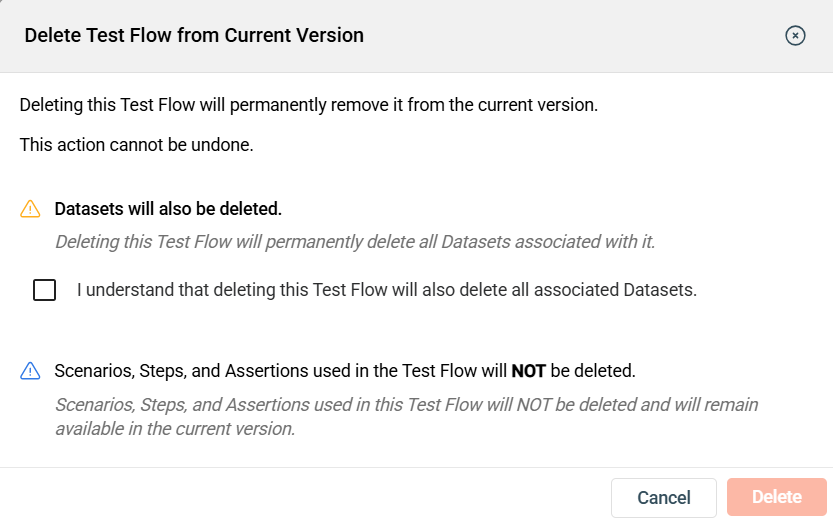
To delete a flow, hover over the flow you want to remove. An icon will appear. Click on this icon and select Delete.
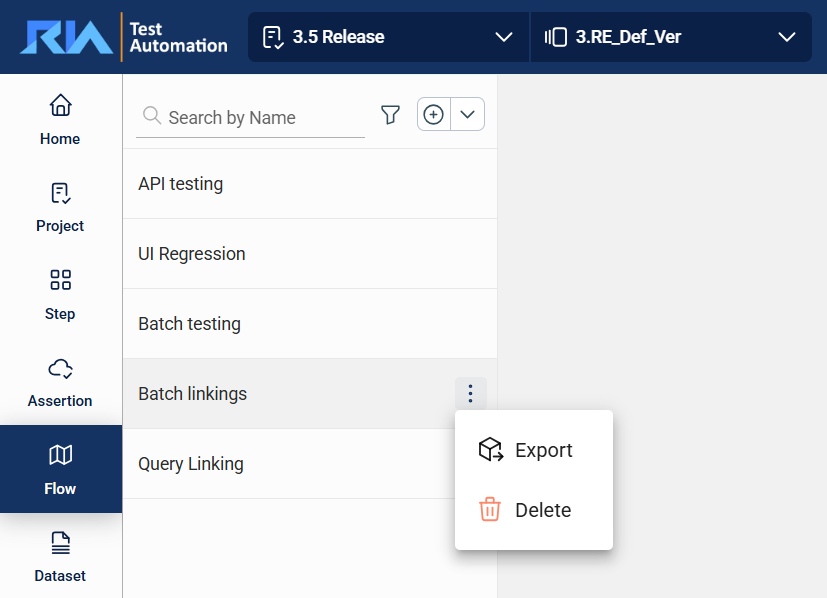
The flow will be deleted from the version, but the scenarios, steps, and assertions used in it will not be deleted.