list test block
Project
Overview
The Project module enables you to create a personalized testing workspace to avoid overlap in your activities. Depending on your testing requirements, you can customize your workspace by adding items.
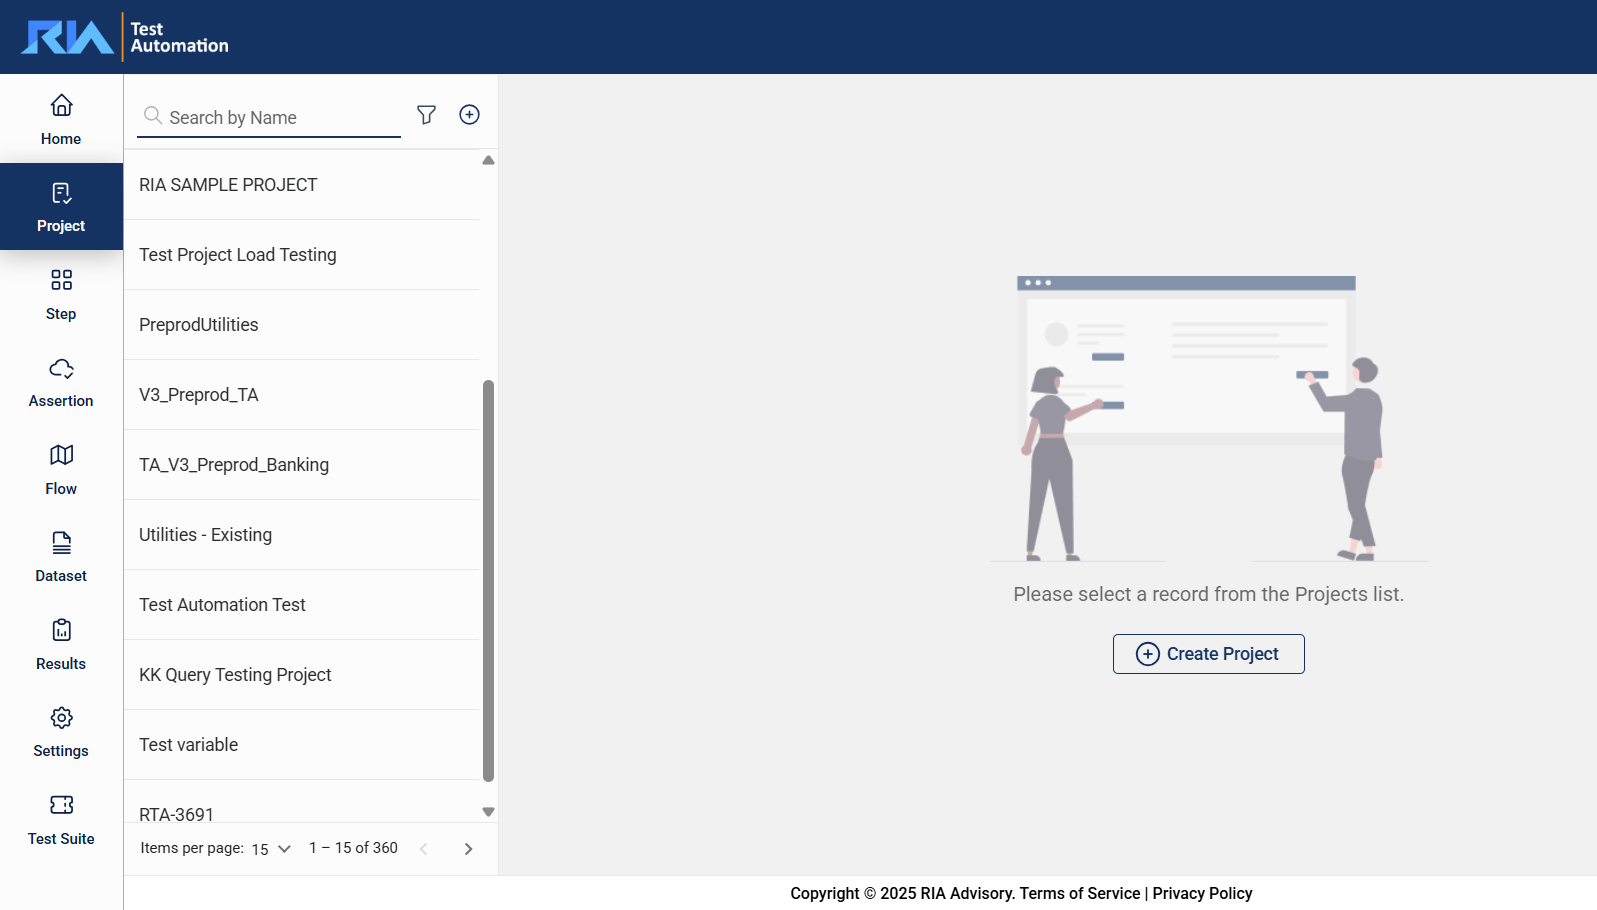
Create a project
To create a project, click on the .png) button on the top left pane.
button on the top left pane.
| Field | Description |
|---|---|
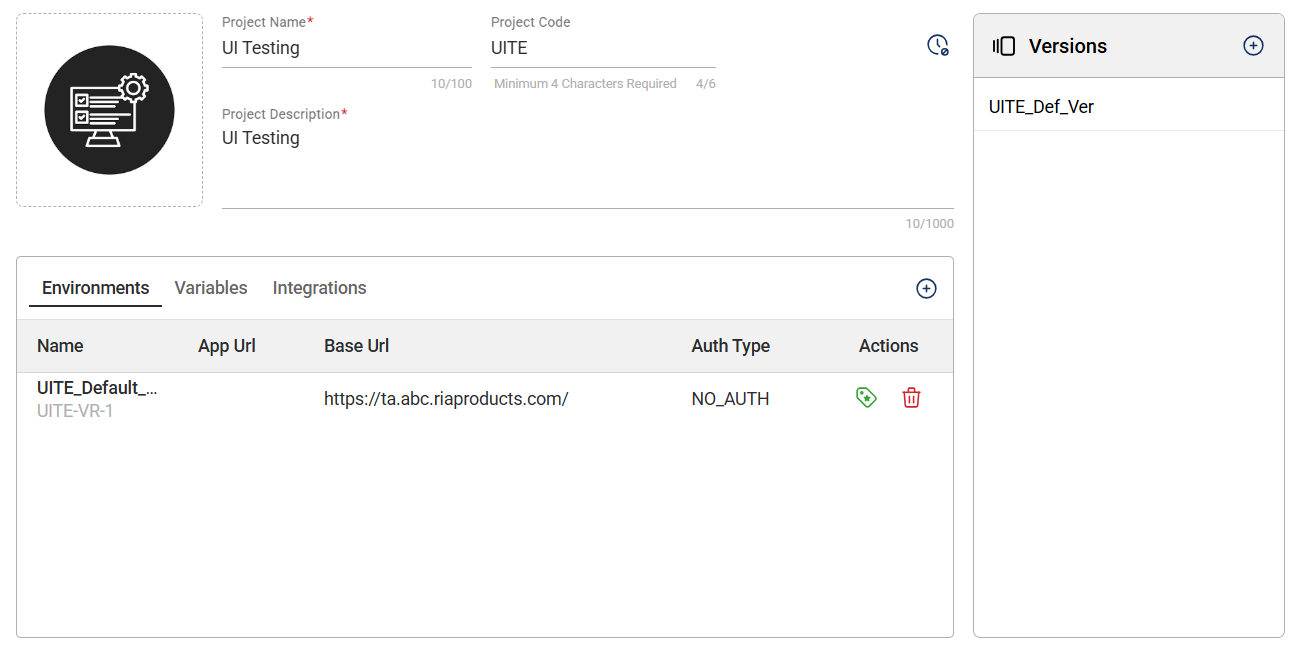
| Logo |
Logo of the project. The supported file types are
|
| Project Name | Name of the project. Mandatory: Yes |
| Project Code | Unique identifier assigned to a project. Mandatory: Yes |
| Project Description | Description of the project. Mandatory: Yes |
| Releases | Shows configured releases. Only 1 release can be active at a time. |
| Environments | Configured environments for the project. For more information, see Environments. |
| Variables | Configured global variables for the project. For more information, see Variables. |
| Integrations | Configured integrations for the project. For more information, see Integrations. |
Update a project
Select a project to view and edit its details. You can update all details except the Project Code. After you make the modifications, click the Update button.
Search
The search feature allows you to filter the list of steps by providing a keyword or the full name of the step. Only the steps that match the provided keyword or name will be displayed in the view.
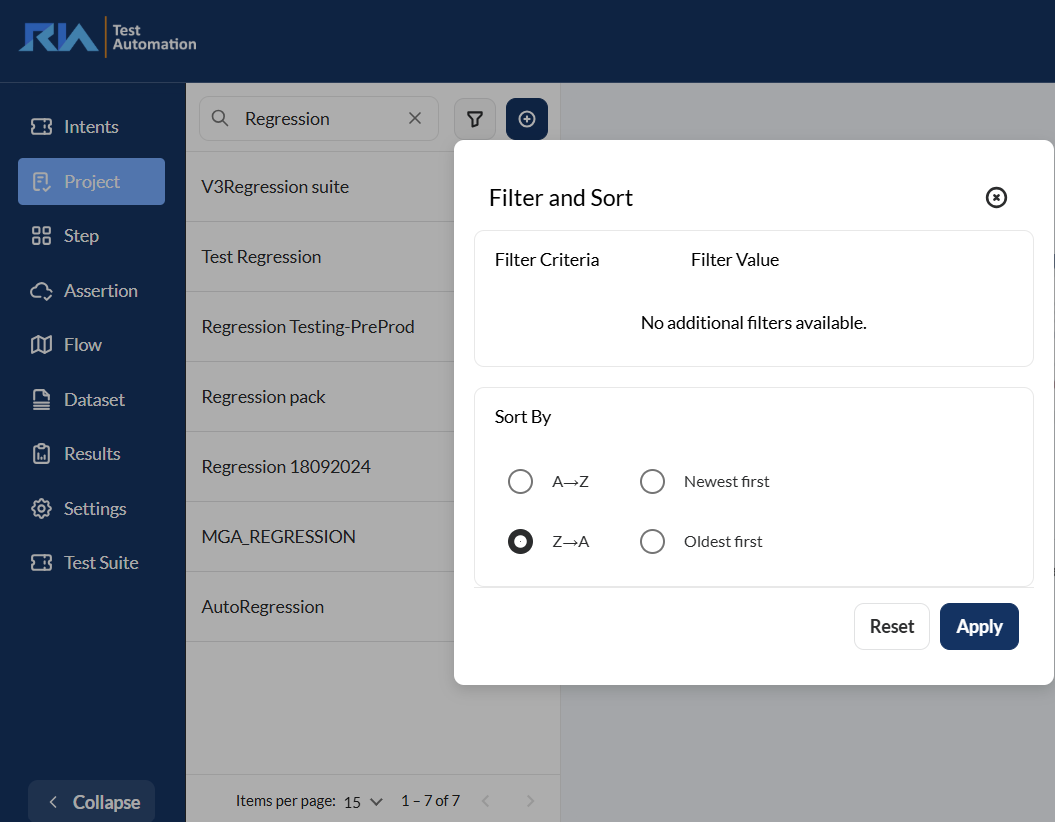
Filter
Click the ![]() icon to display additional sorting options.
icon to display additional sorting options.
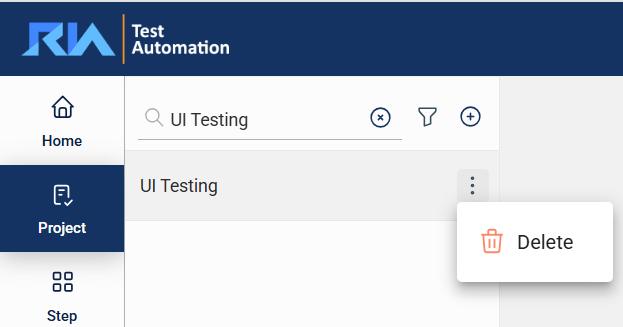
Delete a project
To delete a project, hover over the project you want to remove. An icon will appear. Click on this icon and select Delete.
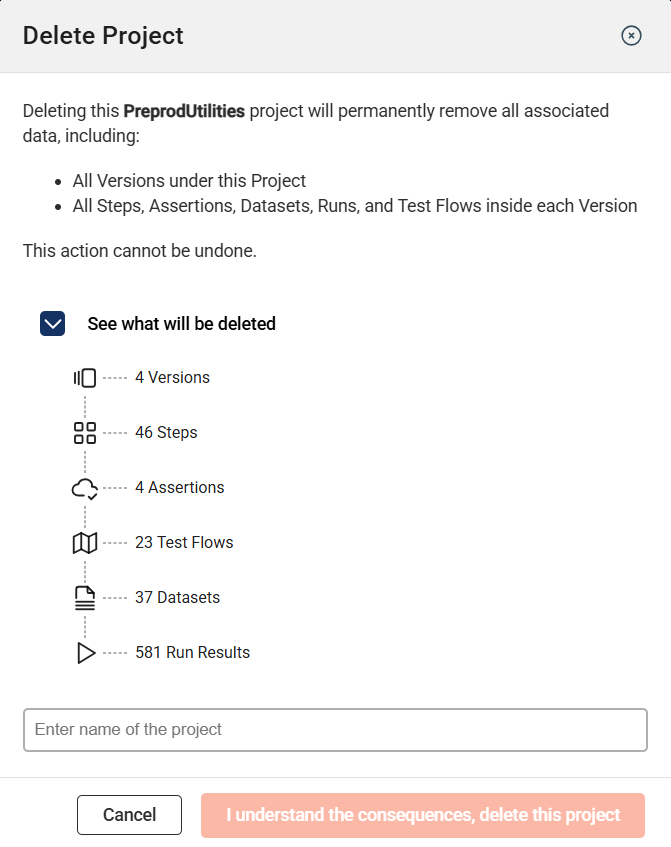
Deleting a project will also remove all associated versions and the data contained within each version. Before you confirm the deletion, a list indicating the number of data items that will be deleted is displayed.
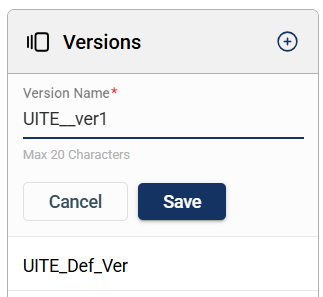
Versions
Versions allow you to create new versions of an existing project, where all parameters and their values are automatically copied. This enables you to change parameters while keeping the original version.
To create a new version, click the plus icon in the Version section and enter a valid name that has a maximum of 20 characters.