This is the multi-page printable view of this section. Click here to print.

Return to the regular view of this page.

Quickstart Guide

Overview

When using Test Automation, it is advisable to utilize Starter Packs for streamlined configurations and efficient implementations. However, should you opt for creating all modules from the ground up, see General configuration.

Prerequisites

Kubernetes and Helm requirements

  • Kubernetes version 1.28 or higher
    • ingress-nginx
    • cert-manager
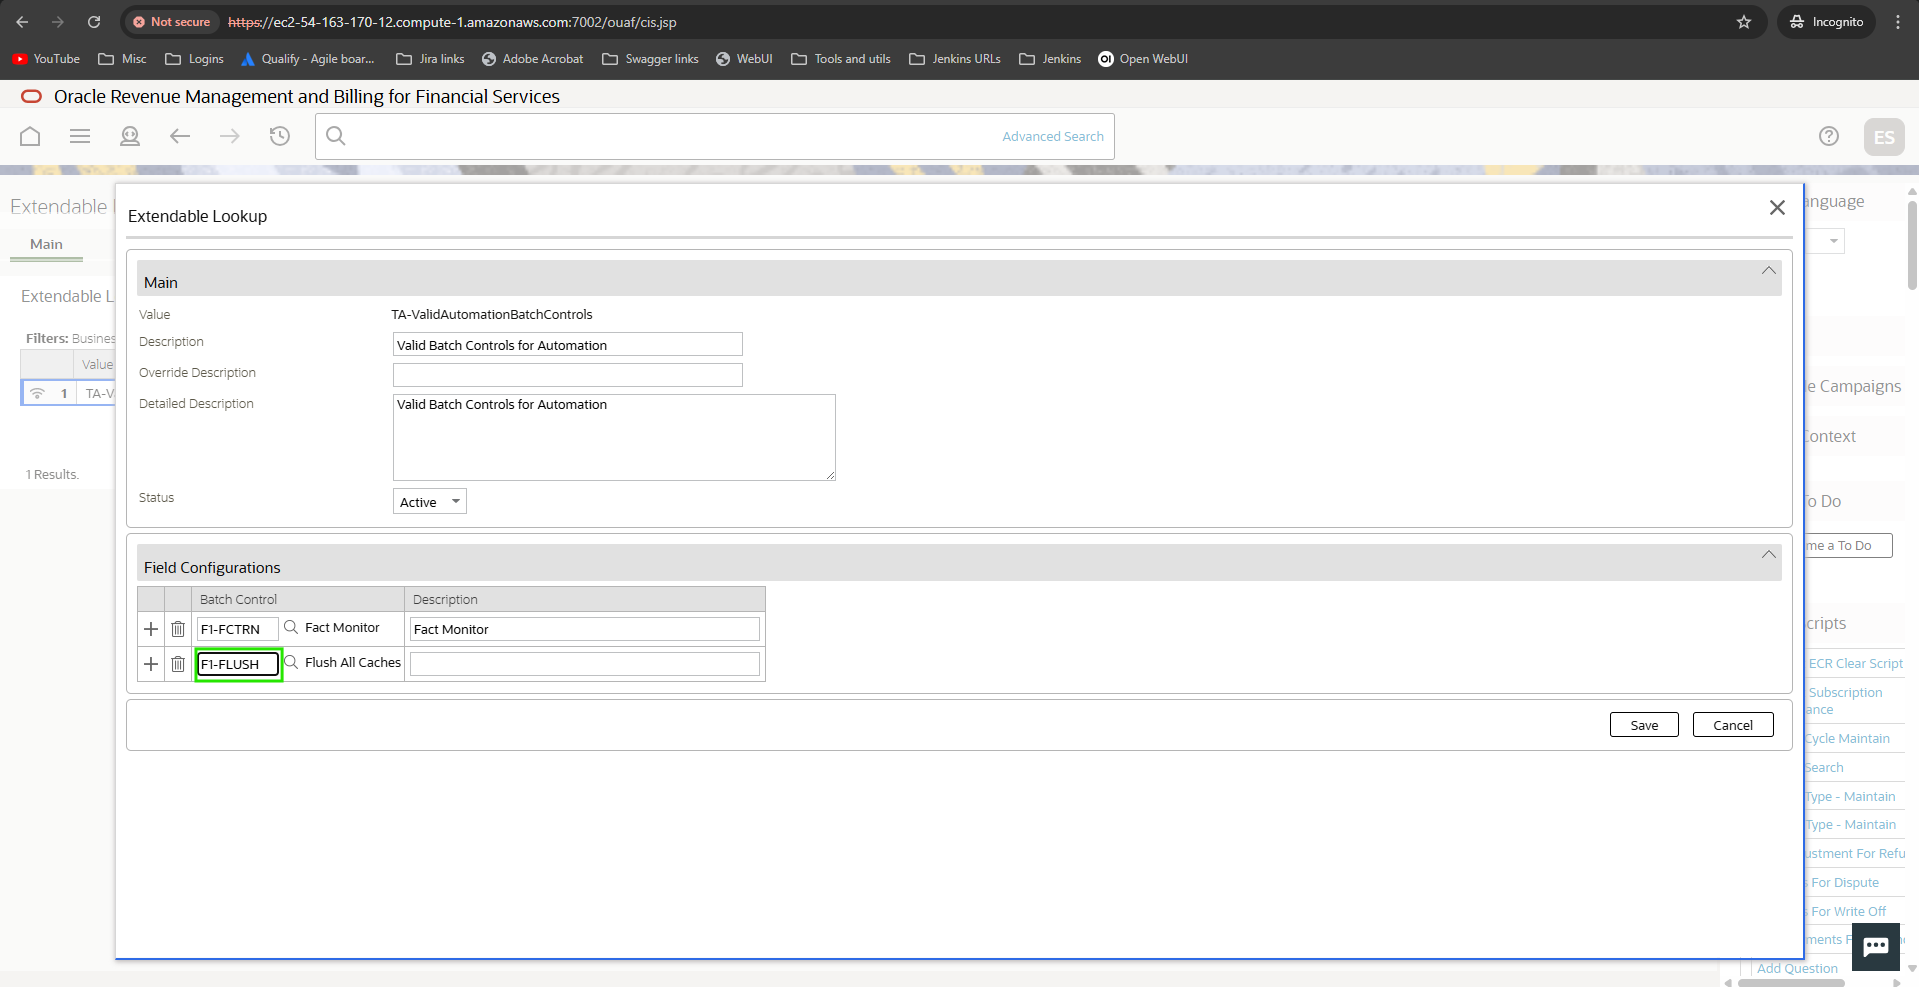
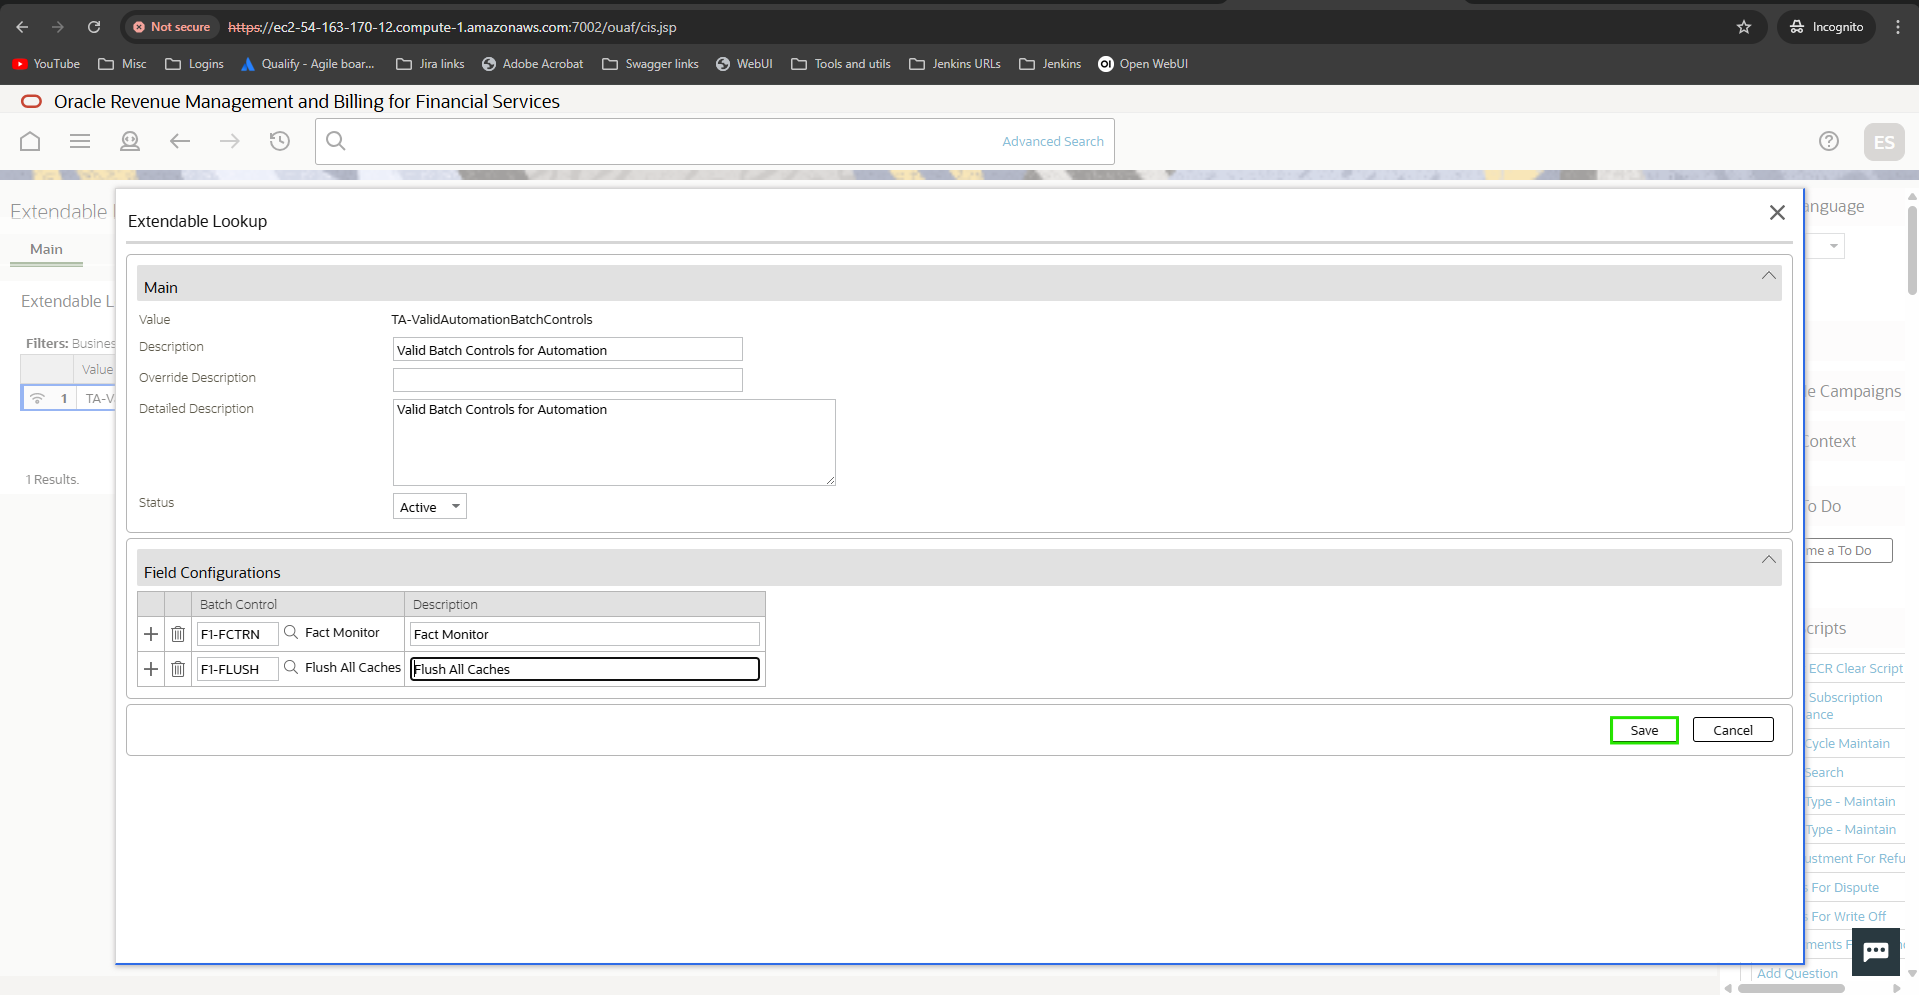
    • PostgreSQL database with TA DB Pack
    • Ocular Framework (if ocular will be used as auth)
  • Helm version 3.0 or higher

System requirements

The following are the minimum requirements for machines running Test Automation:

SpecificationMinimum requirement
CPU2 vCPU
Memory8 GB
Storage50 GB

Prerequisite packages

Test Automation offers two prerequisite packages — Bundles and Configuration Migration Assistant (CMA). These packages serve as the foundation for Test Automation to operate. Before installation, you are required to deploy only one of the two packages to ensure the functionality of Test Automation. For more information, see Prerequisite packages.

Selenium IDE plugin

Selenium IDE plugin is a third-party browser plugin that needs to be installed in your browsers. This plugin is the primary tool used for scenarios involving UI recordings.

To install a Selenium IDE plugin, see Getting Started in the Selenium IDE documentation.
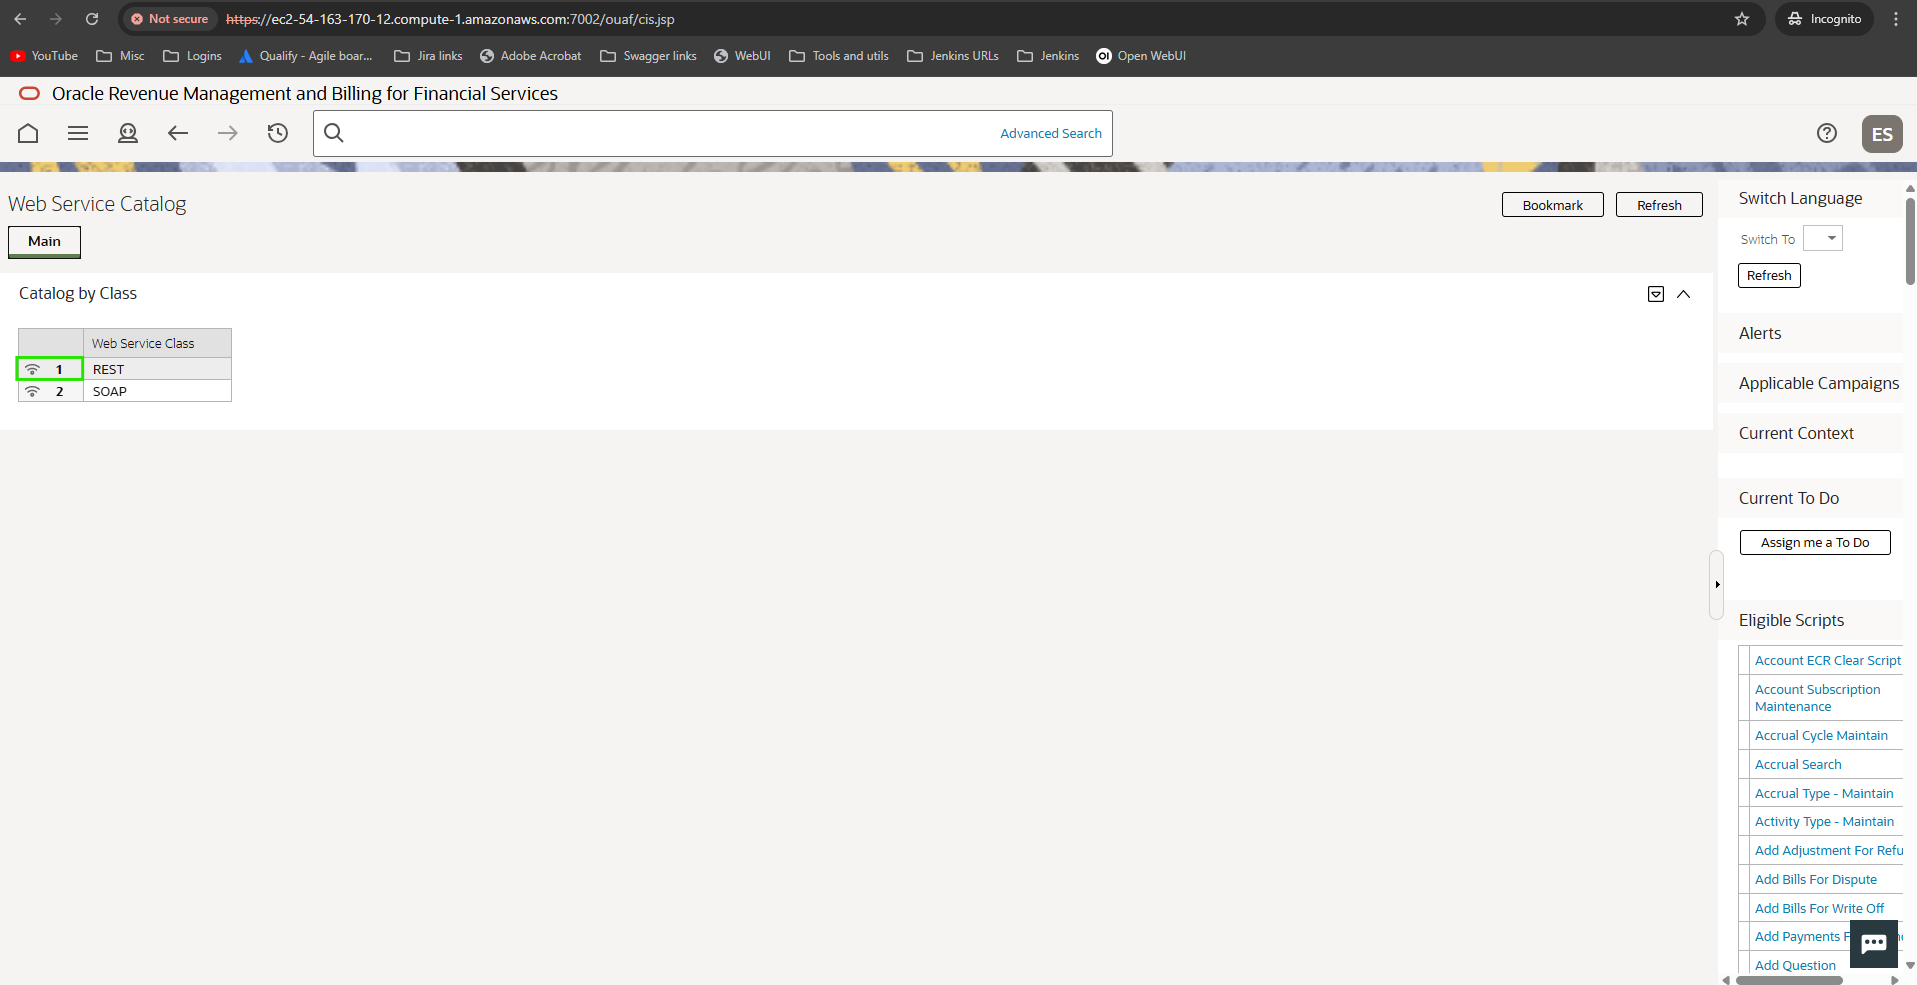
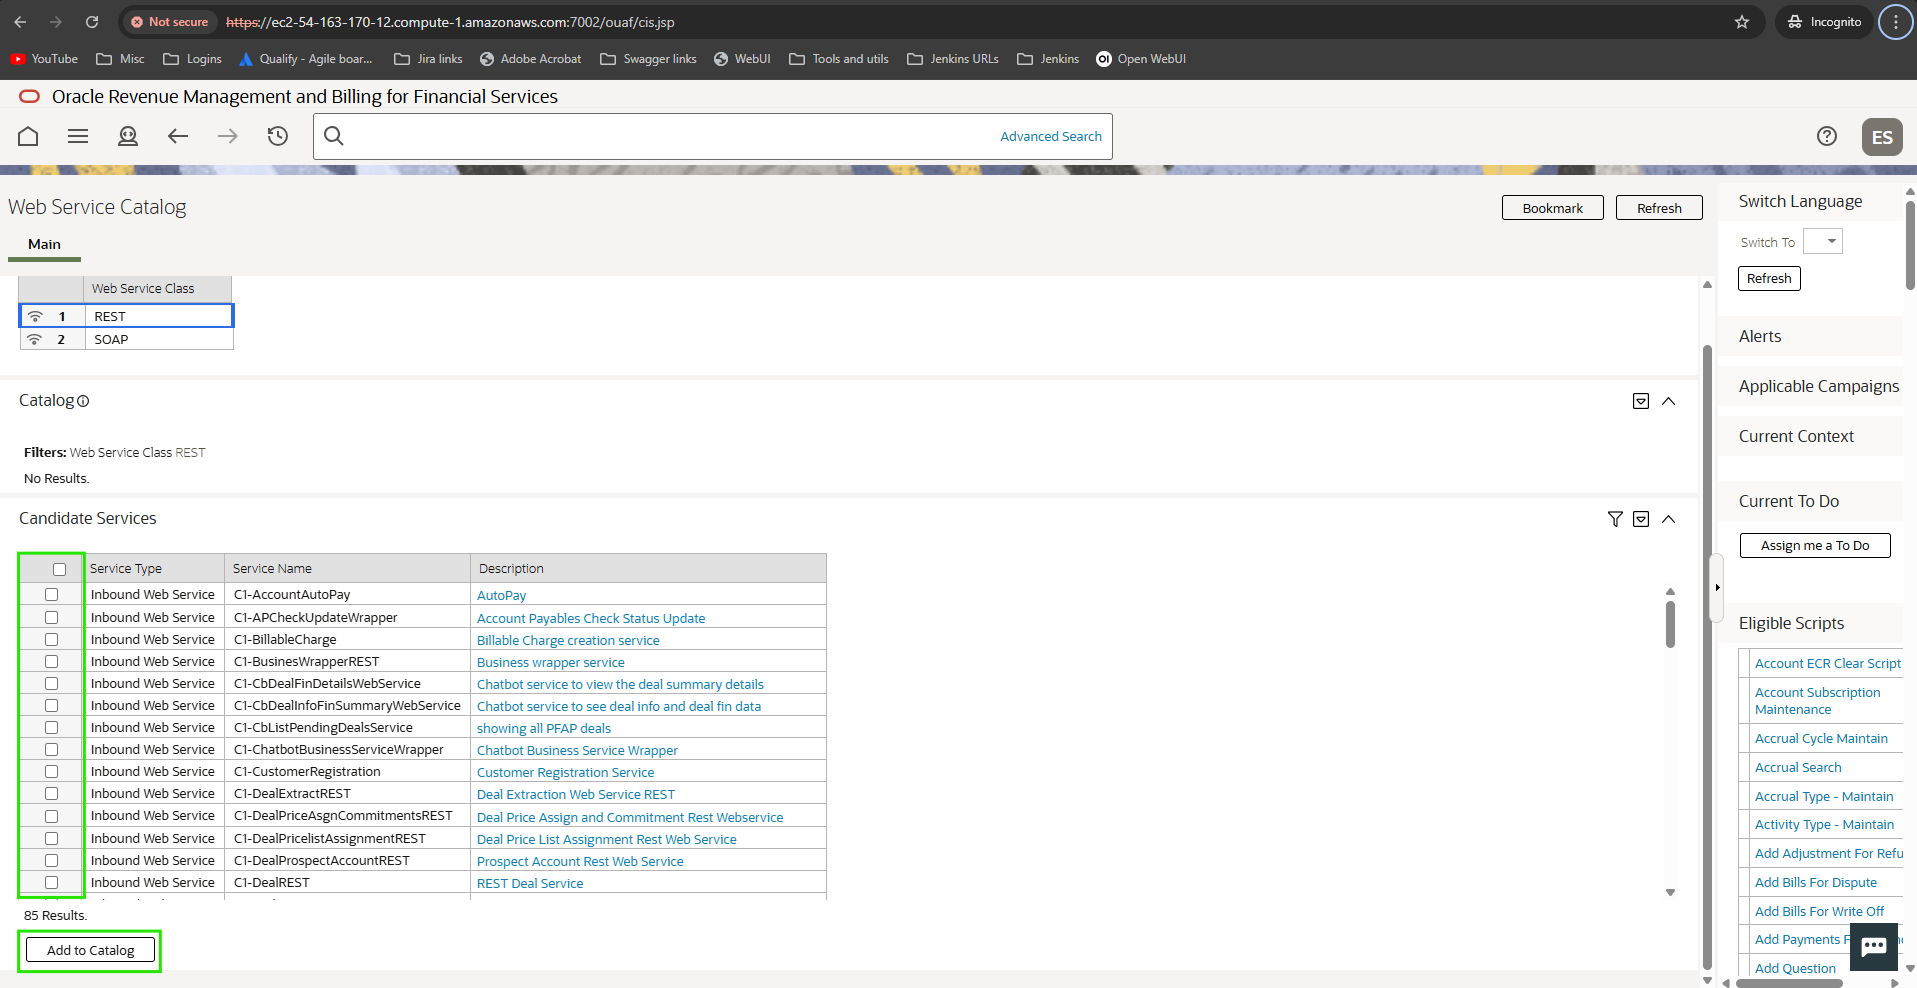
Starter Packs

Starter packs are sets of pre-defined scenarios that you can employ for your testing projects. These scenarios cover a wide range of diverse testing situations, enabling you to begin your testing project effortlessly and efficiently. This ensures comprehensive coverage of crucial testing scenarios right from the start.

Test Automation offers the following starter packs for the following industries:

  • Banking — To see the list of pre-defined scenarios for the banking industry, see Banking starter pack.
  • Healthcare — To see the list of pre-defined scenarios for the healthcare industry, see Healthcare starter pack.
  • Utilities — To see the list of pre-defined scenarios for the utilities industry, see Utilities starter pack.

Use a starter pack

To use a starter pack, follow these steps:

  1. Install Test Automation.
  2. Ensure that all the Prerequisites are met.
  3. Ensure that all the Required Test Automation actions have been completed.
  4. Modify your test data. For more information, see Dataset.
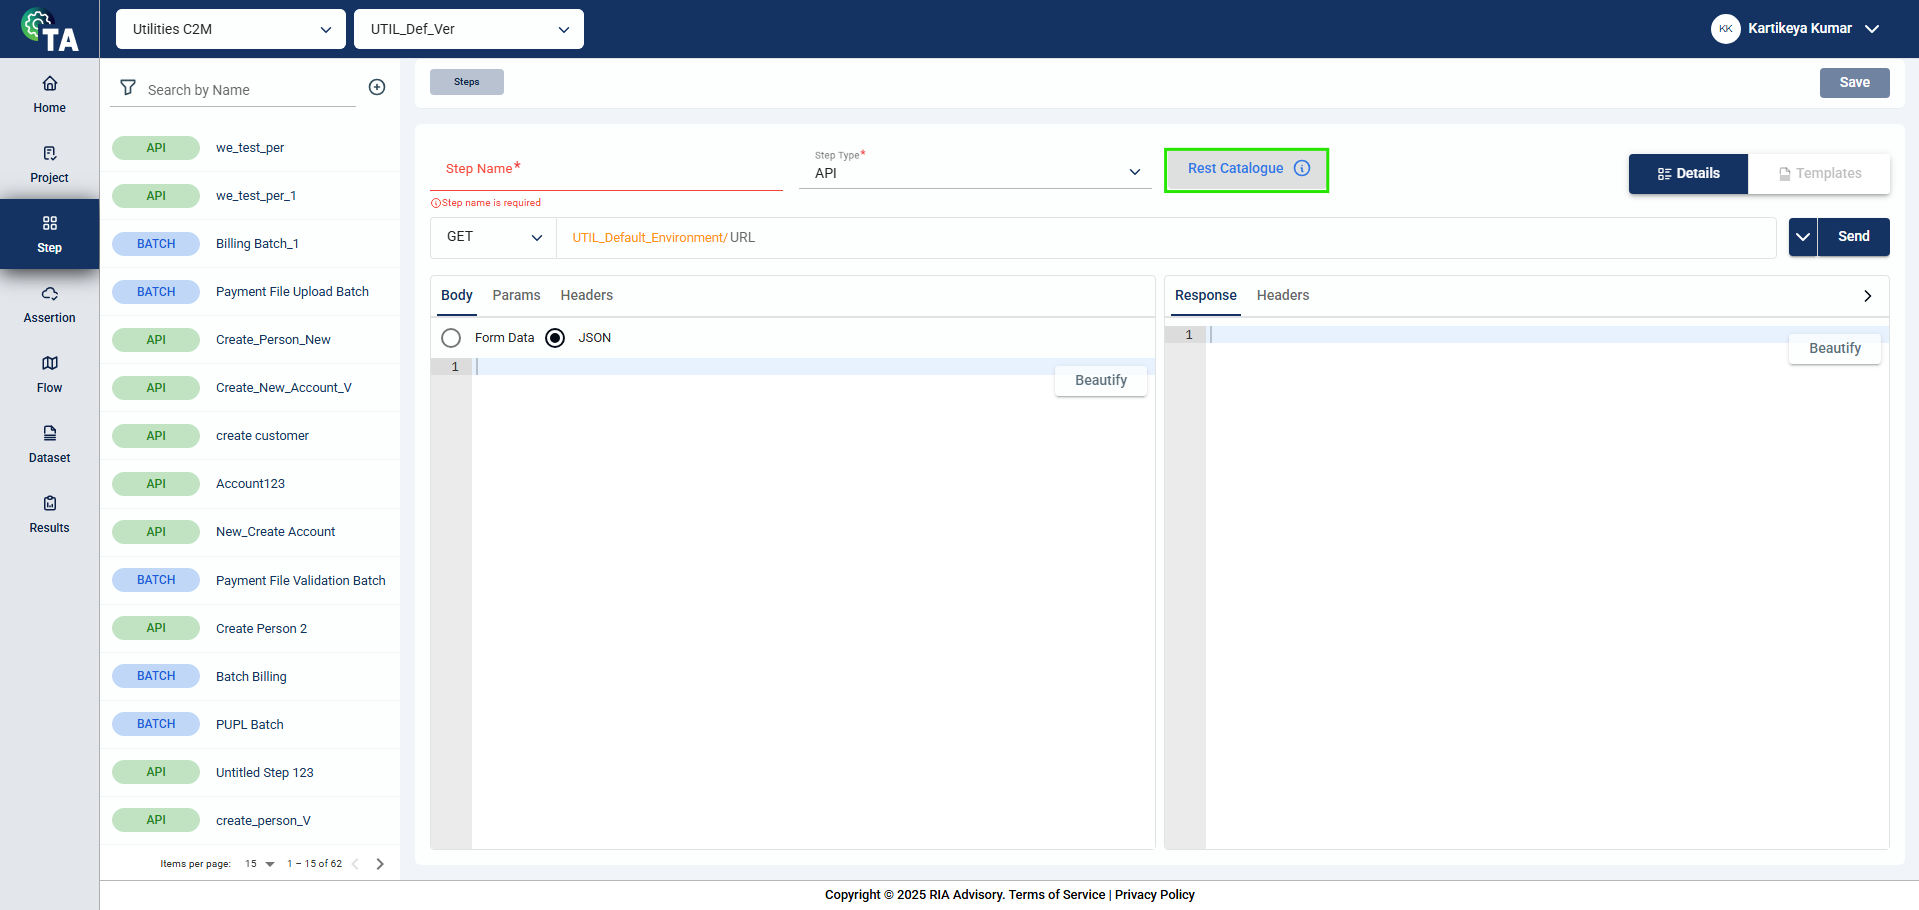
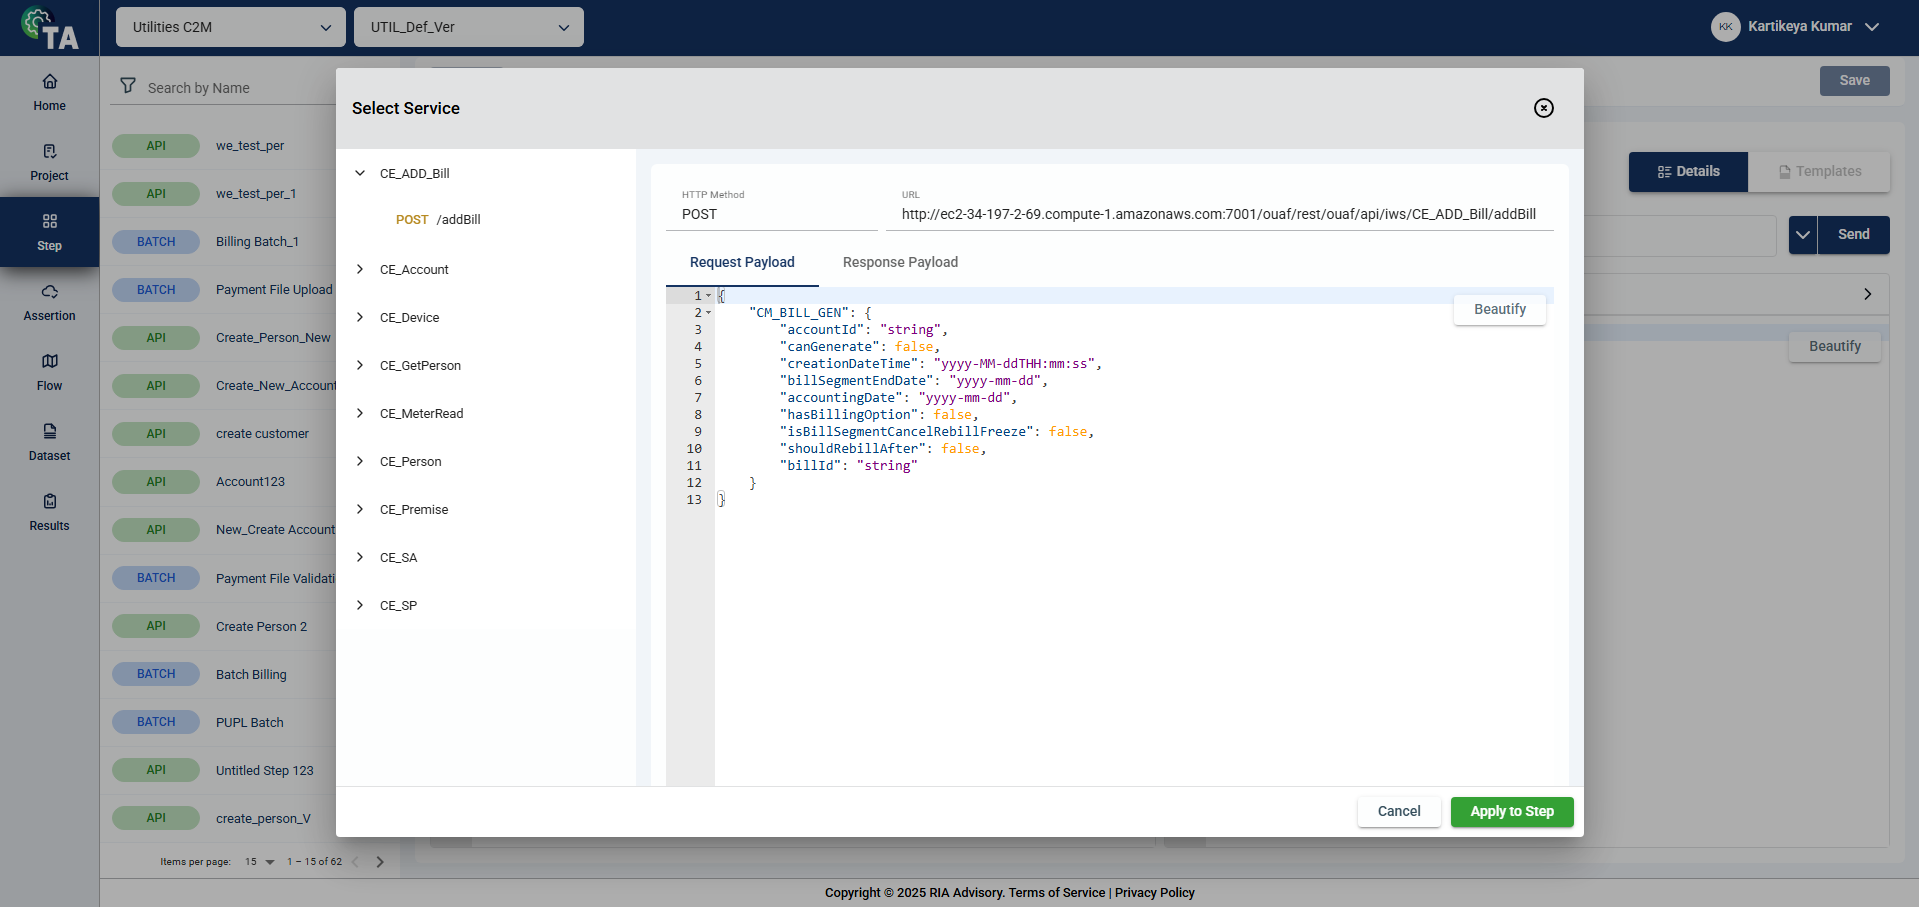
  5. Optional: If you are using a custom API, ensure that you have modified the Payload Details in the Services module.
  6. Navigate to Flow. To run a test flow, see Run a test flow.
  7. View your test results in Results. For more information, see Results.

Required Test Automation actions

Environment configuration and authentication details

Before running the test, ensure that the testing environment is properly set up and configured. This includes specifying the necessary credentials and database details for accessing the configured environment. For more information, see Environments.

General configuration

If you decide to customize all modules, follow these steps:

  1. Verify that all the Prerequisites are met.
  2. Install Test Automation.
  3. Create a project.
  4. Create a step for the created project.
  5. Create an assertion for the created project.
  6. Create a dataset.
  7. Run a test flow.
  8. View the results.

1 - Prerequisite Packages

Overview

Test Automation offers two prerequisite packages — Bundles and Configuration Migration Assistant (CMA). These packages serve as the foundation for the operation of Test Automation.

Services

The following are the services included in a pre-requisite package:

ServiceService TypeDescription
TA-IWSRestCatalogInbound web serviceReturns the catalog of REST-based web services with details based on the REST web service catalog.
TA-GetOpenAPISpecInbound web serviceGenerates the OpenAPI Specification for a given REST Inbound Web Service and version of OpenAPI Specification.
TA-GetBatcCtInbound web serviceRetrieve batch controls configured on the extendable lookup TA-AutomationBatchControls and their corresponding value TA-ValidAutomationBatchControls.
TA-RestBatchSubmissionInbound web serviceProvides functionalities to manage and monitor batch jobs through RESTful APIs.
TA-BatchStatsInbound web serviceReturns the statistics of a batch job, including the number of records processed, the threadpool used, start time, and end time.
TA-BatchJobSubmissionBusiness serviceSubmits a batch job instance for a given batch control.
TA-CheckBatchJobStatusBusiness serviceReturns the status of a batch job run, such as Started, Pending, or Ended.
TA-GetBatchControlBusiness serviceReturns the details of a given batch control.
TA-GetBatchRunStatusBusiness serviceRetrieves the status and run number of a batch run for a given batch control.
TA-BatchErrorBusiness serviceReturns an error message when a batch run encounters any error.

Bundles

Test Automation integrates with ORMB through the use of REST APIs. Components that may not be readily available in the base or framework version of ORMB can be added by importing bundles. This simplifies the integration process by removing the need to create new APIs.

Download

You can download the bundles here.

Apply a bundle on your ORMB web application

  1. Log in to your ORMB web application.
  2. On the Admin Menu, click B > Bundle Import > Add.
  3. On the Bundle Import popup window, input a value for the External Reference and Detailed Description fields.
  4. Open a downloaded bundle XML file and copy the contents. Then, paste the contents to the Bundle Details field on the Bundle Import popup window.
  5. Click Save. The Bundle Import popup window will be closed upon clicking Save.
  6. On Main > Bundle Import > Record Actions, click Apply.

Configuration Migration Assistant (CMA)

CMA is a set of pre-defined configurations and SQL queries, such as Inbound web services, that help trigger batch executions and check the status of these executions.

Download

If you are using a TA Banking starter pack or an ORMB environment, download the files here.

If you are using a C2M environment, download the files here.

Import CMA files to your OUAF environment

  1. Run the downloaded streamlineCMAProcess_script.sql in both the source and target environments.
  2. Copy the created migration data export file, TA-EXPFINAL.cma, and paste it into the target environment:
    • If you are using ORMB 5.0, /u01/app/sploutput/ORMB5000/F1_CMA_FILES/export.
    • If you are using ORMB 6.0, /u01/app/sploutput/ORMB6000/F1_CMA_FILES/export.
  3. Import the C2M_TA_C2M_Pre_Requisite.cma dataset to your target environment.

1.1 - TA Downloads

Overview

The downloads were generated using the following environment versions:

ORMB 6.0.0.0

  • Customer Release V4.5.0.1.1 000 000
  • Oracle Revenue Management and Billing for Financial Services V6.0.0.0.0 205149 000
  • Oracle Utilities Application Framework V4.5.0.1.1 008 000

C2M 2.7.0.3

  • Customer Release V4.3.0.4.0 000 000
  • Oracle Utilities Customer To Meter V2.7.0.3.0 024 000
  • Oracle Utilities Customer Care and Billing V2.7.0.3.0 078 000
  • Oracle Utilities Meter Data Management V2.3.0.2.0 082 000
  • Oracle Utilities Work and Asset Management V2.2.0.6.0 096 000
  • Oracle Utilities Application Framework V4.4.0.2.0 008 000

C2M 2.9.0.1

  • Customer Release V4.3.0.4.0 000 000
  • Oracle Utilities Customer To Meter V2.9.0.1.1 110 000
  • Oracle Utilities Customer Care and Billing V2.9.0.1.1 101 000
  • Oracle Utilities Meter Data Management V2.5.0.1.1 102 000
  • Oracle Utilities Work and Asset Management V2.4.0.1.1 103 000
  • Oracle Utilities Application Framework V4.5.0.1.1 008 000

The following are the items for which the packages are created:

  • Field: TA_FIELD_CONFIG_LBL
  • Zone: TA-SERBATCTL
  • Business Object: TA-AutomationBatchControls
  • Extendable Lookup: TA-AutomationBatchControls, TA-ValidAutomationBatchControls
  • Service Script: TA-GetBatcCt
  • IWS: TA-GetBatcCt
  • IWS: TA-IWSRestCatalog
  • IWS: TA-GetOpenAPISpec
  • Zone: TA-GETBTRNST
  • Business Service: TA-BatchJobSubmission
  • Business Service: TA-CheckBatchJobStatus
  • Business Service: TA-GetBatchControl
  • Business Service: TA-GetBatchRunStatus
  • IWS: TA-RestBatchSubmission
  • Zone: TA-BATCHSTAT
  • Zone: TA-BATCHERR
  • BS: TA-BatchStatus
  • BS: TA-BatchError
  • IWS: TA-BatchStats

C2M downloads

VersionCMAPrerequisite bundle
2.9.0.1TA_C2M_Pre_Requisite.cmaTA-IWS_Service_Prereq_Bundle_C2M_2.9.0.1.xml
2.7.0.3TA_C2M_Pre_Requisite.cmaTA-IWS_Service_Prereq_Bundle_C2M_2.7.0.3.xml

ORMB downloads

VersionJSONPrerequisite bundle
6.0.0.0TA - ORMB IWS Services.postman_collection.jsonTA-IWS_Service_Prereq_Bundle_ORMB_6.0.0.0.xml
4.0.0.0TA - ORMB IWS Services.postman_collection.jsonTA-IWS_Service_Prereq_Bundle_ORMB_4.0.0.0.xml
2.9.0.0TA - ORMB IWS Services.postman_collection.jsonTA-IWS_Service_Prereq_Bundle_ORMB_4.0.0.0.xml

1.2 - Batch prerequisites

Add batches

To ensure batches are loaded in Test Automation (TA) tool and configured for execution, you need to ensure following steps are followed for every configured OUAF environment in TA.

  1. Navigate to Admin > E > Extendable lookup.
    You can also enter /Extendable lookup in the search bar.
  2. Enter TA-AutomationBatchControls in the Business Object field. Click Search.
  3. Click the link in the Description column of the TA-AutomationBatchControls object.
  4. Click the edit icon for the TA-AutomationBatchControls in the Extendable Lookup Value List.
  5. Click + in the Field Configurations section of the Extendable Lookup window.
  6. Enter the batch name under the Batch Control column.
  7. Copy the automatically generated description to the Description column. If the batch name is incorrect, the description will not be generated. Click Save.
  8. Repeat Steps 7-8 for all other batches that will be configured in TA.

Troubleshooting

Batches are still not loading

  • Ensure the required OUAF environment from which the batches need to load is set up as default.
  • Ensure if the Authentication type is correct.
  • Ensure the OUAF environment is whitelisted.

1.3 - IWS prerequisites

Add services

To ensure configured IWS are loaded in Test Automation (TA) tool and configured for execution, you need to ensure that the following steps are followed for every configured OUAF environment in TA.

  1. Navigate to Admin > W > Extendable lookup page.
    You can either click or enter `/Web Service Catalog` in the search bar.
  2. Click the broadcast button beside the REST Web Service Class.
  3. Select all the required services in the Candidate Services section, then click Add to Catalog.

Troubleshooting

REST Catalogs are not loading

  • Ensure the required OUAF environment from which the IWS services need to load is set up as default.
  • Ensure if the Authentication type is correct.
  • Ensure that the OUAF environment is whitelisted.

2 - Banking Starter Pack

Overview

This documentation lists all scenarios defined in the Banking starter pack. To use a starter pack, ensure that you have already completed the steps in Use a starter pack.

Customer onboarding test scenarios

Test scenariosService typeDescription and Query
Create a customer
  • API
  • UI

Creates a user with the following details using API:

  • Customer ID number — ID number registered in the banking database.
  • Address — Home or work address of the user registered in the banking database.
  • Division — Specifies the division where the user is registered.
//Input - Customer Identifier

SELECT a.PER_ID_NBR CUST_IDENTIFIER ,b.ADDRESS1 ADDR_LINE1 ,b.ADDRESS2 ADDR_LINE2 ,b.ADDRESS3 ADDR_LINE3 ,b.ADDRESS4 ADDR_LINE4 ,b.CITY CITY ,b.POSTAL POSTAL_ID ,b.cis_division DIVISION FROM CI_PER_ID a ,CI_PER b ,c1_address_entity c ,CI_CIS_DIVISION d WHERE a.PER_ID_NBR = :F1 –Customer Identifier AND a.PER_ID = b.per_id AND c.ENTITY_ID = b.per_id AND b.cis_division = d.CIS_DIVISION

Create an account and contract

  • API
  • UI

Creates a bank account with the following details using API:

  • Account number — Account number of the user as stored in the banking database
  • Account type — Specifies the account type of the account number.
  • Account start date — Specifies when the account became active.
  • Contract type — Type of the contract associated with the account number.
  • Contract status — Describes the current status of the contract.
  • Contract start date — Specifies when the contract became active.
//Input - Account Identifier

SELECT a.ACCT_NBR ACCT_IDENTIFIER ,a.ACCT_NBR_TYPE_CD ACCT_TYPE ,b.SETUP_DT ACCT_STRT_DT ,c.SA_TYPE_CD CONTRACT_TYPE FROM CI_ACCT_NBR a ,CI_ACCT b ,CI_SA c WHERE a.acct_id = b.acct_id AND a.ACCT_NBR = :F1 – Account Identifier AND b.acct_id = c.acct_id

Create parent-child relationship
  • API
  • UI

Links a child’s account to their parent’s account.

//Input - Parent Customer Identifier

SELECT PARENT_PER_NBR ,CHILD_PER_NBR ,A.PER_REL_TYPE_CD ,TO_CHAR(A.START_DT, ‘DD-MON-YYYY’) START_DATE FROM CI_PER_PER A ,( SELECT PER_ID PARENT_PER_ID ,PER_ID_NBR PARENT_PER_NBR FROM CI_PER_ID ) ,( SELECT PER_ID CHILD_PER_ID ,PER_ID_NBR CHILD_PER_NBR FROM CI_PER_ID ) WHERE A.PER_ID1 = PARENT_PER_ID AND PER_ID2 = CHILD_PER_ID AND CHILD_PER_NBR = :F1 – Child Customer

Update customer details

  • API

Updates the details of a customer. The Person ID number value cannot be updated, but the following can be:

  • Customer identifier
  • Email ID
  • Phone number
  • Address line 1
  • Address lne 2
  • Address line 3
  • Address line 4x
  • City
  • Postal ID
  • Division
//Input - Person Identifier

SELECT a.PER_ID_NBR CUST_IDENTIFIER ,b.per_id CUST_ID ,b.ADDRESS1 ADDR_LINE1 ,b.ADDRESS2 ADDR_LINE2 ,b.ADDRESS3 ADDR_LINE3 ,b.ADDRESS4 ADDR_LINE4 ,b.CITY CITY ,b.POSTAL POSTAL_ID ,b.cis_division DIVISION FROM CI_PER_ID a ,CI_PER b ,c1_address_entity c ,CI_CIS_DIVISION d WHERE a.PER_ID_NBR = :F1 – Person Identifier AND a.PER_ID = b.per_id AND c.ENTITY_ID = b.per_id AND b.cis_division = d.CIS_DIVISION

//Input - Parent Customer Identifier

SELECT a.PER_ID1 PARENT_ID ,a.PER_ID2 CHILD_ID ,( SELECT per_id_nbr FROM ci_per_id WHERE a.per_id2 = per_id ) Child_Identifier FROM ci_per_per a ,ci_per_id b WHERE b.PER_ID_NBR = ‘ABCD01’ – Parent Customer Identifier AND a.per_id1 = b.per_id; //Input - Person Identifier

select B.PER_ID_NBR, c.DESCR Char_Type , PER_ID_NBR Char_Value from CI_PER_ID b , CI_ID_TYPE_l c where B.PER_ID IN( select Per_id from CI_PER_ID where PER_ID_NBR = ‘87009953’) – Person Identifier and b.ID_TYPE_CD = c.ID_TYPE_CD;

Update account details
  • API

Updates the details of an account. The Account number and Zone values cannot be updated, but the following can be:

  • Effective date
  • Char type
  • Char value
  • Bill cycle
  • Currency
//Input - Account Identifier

SELECT a.ACCT_ID
,a.EFFDT
,b.DESCR CHAR_TYPE
,decode(trim(a.CHAR_VAL), NULL, a.ADHOC_CHAR_VAL, a.CHAR_VAL) Char_Value
,d.BILL_CYC_CD
,d.CURRENCY_CD
FROM ci_acct_char a
,ci_char_type_l b
,CI_ACCT_NBR c
,CI_ACCT d
WHERE a.acct_id = c.ACCT_ID
AND c.acct_nbr = :F1 – Account Identifier
AND a.CHAR_TYPE_CD = b.CHAR_TYPE_CD
AND c.ACCT_ID = d.ACCT_ID

Pricing set-up test scenarios

Test scenariosService typeDescription and Query
Assign price list at a customer level
  • API
  • UI

Assigns a list of standard prices for items to a customer, including the following details:

  • Price List ID — Identification number of the price list where prices of items are defined.
  • Start date — Effective date for the price list for the customer.
  • End date — Specifies when the price list is no longer for the customer.
//Input - Person Identifier

SELECT e.PER_ID ,a.PRICELIST_ID ,TO_CHAR(c.START_DT, ‘DD-MON-YYYY’) START_DT ,c.PRICE_STATUS_FLAG ,c.PRICEITEM_CD ,f.Value_amt ,l.descr ,g.TIERED_FLAG FROM ci_pricelist a ,ci_priceLIST_asgn b ,ci_priceasgn C ,ci_party d ,CI_PER_ID e ,CI_PRICECOMP f ,CI_RC_MAP g ,CI_RC_MAP_L l WHERE a.PRICELIST_ID = b.PRICELIST_ID AND b.PRICELIST_ID = C.OWNER_ID AND d.PARTY_UID = B.PARTY_UID AND d.PARTY_TYPE_FLG = ‘PERS’ AND d.PARTY_ID = e.PER_ID AND e.PER_ID_NBR = :F1 – Person Identifier AND f.price_asgn_id = c.price_asgn_id AND f.RC_MAP_ID = g.RC_MAP_ID AND f.pricecomp_seqno = g.RC_SEQ AND l.RC_MAP_ID = G.RC_MAP_ID AND l.language_cd = ‘ENG’ ORDER BY f.PRICE_ASGN_ID ,f.PRICECOMP_SEQNO

Assign price list at an account level
  • API
  • UI

Assigns a list of standard prices for items to an account, including the following details:

  • Price List ID — Identification number of the price list where prices of items are defined.
  • Start date — Effective date for the price list for the customer.
  • End date — Specifies when the price list is no longer for the customer.
//Input - Account Identifier

SELECT e.ACCT_ID ,a.PRICELIST_ID ,TO_CHAR(c.START_DT, ‘DD-MON-YYYY’) START_DT ,c.PRICE_STATUS_FLAG ,c.PRICEITEM_CD ,f.Value_amt ,l.descr ,g.TIERED_FLAG FROM ci_pricelist a ,ci_priceLIST_asgn b ,ci_priceasgn C ,ci_party d ,CI_ACCT_NBR e ,CI_PRICECOMP f ,CI_RC_MAP g ,CI_RC_MAP_L l WHERE a.PRICELIST_ID = b.PRICELIST_ID AND b.PRICELIST_ID = C.OWNER_ID AND d.PARTY_UID = B.PARTY_UID AND d.PARTY_TYPE_FLG = ‘ACCT’ AND d.PARTY_ID = e.ACCT_ID AND e.ACCT_NBR = :F1 – Account Identifier AND f.price_asgn_id = c.price_asgn_id AND f.RC_MAP_ID = g.RC_MAP_ID AND f.pricecomp_seqno = g.RC_SEQ AND l.RC_MAP_ID = G.RC_MAP_ID AND l.language_cd = ‘ENG’ ORDER BY f.PRICE_ASGN_ID ,f.PRICECOMP_SEQNO

Assign override pricing at a customer level
  • API
  • UI

Assigns a price list that overrides any existing price list assigned to the customer.

//Input - Customer Identifier

SELECT d.PER_ID_NBR
,b.START_DT
,b.END_DT
,b.PRICE_STATUS_FLAG
,c.DESCR
FROM ci_party a
,ci_priceasgn b
,ci_priceitem_l c
,ci_per_id d
WHERE a.party_uid = b.OWNER_ID
AND a.PARTY_TYPE_FLG = ‘PERS’
AND D.PER_ID_NBR = ‘55445566’ – Customer Identifier
AND D.PER_ID = a.PARTY_ID
AND b.PRICEITEM_CD = c.PRICEITEM_CD;

Assign override pricing at an account level
  • API
  • UI

Assigns a price list that overrides any existing price list assigned to an account.

//Input - Account Identifier

SELECT d.ACCT_NBR ,b.START_DT ,b.END_DT ,b.PRICE_STATUS_FLAG ,c.DESCR FROM ci_party a ,ci_priceasgn b ,ci_priceitem_l c ,CI_ACCT_NBR d WHERE a.party_uid = b.OWNER_ID AND a.PARTY_TYPE_FLG = ‘ACCT’ AND D.ACCT_NBR = ‘RIAINDIA_MS01’ – Customer Identifier AND D.ACCT_ID = a.PARTY_ID AND b.PRICEITEM_CD = c.PRICEITEM_CD;

Billing test scenarios

Test scenariosService typeDescription
Generate bill from billing batches
  • Batch

Generates a bill using the account name. For batch testing, it runs the following batches in order:

  • BILLOPEN (Pending Bill Generation) — Generates blank bill in pending status for accounts in a given division and bill cycle for a given cut-off date.
  • BSGENREG (Bill Segment Generation) — Generates bill segments, including all billable charges, of accounts that have blank bills in an open bill cycle, input bill cycle, or division for a given cutoff date.
  • POSTPROC (Bill Completion) — Creates post processing bill segment that has been generated by the previous batches.
//Input - Account Identifier ,Account Num Type

SELECT c.acct_nbr ACCT_IDENTIFIER ,c.acct_nbr_type_cd ,b.BILLABLE_CHG_ID ,TRIM(b.PRICEITEM_CD) PRICE_ITEM_CD ,CALC_AMT BSEG_AMT ,a.SVC_QTY TXN_AMT ,DECODE(( SELECT value_amt FROM ci_pricecomp e WHERE e.PRICE_ASGN_ID = b.PRICE_ASGN_ID AND PRICECOMP_SEQNO = 10 ), NULL, ‘NA’, ( SELECT ‘0’ || value_amt FROM ci_pricecomp e WHERE e.PRICE_ASGN_ID = b.PRICE_ASGN_ID AND PRICECOMP_SEQNO = 10 )) Rate1 ,DECODE(( SELECT LOWER_LIMIT FROM ci_pricecomp_tier pt ,ci_pricecomp e WHERE pt.PRICECOMP_ID = e.PRICECOMP_ID AND e.PRICE_ASGN_ID = b.PRICE_ASGN_ID AND PRICECOMP_SEQNO = 10 ), NULL, ‘NA’, ( SELECT LOWER_LIMIT FROM ci_pricecomp_tier pt ,ci_pricecomp e WHERE pt.PRICECOMP_ID = e.PRICECOMP_ID AND e.PRICE_ASGN_ID = b.PRICE_ASGN_ID AND PRICECOMP_SEQNO = 10 )) TIER1_LOWER_LIMIT ,DECODE(( SELECT UPPER_LIMIT FROM ci_pricecomp_tier pt ,ci_pricecomp e WHERE pt.PRICECOMP_ID = e.PRICECOMP_ID AND e.PRICE_ASGN_ID = b.PRICE_ASGN_ID AND PRICECOMP_SEQNO = 10 ), NULL, ‘NA’, ( SELECT UPPER_LIMIT FROM ci_pricecomp_tier pt ,ci_pricecomp e WHERE pt.PRICECOMP_ID = e.PRICECOMP_ID AND e.PRICE_ASGN_ID = b.PRICE_ASGN_ID AND PRICECOMP_SEQNO = 10 )) TIER1_UPPER_LIMIT ,DECODE(( SELECT value_amt FROM ci_pricecomp e WHERE e.PRICE_ASGN_ID = b.PRICE_ASGN_ID AND PRICECOMP_SEQNO = 20 ), NULL, ‘NA’, ( SELECT ‘0’ || value_amt FROM ci_pricecomp e WHERE e.PRICE_ASGN_ID = b.PRICE_ASGN_ID AND PRICECOMP_SEQNO = 20 )) Rate2 ,DECODE(( SELECT LOWER_LIMIT FROM ci_pricecomp_tier pt ,ci_pricecomp e WHERE pt.PRICECOMP_ID = e.PRICECOMP_ID AND e.PRICE_ASGN_ID = b.PRICE_ASGN_ID AND PRICECOMP_SEQNO = 20 ), NULL, ‘NA’, ( SELECT LOWER_LIMIT FROM ci_pricecomp_tier pt ,ci_pricecomp e WHERE pt.PRICECOMP_ID = e.PRICECOMP_ID AND e.PRICE_ASGN_ID = b.PRICE_ASGN_ID AND PRICECOMP_SEQNO = 20 )) TIER2_LOWER_LIMIT ,DECODE(( SELECT UPPER_LIMIT FROM ci_pricecomp_tier pt ,ci_pricecomp e WHERE pt.PRICECOMP_ID = e.PRICECOMP_ID AND e.PRICE_ASGN_ID = b.PRICE_ASGN_ID AND PRICECOMP_SEQNO = 20 ), NULL, ‘NA’, ( SELECT UPPER_LIMIT FROM ci_pricecomp_tier pt ,ci_pricecomp e WHERE pt.PRICECOMP_ID = e.PRICECOMP_ID AND e.PRICE_ASGN_ID = b.PRICE_ASGN_ID AND PRICECOMP_SEQNO = 20 )) TIER2_UPPER_LIMIT FROM ci_bchg_sq a ,ci_bill_chg b ,ci_acct_nbr c ,ci_sa d ,ci_bseg_calc f WHERE a.BILLABLE_CHG_ID = b.BILLABLE_CHG_ID AND c.acct_nbr = :F1 – Account Identifier AND c.acct_nbr_type_cd = :F2 – Account Num Type AND c.acct_id = d.acct_id AND d.sa_id = b.sa_id AND f.BILLABLE_CHG_ID = b.BILLABLE_CHG_ID;

Generate bill from application

  • UI

Runs the following batches in order:

  • C1-GLASGN — Assigns the GL account to a financial transaction
  • GLS — Stages the GL download
  • GLDL — Extracts the GL download
SELECT BSEG_ID
,EXP_MSG
,MESSAGE_PARM1
,MESSAGE_PARM2
,MESSAGE_PARM3
,MESSAGE_PARM4
,MESSAGE_PARM5
,CRE_DTTM
FROM CI_BSEG_EXCP;

Payment test scenarios

Test scenariosService typeDescription and Query
Create payment
  • UI
  • API

Creates a payment for the already generated bill.

For UI:

SELECT ACCT_ID
	,DECODE(PAY_STATUS_FLG, '50', 'COMPLETED', 'NOT COMPLETED')
	,PAY_AMT
	,MATCH_VAL BILL_iD
	,ILM_DT
FROM ci_pay;

SELECT PAY_ID ,EXP_MSG ,MESSAGE_PARM1 ,MESSAGE_PARM2 ,MESSAGE_PARM3 ,MESSAGE_PARM4 ,MESSAGE_PARM5 ,CRE_DTTM FROM CI_PAY_EXCP;

For API:

//Input - Account Identifier, Bill ID
SELECT D.ACCT_NBR ACCT_IDENTIFIER
,A.ORIG_BILL_AMT BILL_AMOUNT
,SUM(C.PAY_AMT) TOTAL_PAID_AMOUNT
,B.DESCR PAYMENT_STATUS
FROM C1_BILL_DTLS_VW A
,CI_LOOKUP_VAL_L B
,CI_PAY C
,CI_ACCT_NBR D
WHERE A.ACCT_ID = C.ACCT_ID
AND C.ACCT_ID = D.ACCT_ID
AND D.ACCT_NBR = :F1 – Account Identifier
AND A.BILL_ID = :F2 – Bill ID
AND B.FIELD_NAME = ‘PAY_STATUS_FLG’
AND B.FIELD_VALUE = C.PAY_STATUS_FLG
GROUP BY A.ORIG_BILL_AMT
,D.ACCT_NBR
,B.DESCR

//Input - Account Identifier, Payment Event ID SELECT C.PAY_AMT PAYMENT_AMT ,B.DESCR PAYMENT_STATUS FROM CI_ACCT_NBR A ,CI_LOOKUP_VAL_L B ,CI_PAY C WHERE A.ACCT_ID = C.ACCT_ID AND B.FIELD_NAME = ‘PAY_STATUS_FLG’ AND B.FIELD_VALUE = C.PAY_STATUS_FLG AND A.ACCT_NBR = :F1 – Account Identifier AND C.PAY_EVENT_ID = :F2 – Payment Event ID

General ledger test scenarios

Test scenariosService typeDescription
Link general ledger (GL) to account
  • Batch

Runs the following batches in order:

  • C1-GLASGN — Assigns the GL account to a financial transaction
  • GLS — Stages the GL download
  • GLDL — Extracts the GL download
Input - Account Identifier

SELECT COUNT(1) RECORDSCOUNT FROM CI_FT A ,CI_BILL B ,CI_FT_GL C ,CI_ACCT_NBR D WHERE A.FT_TYPE_FLG = ‘BS’ AND A.PARENT_ID = B.BILL_ID AND C.FT_ID = A.FT_ID AND C.GL_ACCT = ’ ' AND B.ACCT_ID = D.ACCT_ID AND D.ACCT_NBR = :F1 – Account Identifier

SFTP test scenarios

The following scenarios support file uploads for SFTP and Batch service types:

  • Create price list
  • Define price list-price item
  • Assign price list
  • Onboard a customer
  • Create person hierarchy
  • Create account
  • Create invoice
  • Upload feed management
//Input - Account Identifier, Bill ID

SELECT TP.ACCT_NBR
	,TP.BILL_ID
	,TO_CHAR(MAX(TP.CRE_DTTM), 'MM-DD-YYYY') AS BILL_DATE
	,TP.BILL_AMOUNT
	,TO_CHAR(TP.LATEST_PAYMENT_DATE, 'MM-DD-YYYY') AS LATEST_PAYMENT_DATE
	,TP.LATEST_PAYMENT_AMOUNT
	,TP.TOTAL_PAYMENT_STATUS
	,TP.TOTAL_PAID_AMOUNT
	,(TP.BILL_AMOUNT - TP.TOTAL_PAID_AMOUNT) AS OUTSTANDING_PAYMENT
FROM (
	SELECT B.ACCT_NBR
		,A.BILL_ID
		,A.ORIG_BILL_AMT AS BILL_AMOUNT
		,SUM(D.PAY_AMT) OVER (PARTITION BY A.BILL_ID) AS TOTAL_PAID_AMOUNT
		,C.DESCR AS TOTAL_PAYMENT_STATUS
		,A.CRE_DTTM
		,D.PAY_AMT AS LATEST_PAYMENT_AMOUNT
		,E.CRE_DTTM LATEST_PAYMENT_DATE
		,ROW_NUMBER() OVER (
			PARTITION BY A.BILL_ID ORDER BY E.CRE_DTTM DESC
			) AS RN
	FROM C1_BILL_DTLS_VW A
	INNER JOIN CI_ACCT_NBR B ON A.ACCT_ID = B.ACCT_ID
	INNER JOIN CI_PAY D ON D.ACCT_ID = A.ACCT_ID
	INNER JOIN CI_LOOKUP_VAL_L C ON C.FIELD_NAME = 'PAY_STATUS_FLG'
		AND C.FIELD_VALUE = D.PAY_STATUS_FLG
	INNER JOIN CI_PAY_EVENT E ON E.PAY_EVENT_ID = D.PAY_EVENT_ID
	WHERE TRIM(B.ACCT_NBR) = TRIM(:F1 --Account Identifier)
			AND A.BILL_ID = ${ :F2 -- Bill ID}
		) TP
	WHERE TP.RN = 1
	GROUP BY TP.ACCT_NBR
		,TP.BILL_ID
		,TP.BILL_AMOUNT
		,TP.LATEST_PAYMENT_DATE
		,TP.LATEST_PAYMENT_AMOUNT
		,TP.TOTAL_PAYMENT_STATUS
		,TP.TOTAL_PAID_AMOUNT
	ORDER BY BILL_DATE DESC FETCH FIRST 1 ROW ONLY

Report generation

Available reportsAvailable service typeDescription
Aging Detail Report
  • API download
  • SFTP download
Generates a Form of Payment (FOP) report based on aging details.
Payment Detail Report
  • API download
  • SFTP download
Generates a Form of Payment (FOP) report based on payment details.
Payment Summary Report
  • API download
  • SFTP download
Generates a Form of Payment (FOP) summary report.
Adjustment Detail Report
  • API download
  • SFTP download
Generates a Form of Payment (FOP) report with adjustment details.

3 - Healthcare Starter Pack

Overview

This documentation lists all scenarios defined in the Healthcare starter pack. To use a starter pack, ensure that you have already completed the steps in Use a starter pack.

Test scenarios

Test scenariosAvailable service typeDescription
Upload health product and health plan
  • API
  • Batch

Creates a health product and plan using API and processes it with batch execution.

  • Product code — code of the health product that will be used when creating a customer.
  • Plan code — code of the health plan that will be used when creating a customer.
  • Batch-C1-HCPHP — batch that processes the inbound messages for the creation of health products or plans.
Rate upload

  • API
  • Batch

Creates rates that define customer's charges and billable charges.

  • Batch-C1-HCPHP — batch that processes the inbound messages for the creation of rates.
Custmomer upload by referring rate plans
  • API
  • Batch

Updates a customer account based on product code, plan code, and rate. For example, if a rate is specified with Tobacco is Y and a customer has a Y Tobacco switch, then the rate will be mapped to the customer.

Runs the Batch - C1-HCEXS to process the inbound bound message for the creation of the customer, account, and contract.

Billable charge creation

  • Batch

Runs the following batches in order:

  • C1-REPC1 (Identify Entities for Repricing) — Identifies the entities that are eligible for repricing.
  • C1-REPC2 (Process Repricing Request) — Processes the entities captured by the C1-REPC1 batch.
  • C1-FIBCR (Fully Insured Billable Charge Creation) — Creates the billable charge for the processed entities.
Customer billing
  • Batch
  • UI

Generates a bill using the billable charges and account. For batch testing, it runs the following batches in order:

  • BILLOPEN (Pending Bill Generation) — Generates a blank bill in pending status for accounts in the specified division and bill cycle based on the given cut-off date.
  • BSGENREG (Bill Segment Generation) —Generates bill segments, including all billable charges, of accounts that have blank bills in an open bill cycle, input bill cycle, or division for a given cutoff date.
  • POSTPROC (Bill Completion) — Creates a post-processing bill segment generated by previous batches and finalizes the bill.
General ledger scenario
  • Batch

Runs the following batches in order:

  • C1-GLASGN — Assigns the General Ledger account to a financial transaction.
  • GLS — Stages the downloaded General Ledger.
  • GLDL — Extracts the downloaded General Ledger.
Create payment
  • API
Creates a payment for the generated bill.

4 - Utilities starter pack

Overview

This documentation lists all scenarios defined in the Utilities starter pack. To use a starter pack, ensure that you have already completed the steps in Use a starter pack.

Manage customer data

Test scenariosC2M/CCS prerequisiteService type
Create a person and accountNone
  • API
Add person characteristicsAdded person in the previous scenario

  • API
Add a person of relationship type of roommate to an accountExisting person or account
  • API
Remove person characteristicsExisting person

  • API
Maintain customer information - life support/phone/email/mailing addressExisting person
  • API
Maintain customer info- remove life support alertExisting person
  • API
Change mailing address to personExisting account

  • API
Change mailing address to account overrideExisting account

  • API
Change mailing address to mailing premise on accountExisting account

  • API
Maintain customer account information - financial responsibilityExisting account

  • API
Add copy of bill & bill routeExisting account

  • API
Maintain customer information - add autopayExisting account

  • API
Maintain customer information - remove autopayExisting account

  • API
Add Premises - residential or commercial

  • API
Delete premiseExisting premise

  • API
Update premiseExisting premise

  • API
Update premise characteristicsExisting premise

  • API
Change a premise type on an existing premiseExisting premise
  • API

Establish service

Test scenariosC2M/CCS prerequisiteService type
Add a Service Point - Electric/Water/ Gas/RefuseExisting premise
  • API
Delete a service pointExisting premise

  • API
Update service point - device locationExisting service point
  • API
Update service point - SP instructionExisting service point

  • API
Manual change of service point, service route, and sequenceExisting service point
  • API
Disconnect service pointExisting service point
  • API
Deactivate service pointExisting service point

  • API
Start SA on a premise not linked to any account, with current date Start SA on a premise not linked to any account, with future dateExisting person, account, service point

  • API

Device Management

Test scenariosC2M/CCS prerequisiteService type
Manually Add a Device to SP - Water Residential/Water CommercialExisting service point and device configuration
  • API
Install a Device - Manual Water Meter/Manual Waste Water Meter/Sensus Water Meter /Sensus Waste Water Meter [CCS]Existing install event

  • API
Remove install event [CCS]Existing install event
  • API
Turn off or remove a device - Manual Water Meter/Manual Waste Water Meter/Sensus Water Meter /Sensus Waste Water Meter [CCS]Existing install event

  • API
Configure a device - Manual Water Meter/Manual Waste Water Meter/Sensus Water Meter /Sensus Waste Water Meter [CCS]Existing device and configuration
  • API
Install a device - Water Analog Meter/Water Smart Meter/Water AMR Meter [C2M]Existing install event
  • API
Update install event - Remove deviceExisting install event

  • API
Update install event - Turn off deviceExisting install event

  • API

Financial management

Test scenariosC2M/CCS prerequisiteService type
Add bill cycle to an accountExisting account
  • API
Add bill message to an accountExisting account

  • API
Add bill intercept to accountExisting account
  • API
Remove bill intercept to accountExisting account

  • API
Add copy of bill and bill routeExisting account
  • API
Enter a bill after date on an account that is scheduled to billExisting account
  • API
Change budget bill amount manuallyExisting service agreement

  • API
Create account alert - protected bill cycleExisting account
  • API
Generate a first bill
Generate a bill - Final Bill (with Balance Owed)
Generate and complete a manual bill - Deposit
Generate and complete a manual bill - First Bill for Account greater or equal to X days
Generate and complete a manual bill - First Bill for Account less than X days
Existing bill
  • API
Add bill message - to a billExisting bill

  • API
Delete a pending bill - Bill Segments in Freezable status
Delete a pending bill - Bill Segments in Error status
Existing bill

  • API
Cancel a billExisting bill

  • API
Reopen a completed online billExisting bill

  • API
Reopen a bill and add an adjustmentExisting bill

  • API
Rebill bill segmentExisting bill segment

  • API
Delete bill segment
Delete bill segment in freezable status
Existing bill segment

  • API
Process payments - Process Customer PaymentsExisting account and payment tender

  • API
Distribute payment
Payment distribution
Existing payment
  • API
Cancel a paymentExisting payment
  • API
Misapplied payment - Transfer paymentExisting payment
  • API
Apply adjustment
Add an adjustment
Existing service agreement
  • API
Cancel an adjustment
Cancel a transfer adjustment
Existing adjustment
  • API

Credit and collections

Test scenariosC2M/CCS prerequisiteService type
Start collection processExisting account with debt and service agreement
  • API
Cancel a collection processExisting account with debt and service agreement

  • API
Change or update a collection event informationExisting account with debt and service agreement
  • API
Add a collection eventExisting account with debt and service agreement

  • API
Delete a collection eventExisting account with debt and service agreement
  • API
Start severance processExisting account with debt and service agreement
  • API
Cancel a severance processExisting account with debt and service agreement

  • API
Change a severance eventExisting account with debt and service agreement

  • API
Add a severance eventExisting account with debt and service agreement
  • API
Start the write-off processExisting account with debt and service agreement
  • API
Cancel a write-off processExisting account with debt and service agreement
  • API
Add, change, or delete write-off processExisting account with debt and service agreement
  • API