Projects
Overview
The Projects module enables you to create a personalized testing workspace to avoid overlap in your activities. Depending on your testing requirements, you can customize your workspace by adding items such as External System, Features, and Scenarios.
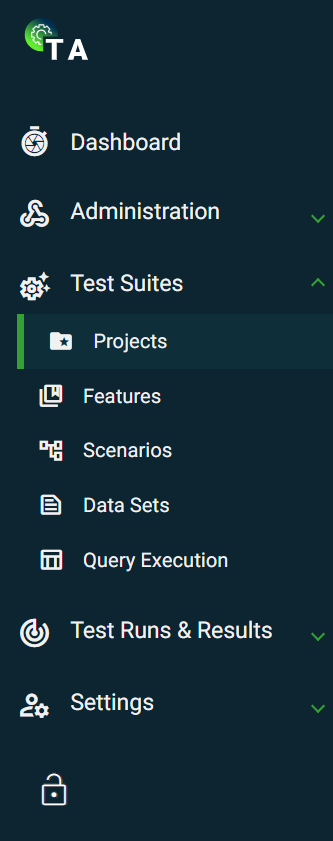
To access the Projects module, navigate to Test Suites > Projects.
Create a project
The following are the different ways to create a new environment:
- In the External Systems view, if your system has no projects configured, click
 on the card view or on the
 0environment column value in the list view. This option will automatically connect the environment to your selected external system.
- In Test Suites > Projects, click Create. This option will have an Add External System dropdown list that requires you to select an existing external system.
| Field | Description |
|---|---|
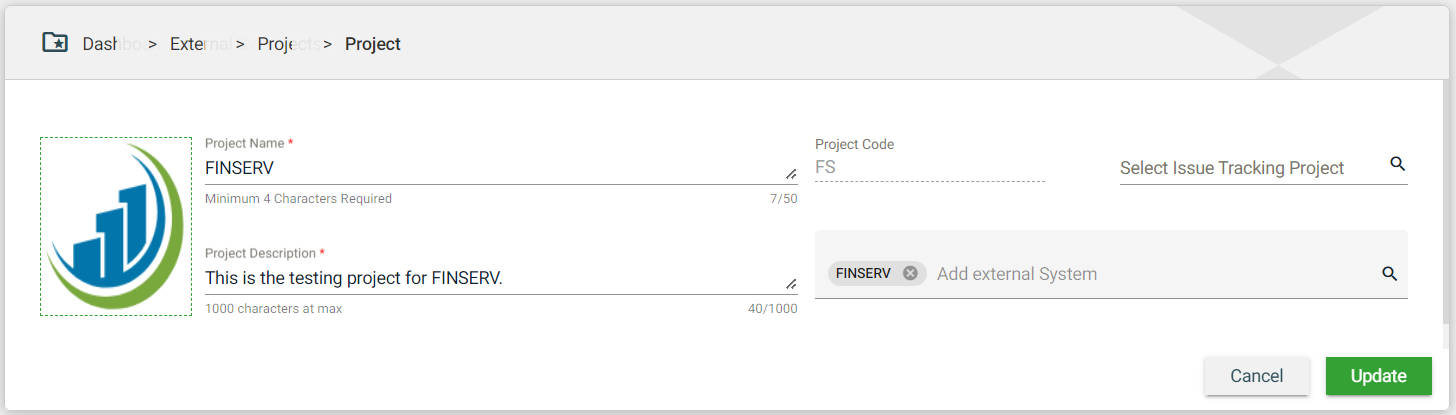
| Logo | Logo of the project, if available. The supported file types are png/jpg/jpeg.
|
| Project Name | Name of the project. Mandatory: Yes |
| Project Code | Unique identifier assigned to a project. The |
| Project Description | Description of the project. Mandatory: Yes |
| Add External System | Name of the external system that will use the environment. When creating an environment from an external system, this field is automatically populated with the initially selected external system. Otherwise, a dropdown list of all available external systems is displayed.
|
Views
Card view
The card view presents all Services in the form of cards.
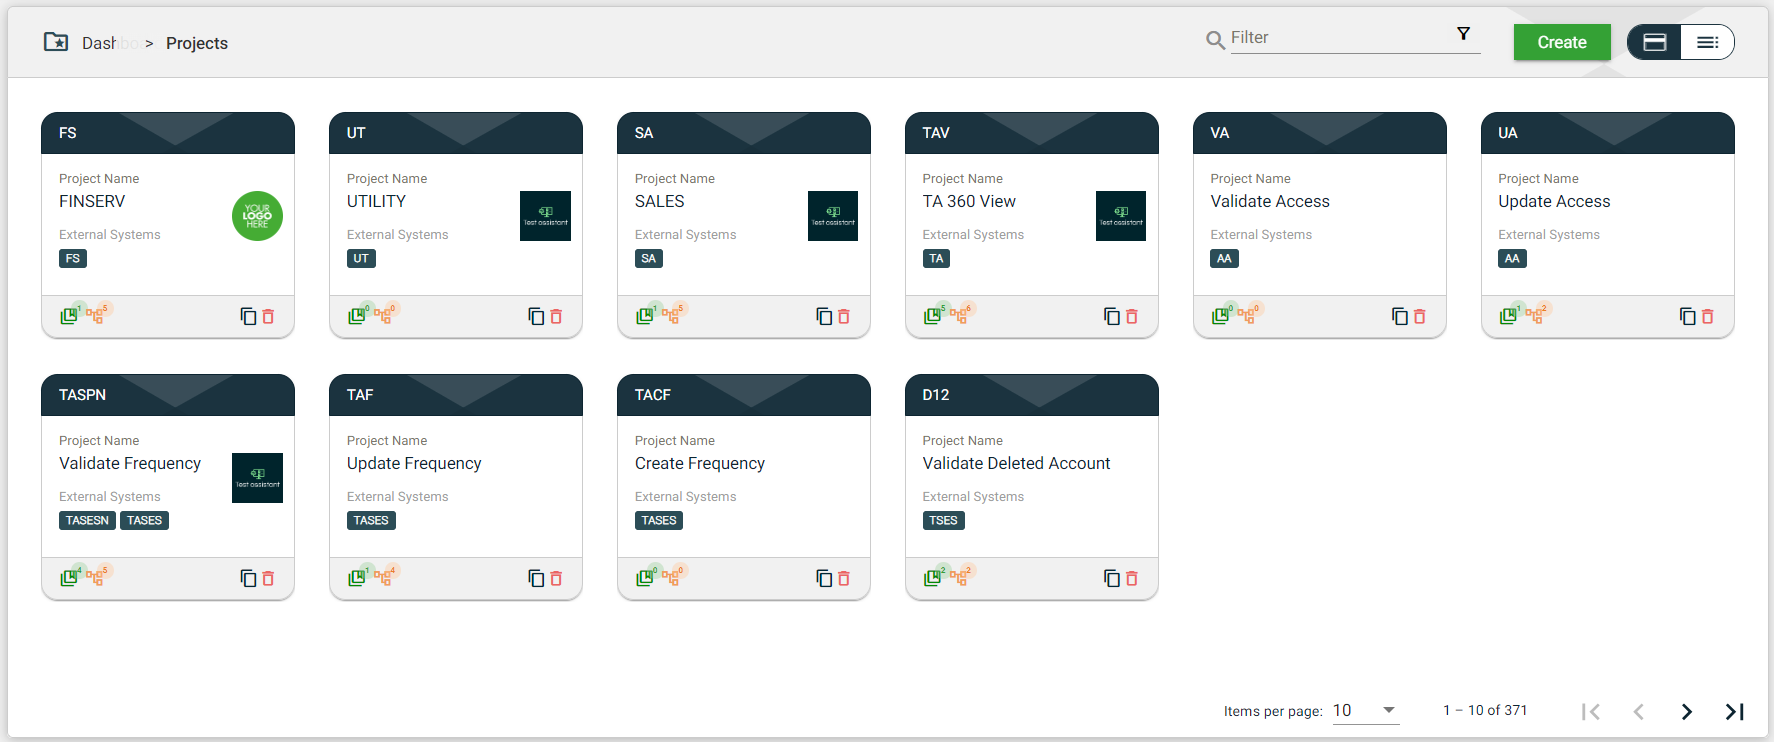
| Card Element | Description |
|---|---|
| Project Code | Code of the project that is displayed on the card header. When clicked, the service details are displayed. |
| Project Name | Name of the project. When clicked, the service details are displayed. |
| External System Name | Code of the external systems configured for the project. When an external system code is clicked, the external system details are displayed. |
| Logo | Logo of the project, if available. When clicked, the service details are displayed. |
| Displays the total number of features associated with the project. When clicked, all the features associated with the project are displayed as cards. If no features configured, you will be asked to create a new scenario. | |
| Displays the total number of scenarios associated with the project. When clicked, all the scenarios associated with the project are displayed as cards. If no scenarios configured, you will be asked to create a new scenario. | |
| Clones the selected project. When clicked, a popup window is displayed asking you to provide a new Project Name and Project Code. All other components of the selected project are copied. | |
| Delete icon that allows you to delete the selected project. |
List view
The list view displays all projects in a tabular format.
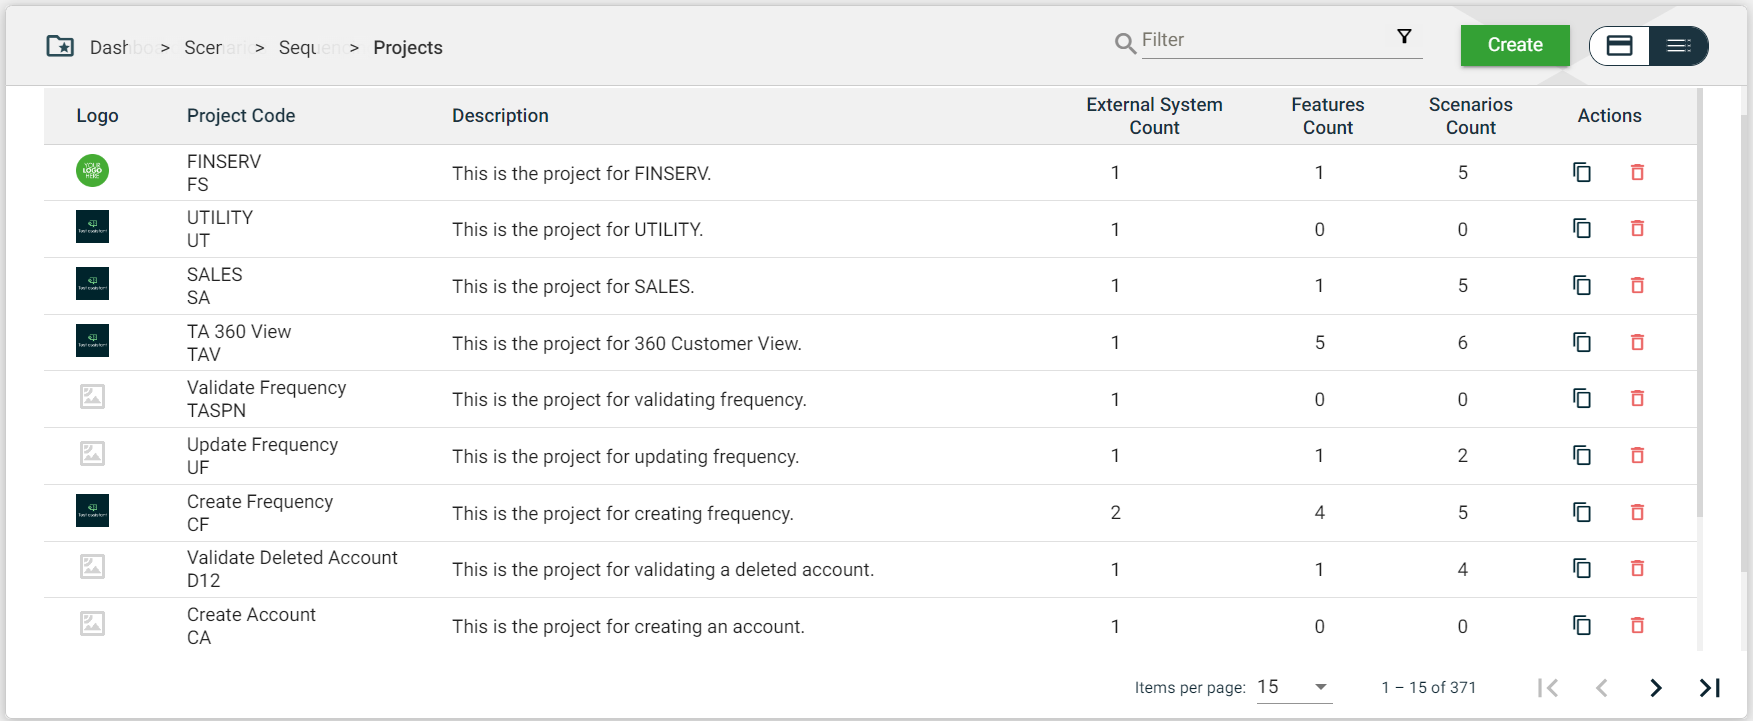
| Column Name | Description |
|---|---|
| Logo | Logo of the project. When clicked, the project details are displayed. |
| Project Code | Name and code of the project. When clicked, the project details are displayed. |
| Description | Description of the project. When clicked, the project details are displayed. |
| External System Count | Total number of external systems configured in the project. When clicked, all the external systems configured in the project are displayed as cards. |
| Features Count | Total number of features associated with the project. When clicked, all the features associated with the project are displayed as cards. If no features configured, you will be asked to create a new scenario. |
| Scenarios Count | Total number of scenarios associated with the project. When clicked, all the scenarios associated with the project are displayed as cards. If no scenarios are configured, you will be asked to create a new scenario. |
| Actions | Displays the following icons:
|
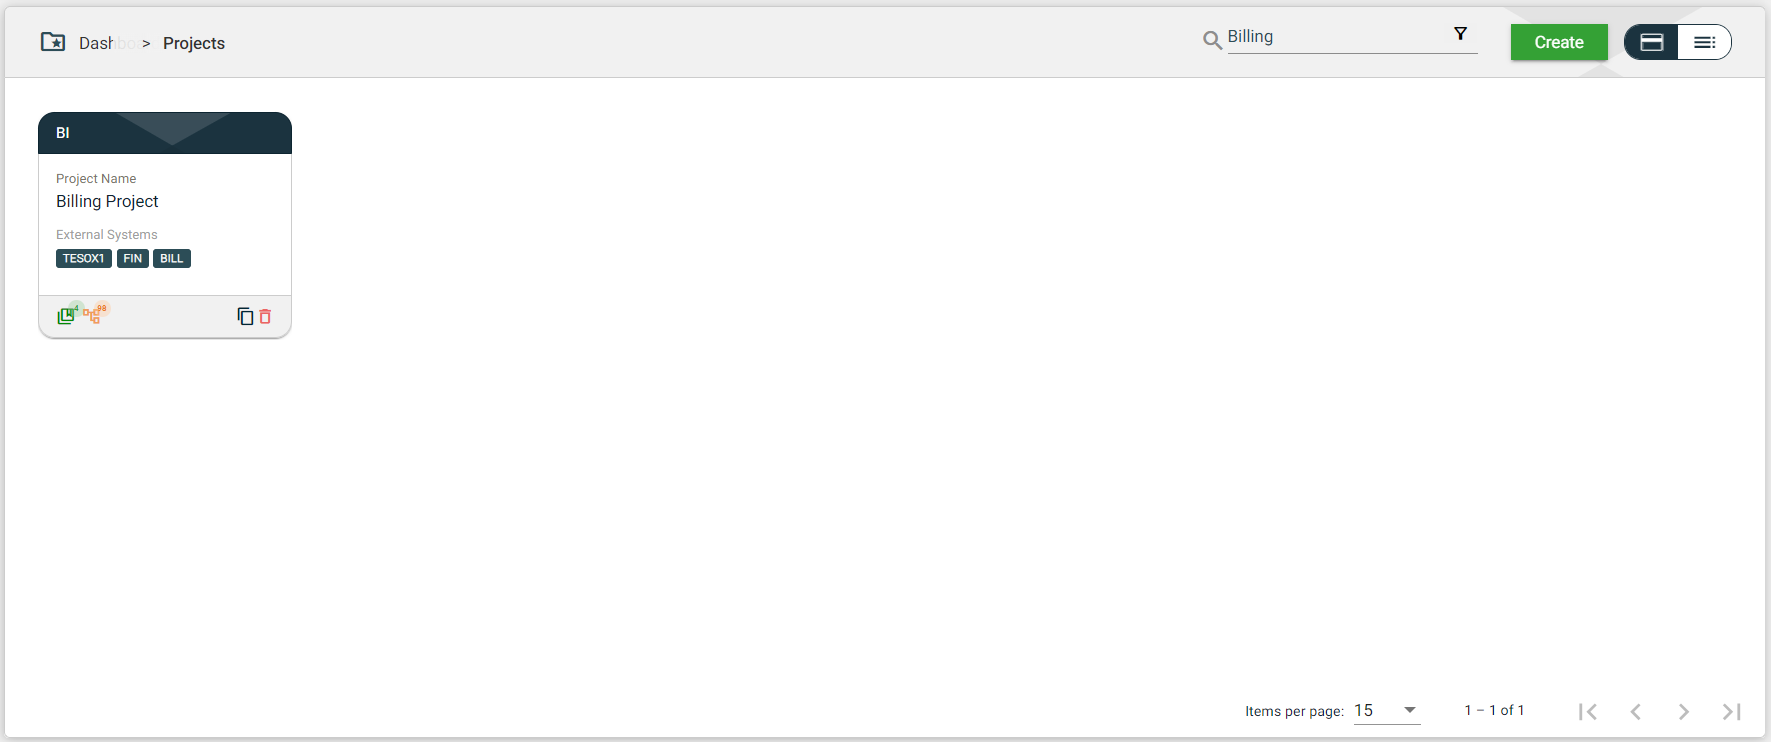
Filter
Both the card and list views include a Filter by Project Name feature that allows you to filter the list of projects by providing a keyword or the full name of the project. Only the projects that match the provided keyword or name will be displayed in the view.