An application is a microservice that makes a product.
Every application can have a group of supported endpoints and fields. They form the basis for the following privilege-based access controls:
Services — manages API endpoints utilized by the applications.
Fields — manages form controls on the user interface of a product.
Menu items — manages menu options displayed in the left navigation of a product.
It is essential to ensure that each microservice or application is well-designed, maintained, and tested to ensure that it functions flawlessly with the other components of the product.
Create an application
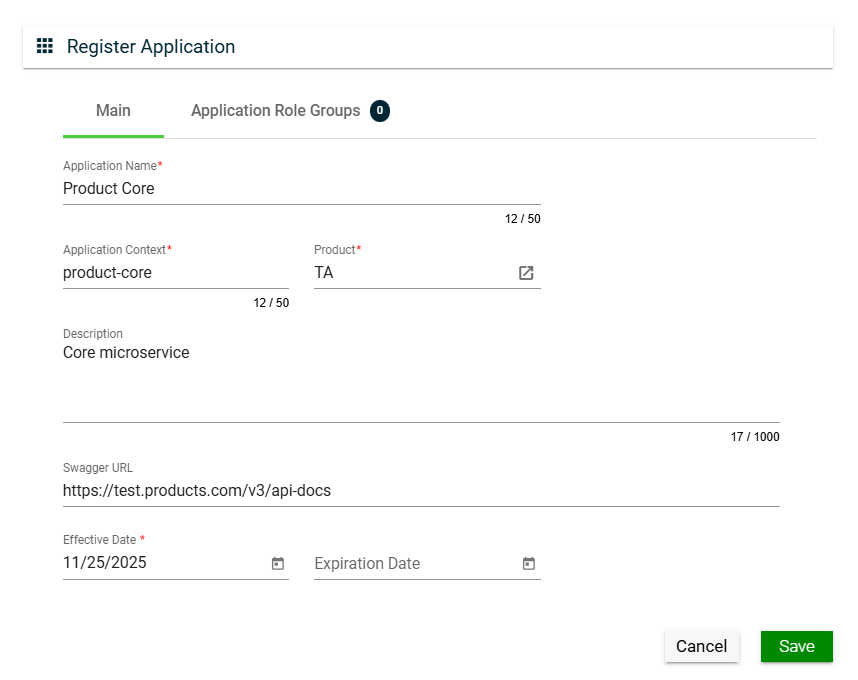
To create an application, click Create New and enter valid values in the following fields:
Field
Description
Application Name
Name of the application.
Mandatory: Yes
Application Context
Pre-defined application context.
Mandatory: Yes
Product
Product under which the application is registered.
Only the active products in the Products page are displayed in the dropdown list.
Mandatory: Yes
Description
Description of the application.
Mandatory: No
Swagger URL
Swagger URL where fields and services are registered.
Mandatory: No
Effective Date
Date when the application will be available.
Mandatory: Yes
Expiration Date
Date when the application will no longer be avaialble.
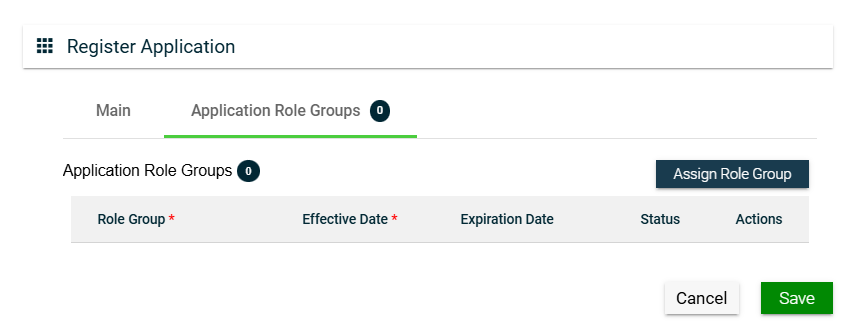
To assign a role group to your application, follow these steps:
Click the Assign Role Group button.
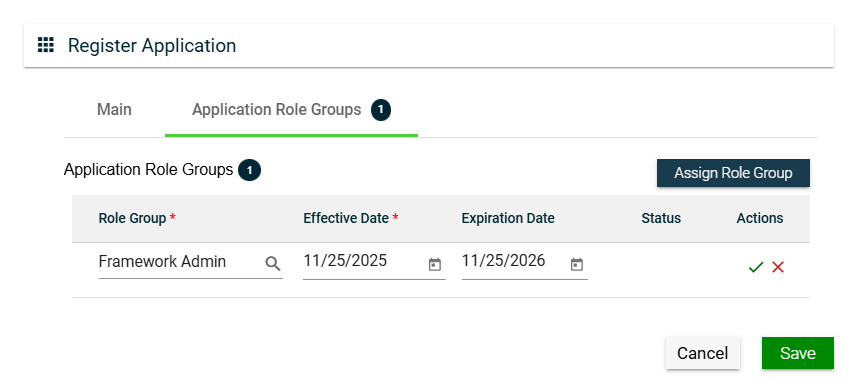
Search for an available Role Group. To configure a role group, see Role Groups.
Set the Effective Date.
Set the Expiration Date.
To save, click .
To cancel the role group assignment, click .
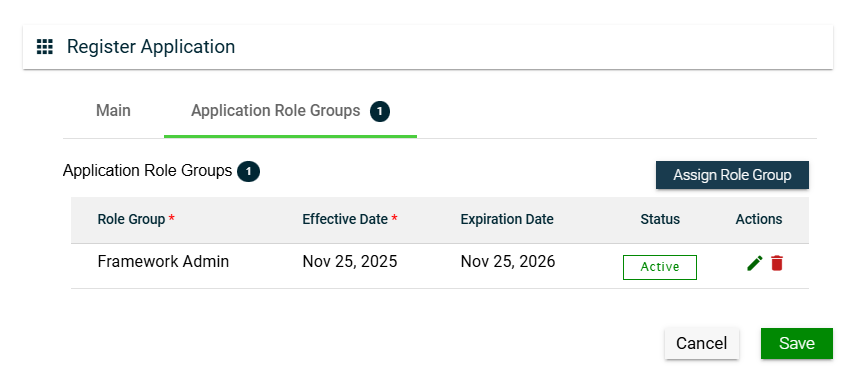
To assign another role group, follow the steps above.
To edit a role group, click and make the necessary changes.
To delete a role group, click .
Views
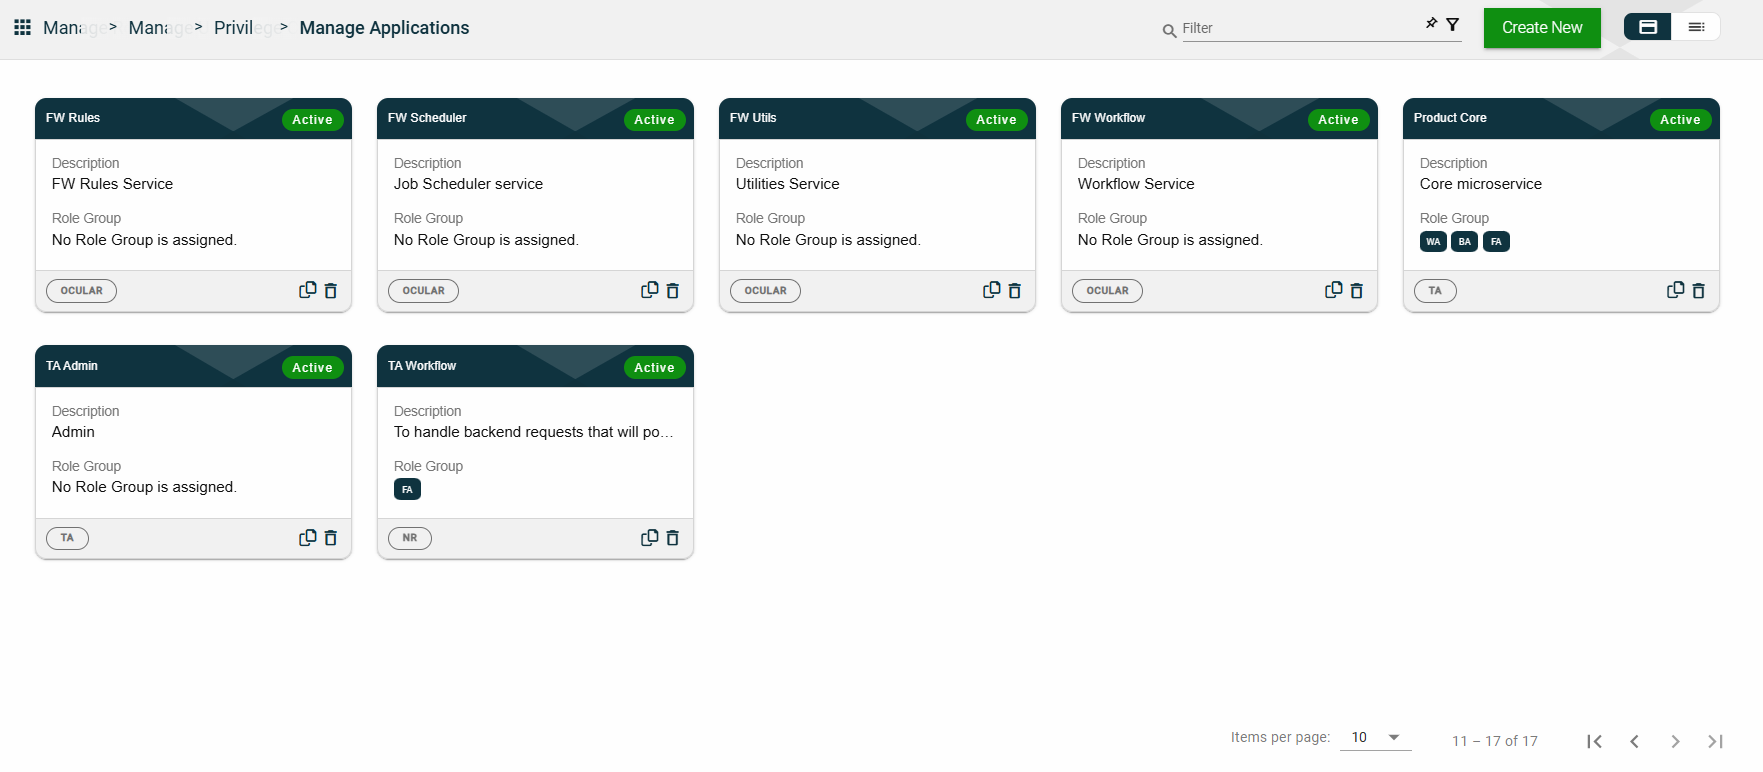
Card View
The card view presents all applications in the form of cards, with the application name and status on the card header. The card displays the Description, Role Group, and the configured authentication type. The card footer displays the product associated with the application, a duplicate icon, and a delete icon.
Clicking anywhere on the card, except the duplicate and trash icons, will redirect you to view the Application Details.
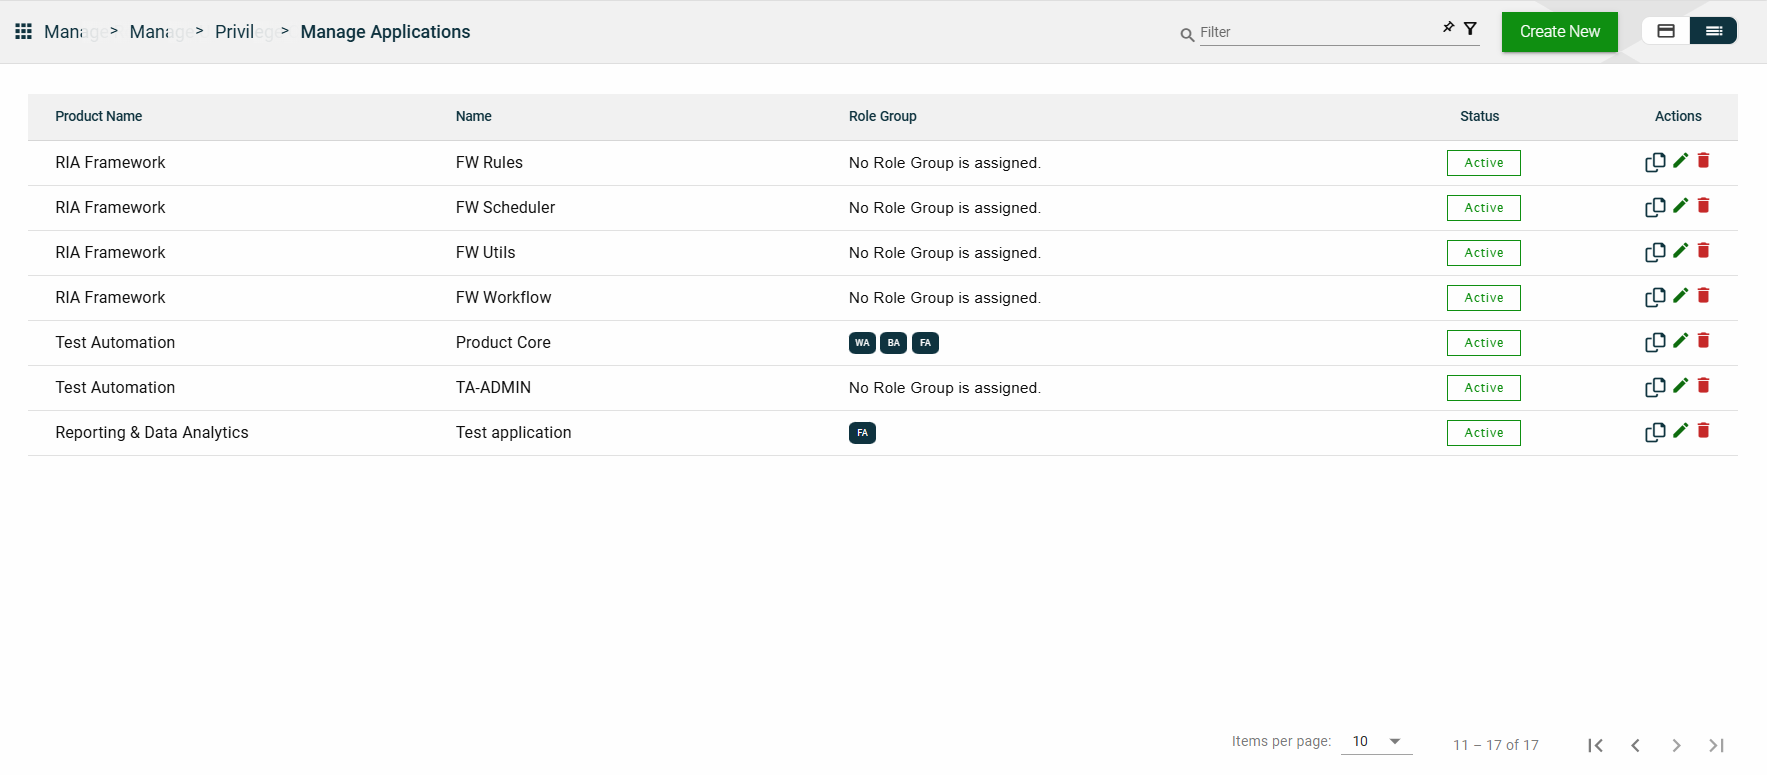
List View
The list view displays all applications in a table format, listing all configured applications in the framework.
Column Name
Description
Product Name
Product under which the application is registered.
Name
Name of the application.
Role Group
Role groups assigned to the application.
Status
Status of the application.
Actions
Displays the following icons:
— Clone icon that allows you to clone the selected dataset. When clicked, a popup window is displayed asking you to provide a new Application Name and Application Context. All other configurations of the selected dataset are copied.
— Edit icon that allows you to edit the application details.
— Delete icon that allows you to delete the selected application.
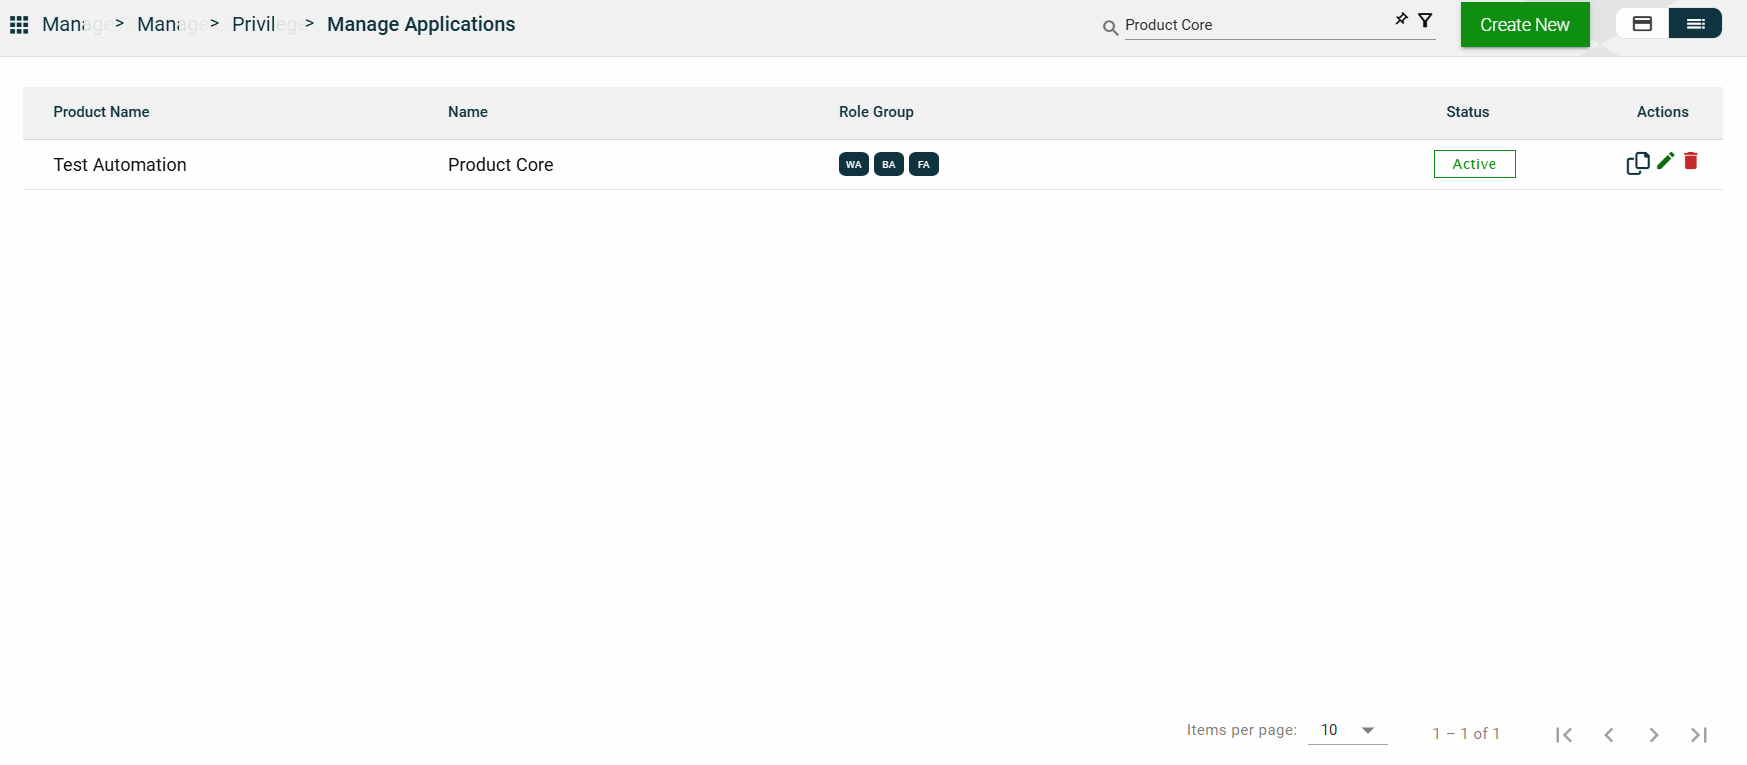
Filter
The following filters are available on both card and list views:
Application Name
Context
Effective Date
Product
Status
You can enter a keyword or the full value of any of the parameters listed above. For example,
Sort
The following columns on the list view can be sorted:
Product Name
Name
Status
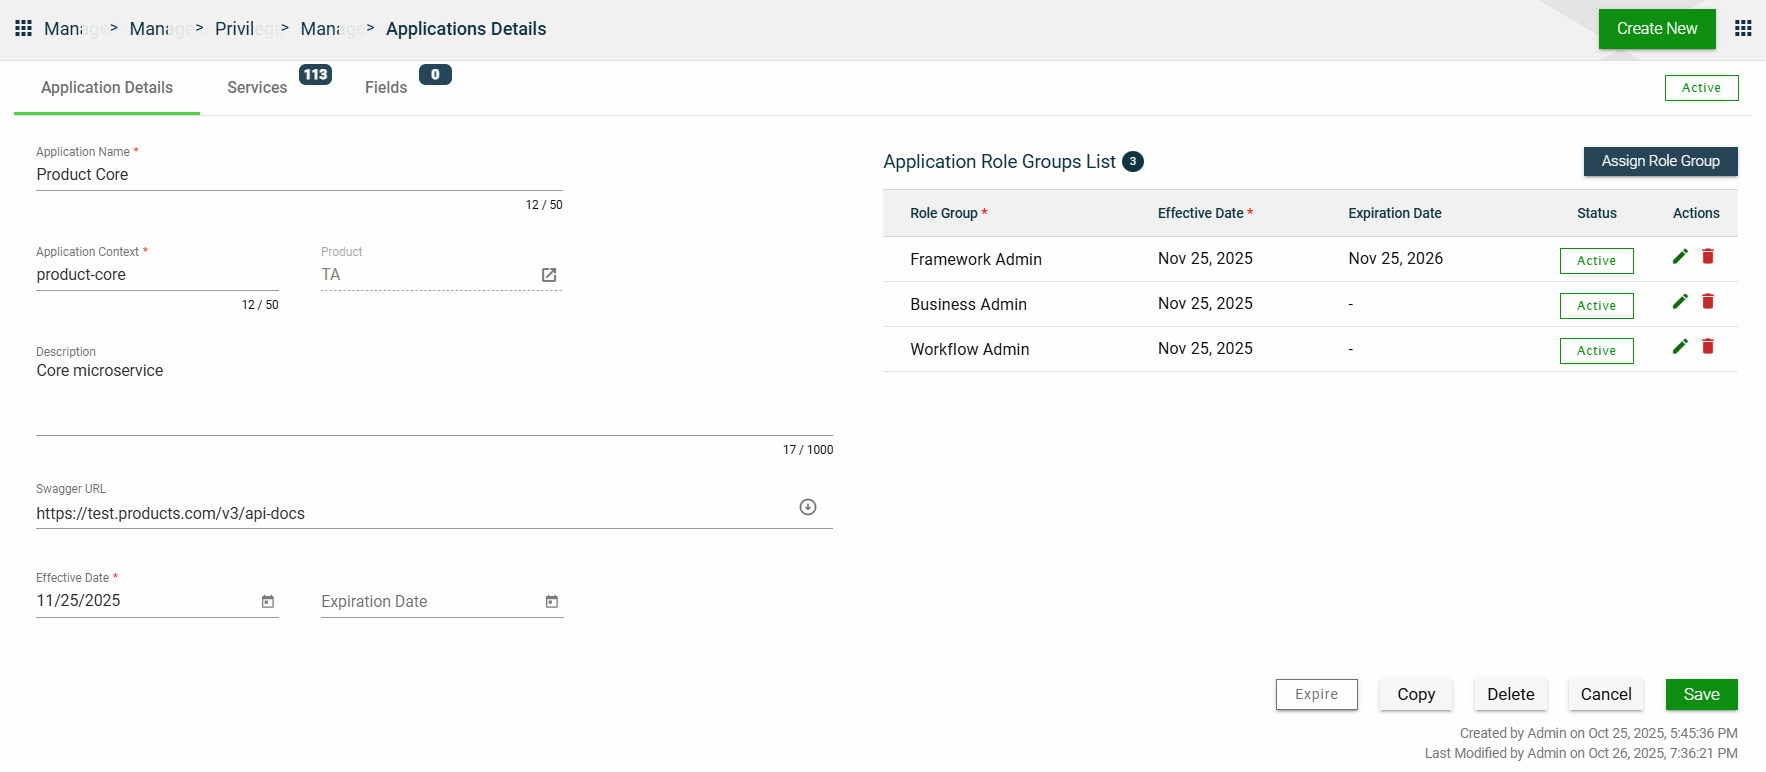
Application Details
Application Details
The Application Details tab shows all the information you added when creating your application. For more information about the fields, see Create an Application.
You can also add more role groups or modify the existing ones by following the same steps in the Application Role Group.
This tab allows you to update all the fields except for the Product. Additionally, you can choose to expire, copy, or delete the selected application from this tab.
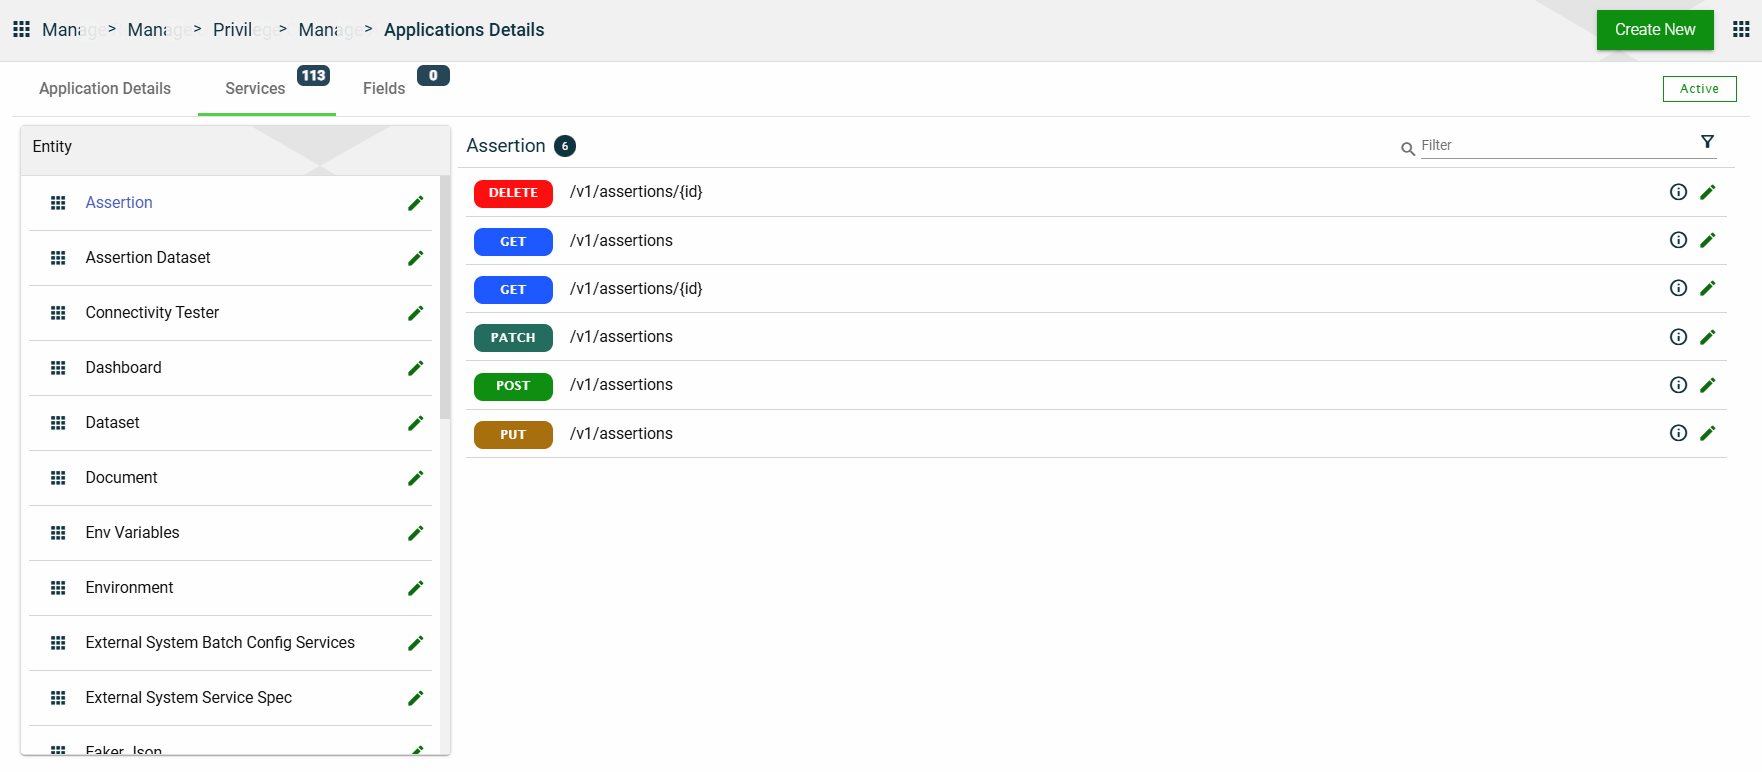
Services
The Services tab lists all configured services for the selected application. The services are grouped according to the entity to which they belong.
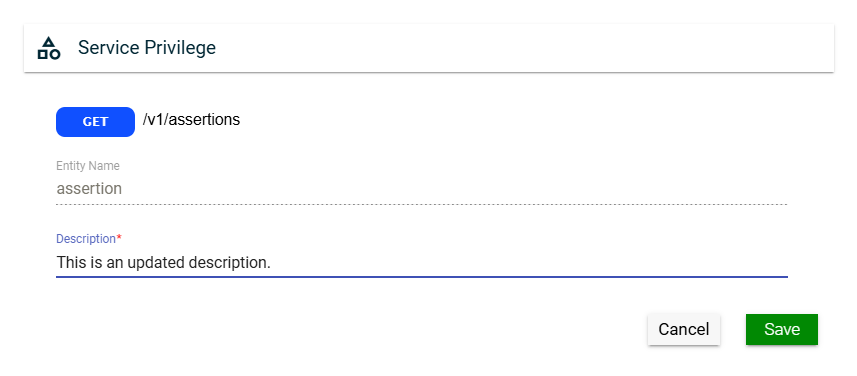
In this section, you can only edit the Entity Name field of an entity and the Description field of a service by clicking the icon next to the item.
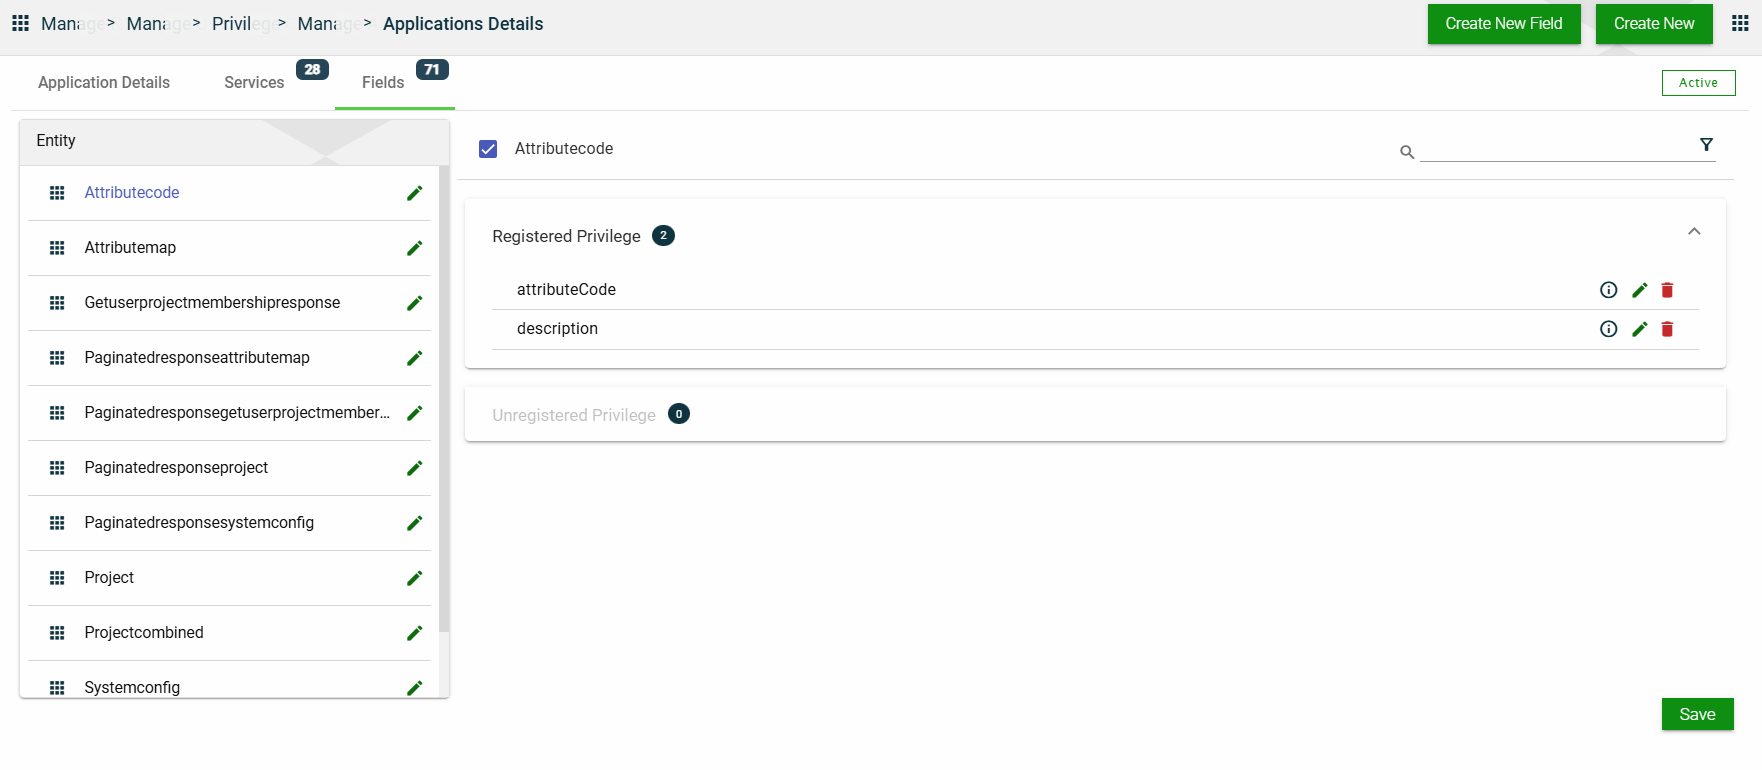
Fields
The Fields tab lists all configured fields for the selected application. The fields are grouped according to the entity to which they belong, and further grouped in the following categories within each entity:
Registered Privilege
Unregistered Privilege
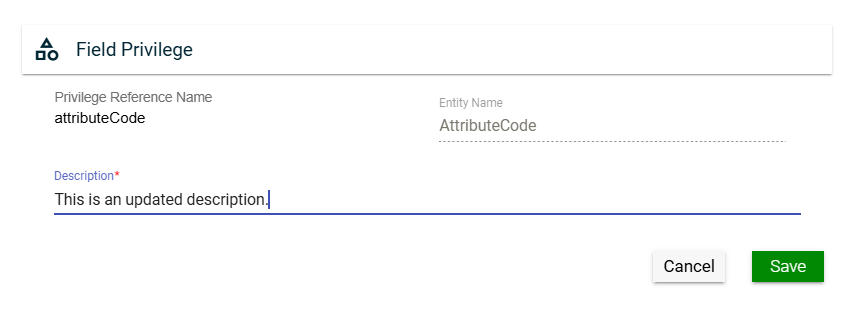
In this section, you can only edit the Entity Name field of an entity and the Description field of a field privilege by clicking the icon next to the item. You can also delete a field privilege by clicking .
 .
.
 .
.