Service
Overview
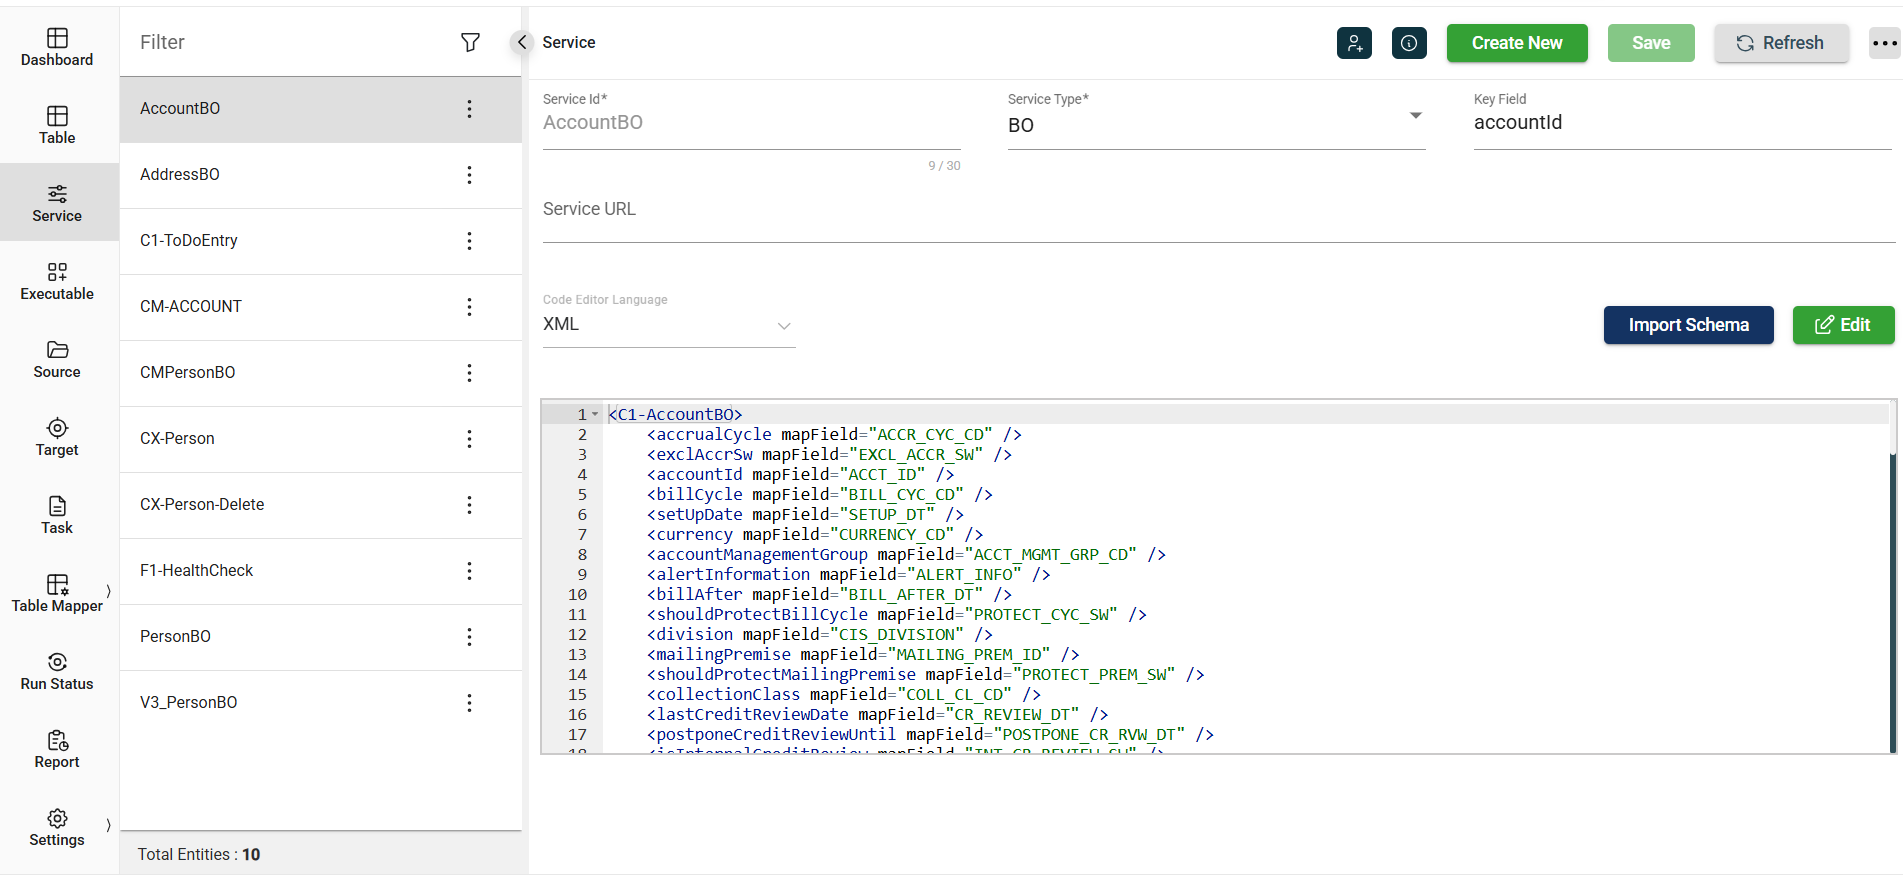
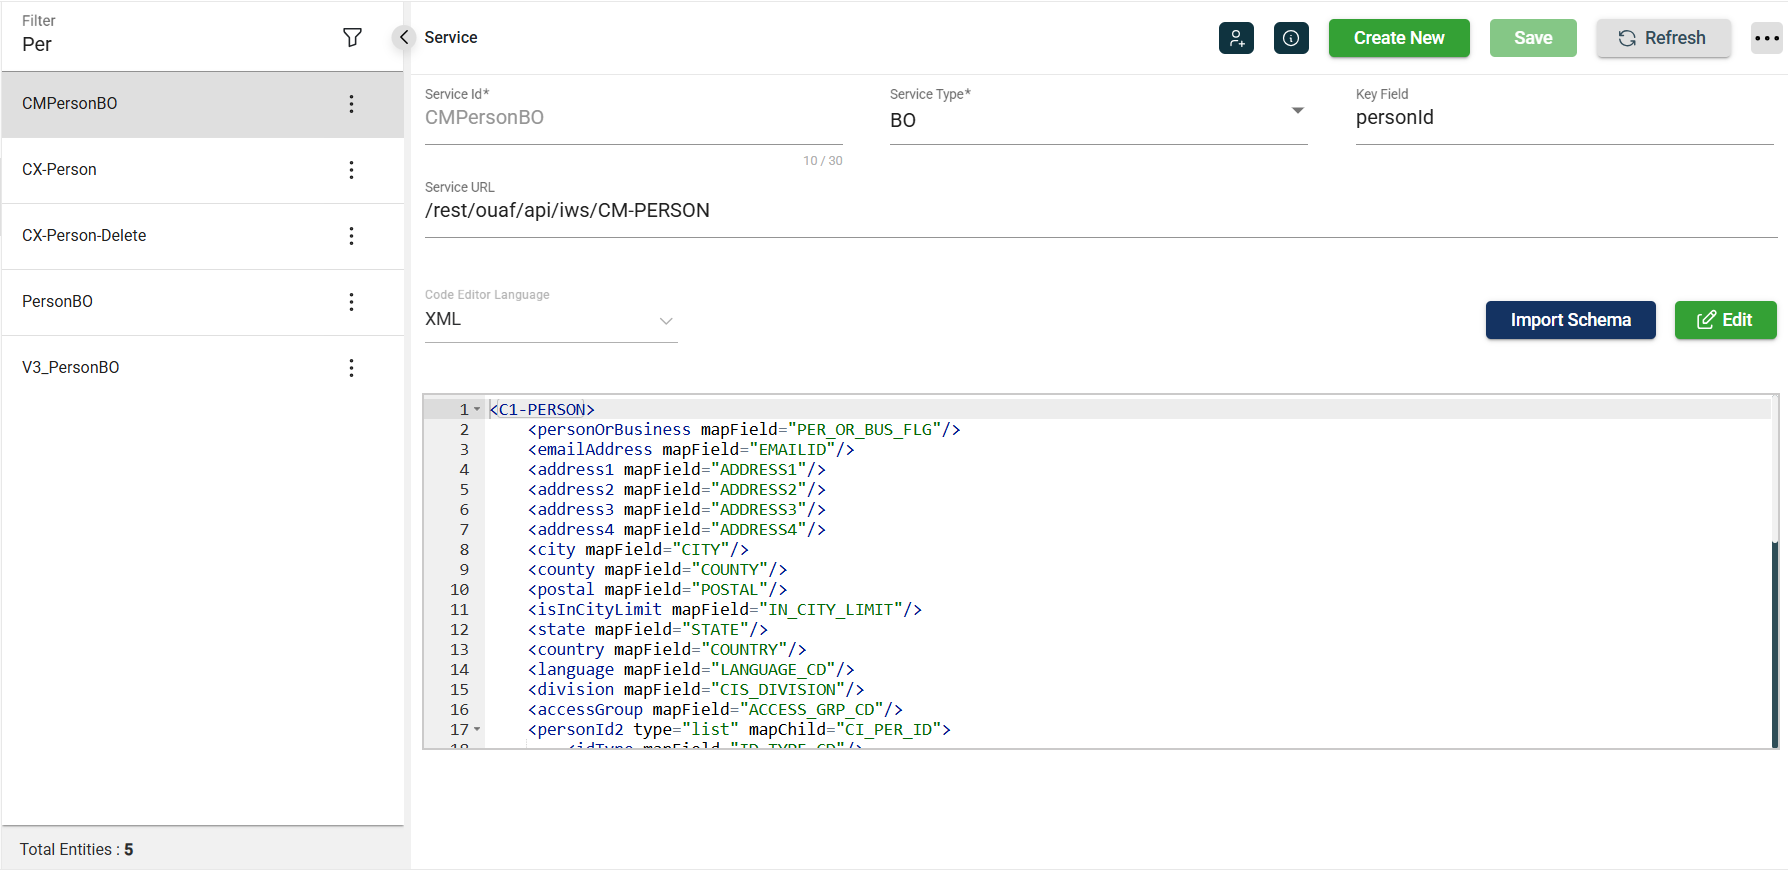
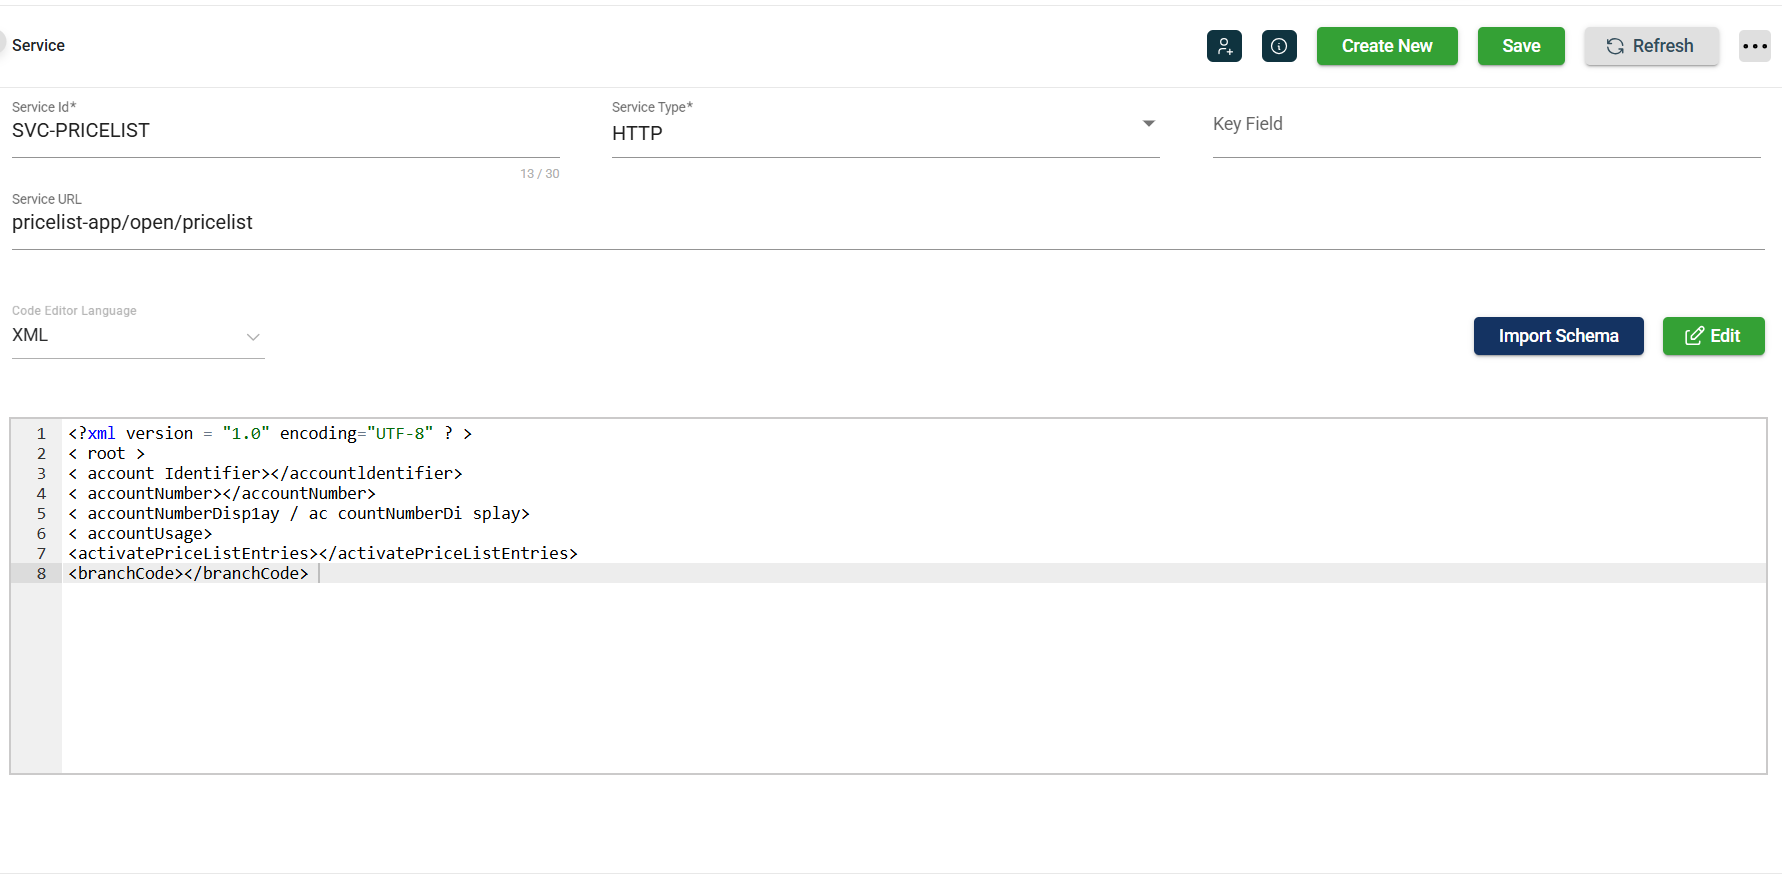
The services and APIs you intend to use as migration targets should be included in the Service module. Additionally, you can define their business objects, business services, service scripts, and XML schemas for data transformation within the module.
View
| Field | Description |
|---|---|
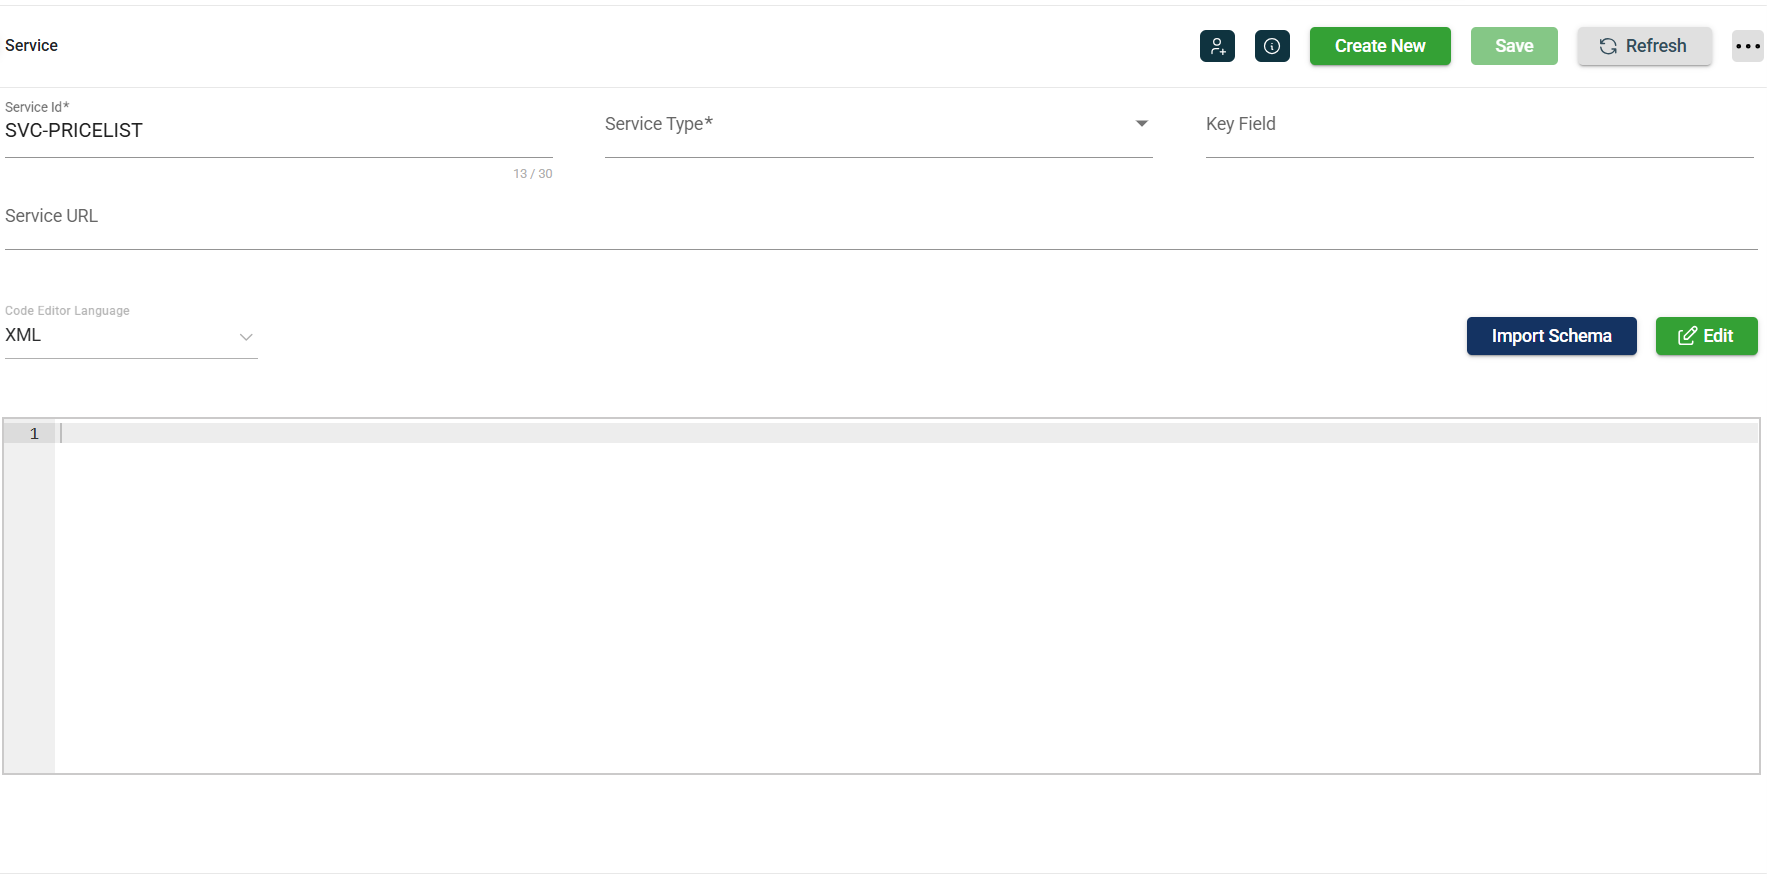
| Service Id | Unique identifier for the service. The Service Id does not have to be the OUAF service name. However, it should follow the standard Oracle object naming format. Mandatory: Yes |
| Service Type | Type of the service. The following are the possible values:
Mandatory: Yes |
| Key Field | Xpath expression to get the newly generated key value from the service's response XML after a call. The key field is used to update the correct CX row with the corresponding legacy key. Mandatory: Only for services converting top-level objects, such as Person, Amount, etc. |
| Service URL | Service URL required for a remote service.
For example, if the bo.action is delete, the URL |
| Code Editor Language | Specifies the language used for the displayed schema. |
Other details
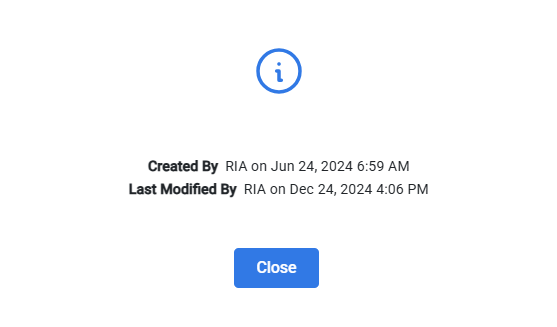
Click the ![]() icon to view the Created By and Last Modified By details of the selected service.
icon to view the Created By and Last Modified By details of the selected service.
Filter
The Service module allows you to search for a service by entering a partial or full Service Id in the Filter textbox.
Add a service
To create a service, follow these steps:
-
Click Create New.
-
Enter a valid Oracle object name in the Service Id field.
-
Select Service Type from the dropdown list.

-
Optional. Enter the key field in the Key Field field.
-
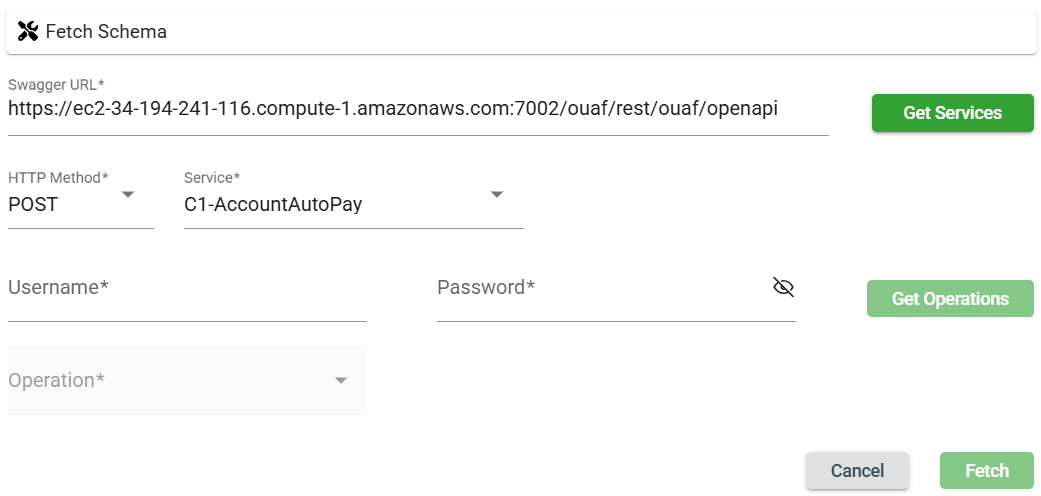
Click Import Schema.
-
Enter valid values in the following fields:
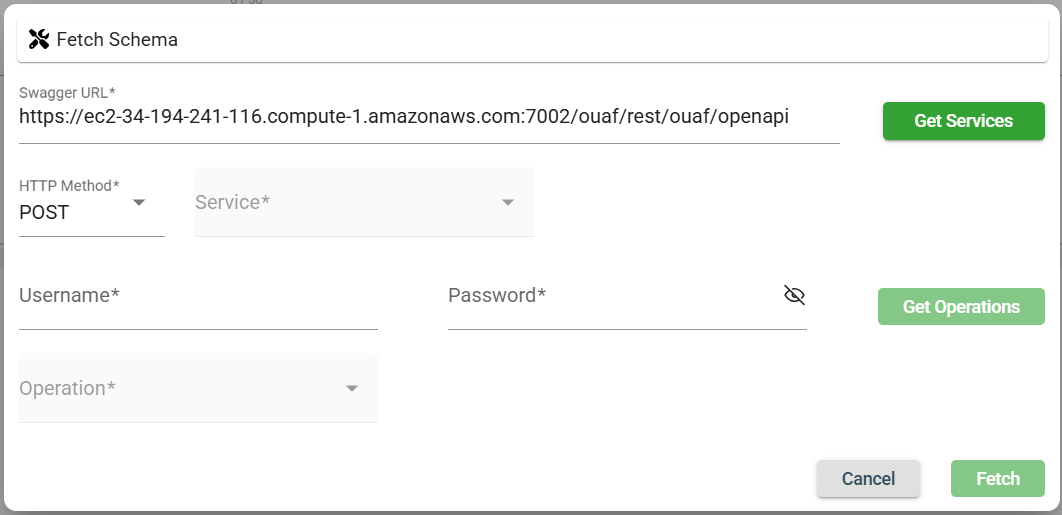
| Fields | Description |
|---|---|
| Swagger URL | Defines the URL for the API services. |
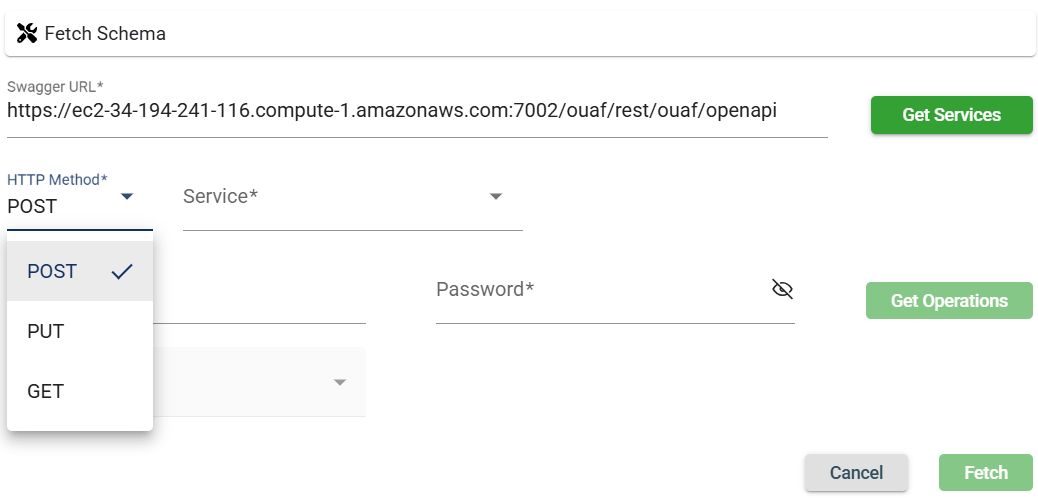
| HTTP Method | Type of request. The following are the possible values:
|
| Service | Defines the service that will be used. |
| Username | Username to access the Swagger URL. |
| Password | Password to access the Swagger URL. |
| Operation | Specifies the operation to be performed by the specified service. |
-
Click Get Services to load available service options from the Swagger API.
-
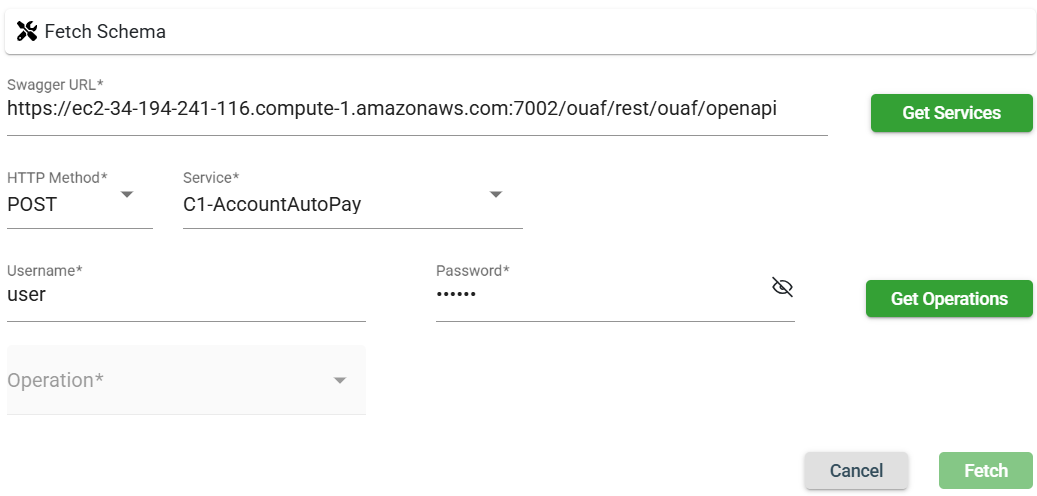
Select the type of HTTP Method to use.
-
Select the specific service from the dropdown list.
-
Enter valid credentials in the username and password field.
-
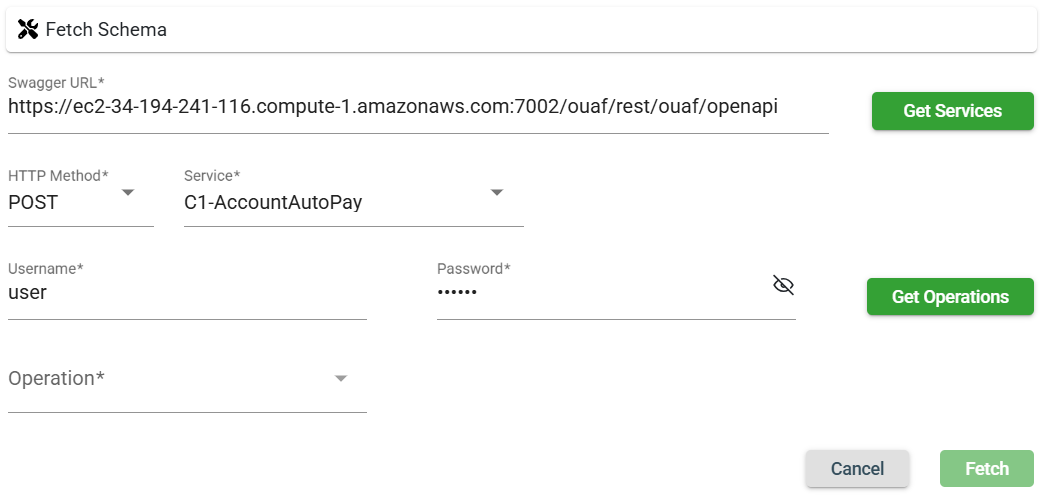
Click Get Operations.
-
Select the specific operation.
-
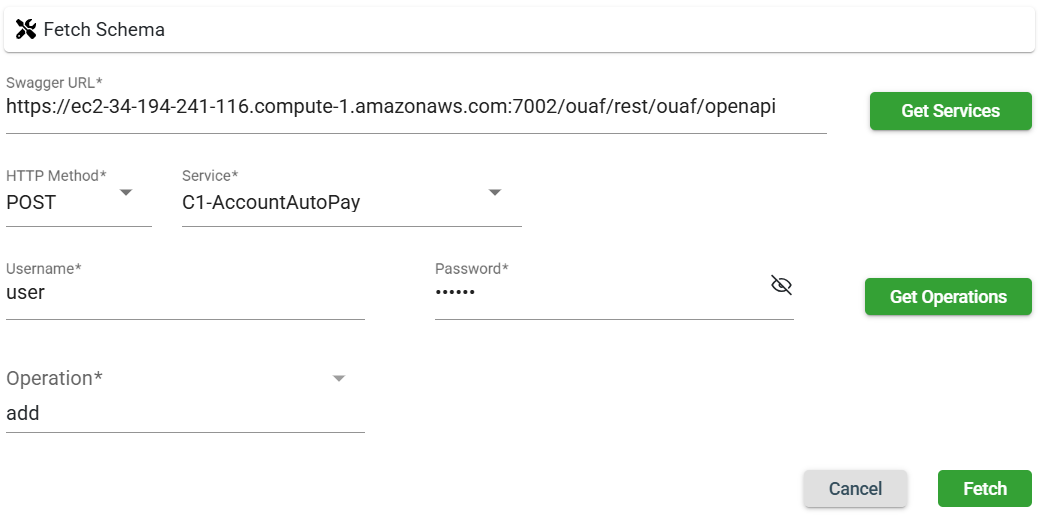
Click Fetch. The imported schema will be displayed.
-
Review the imported schema.
-
Click Save.
Modify a service
The Service module allows you to update the details of an existing service. To make modifications, select the service from the list and change the values in the fields as needed.
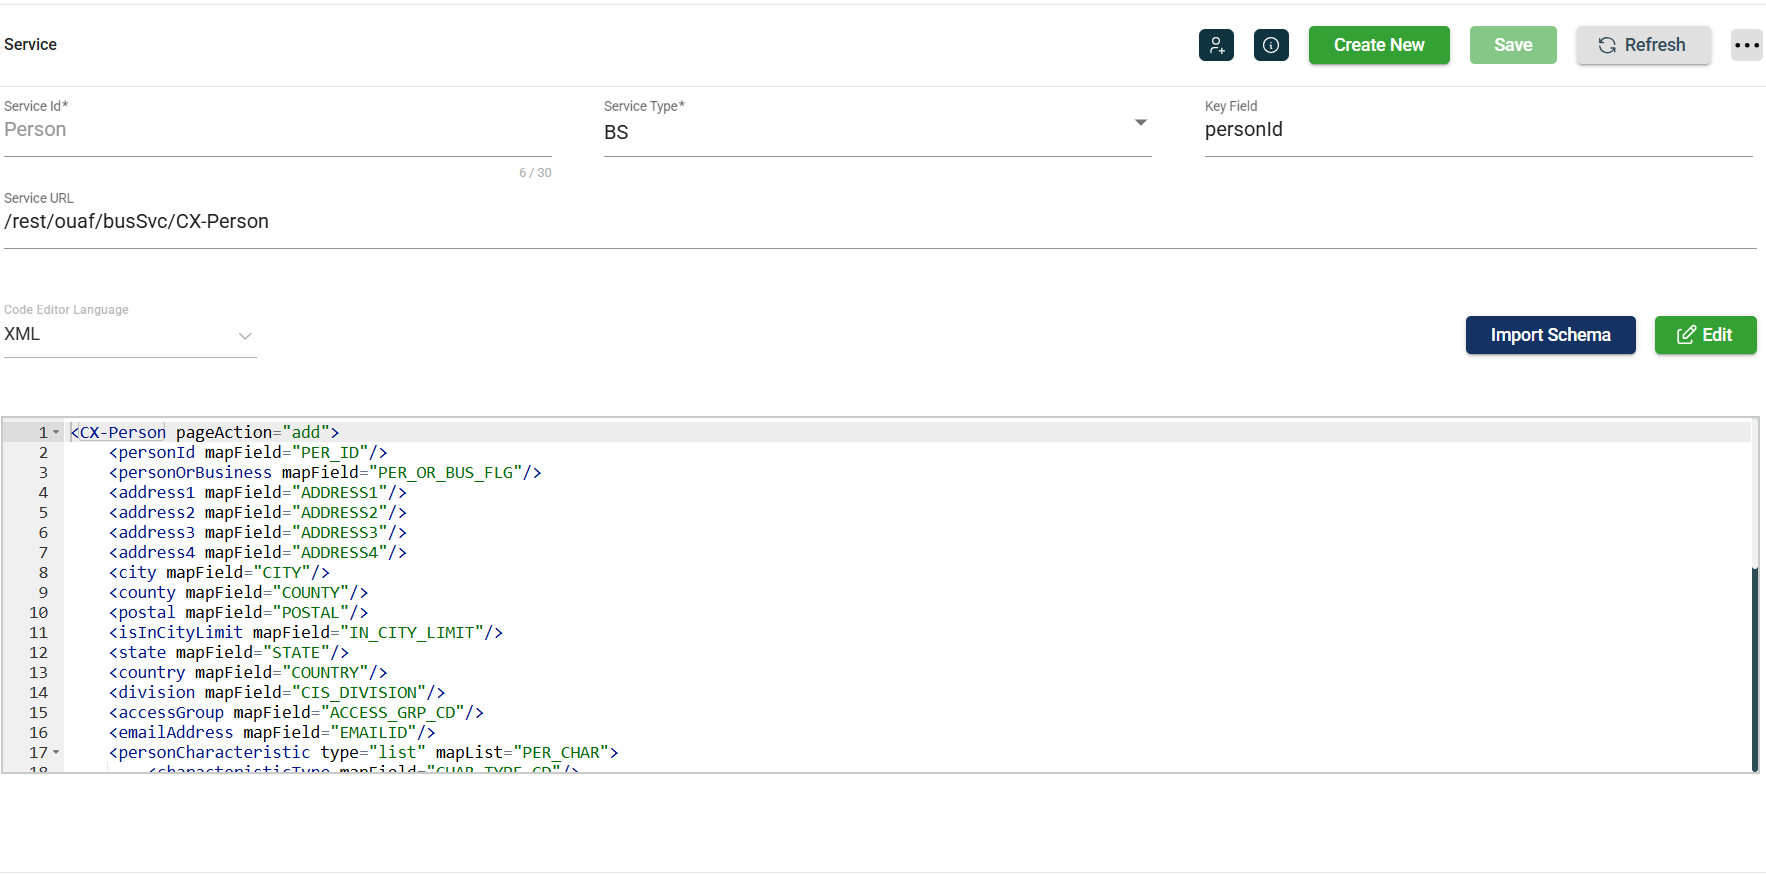
Clone a service
The Service module enables you to clone an existing service. When you clone a service, all metadata is duplicated except the Service Id. To clone a service, follow these steps:
-
Click the
 icon.
icon. 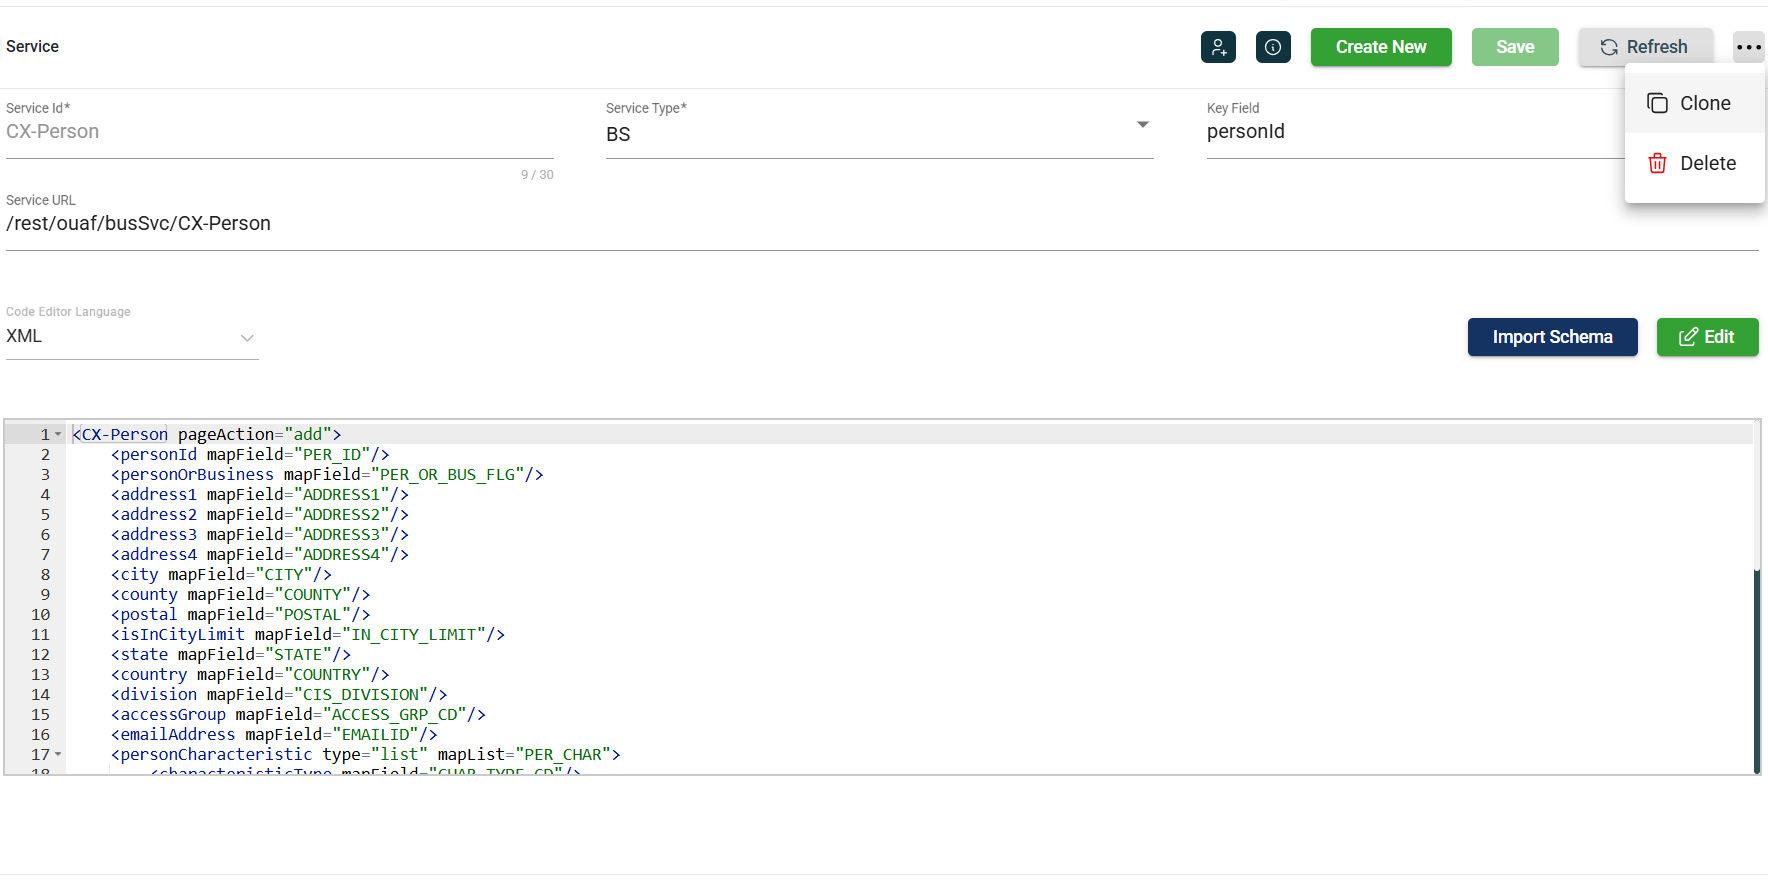
-
Click Clone.
-
Enter a valid and unique service Id.
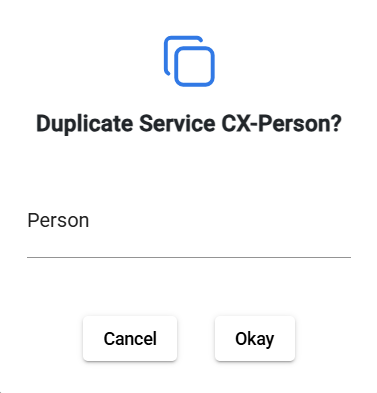
-
Click Okay.
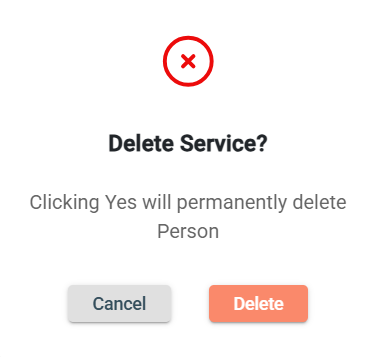
Delete a service
To delete a service, click the ![]() and select Delete.
and select Delete.

When deleting a service, ensure that you are deleting the correct service because it will be permanently removed from the system.
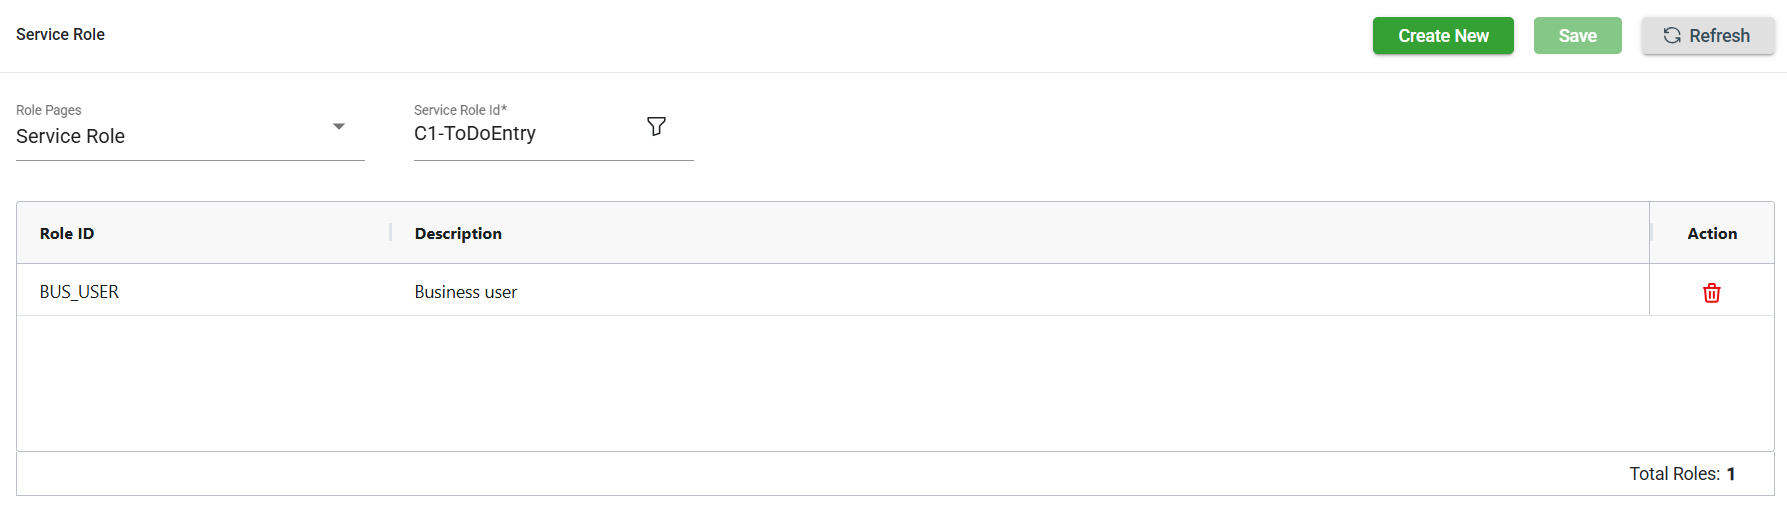
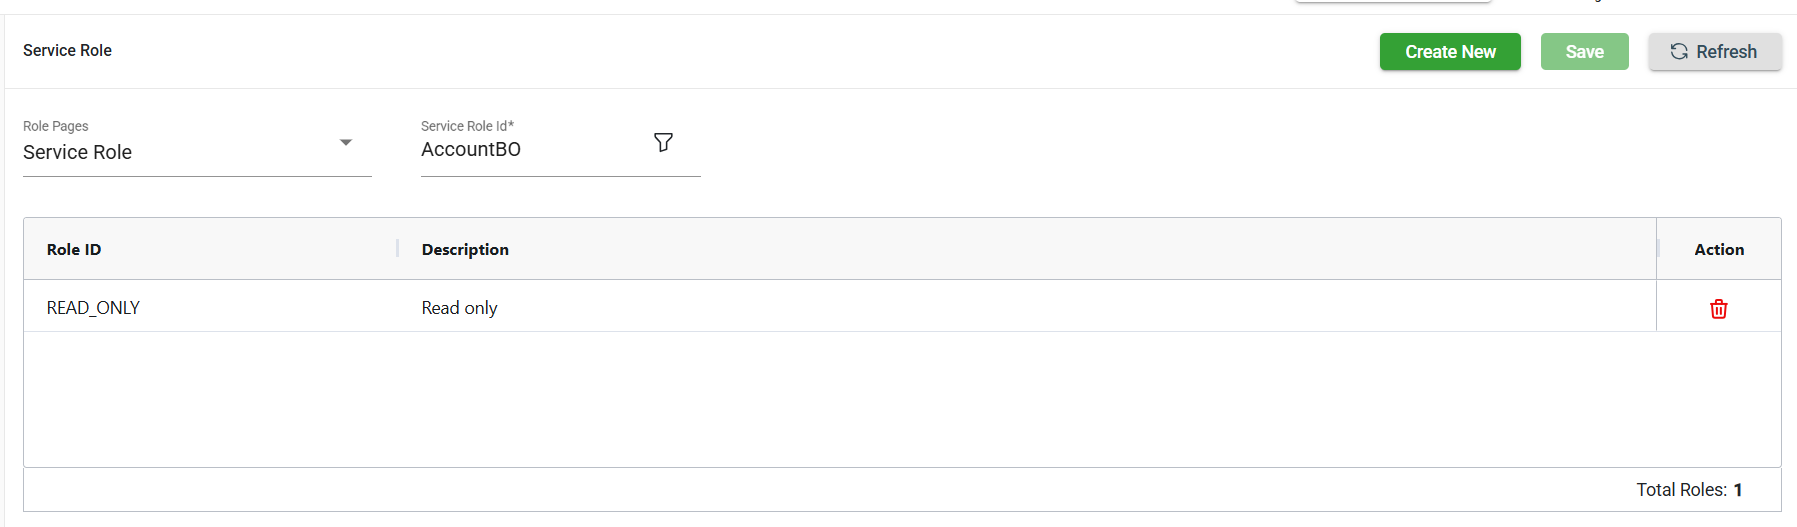
Roles
The Service module includes ![]() icon, which lets you view or modify the roles assigned to the selected service.
icon, which lets you view or modify the roles assigned to the selected service.
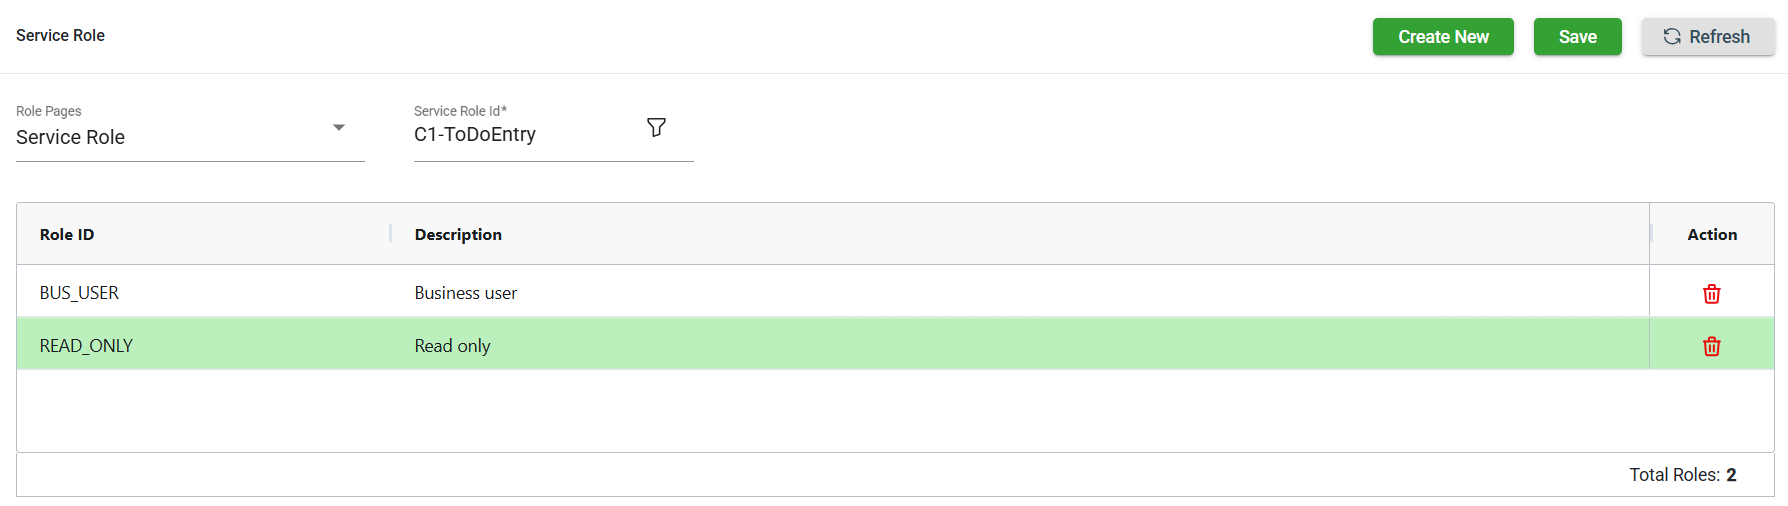
Add a service role
To add a new role, follow these steps:
-
Click Create New.
-
Select the role from the Role ID dropdown list. The newly added role IDs are highlighted in green.
-
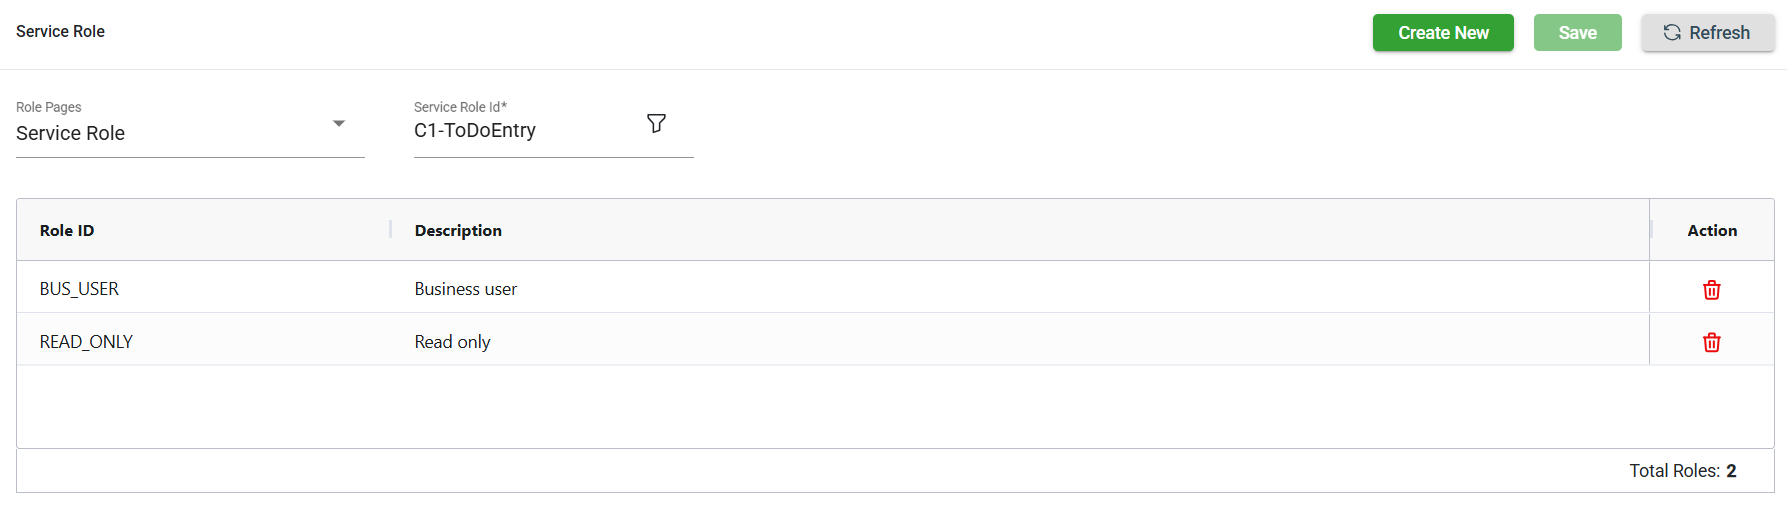
Click Save. Once saved, the green highlight from the previous step will disappear.
Delete a service role
To delete a role, follow these steps:
-
Click
of the role id you wish to delete.
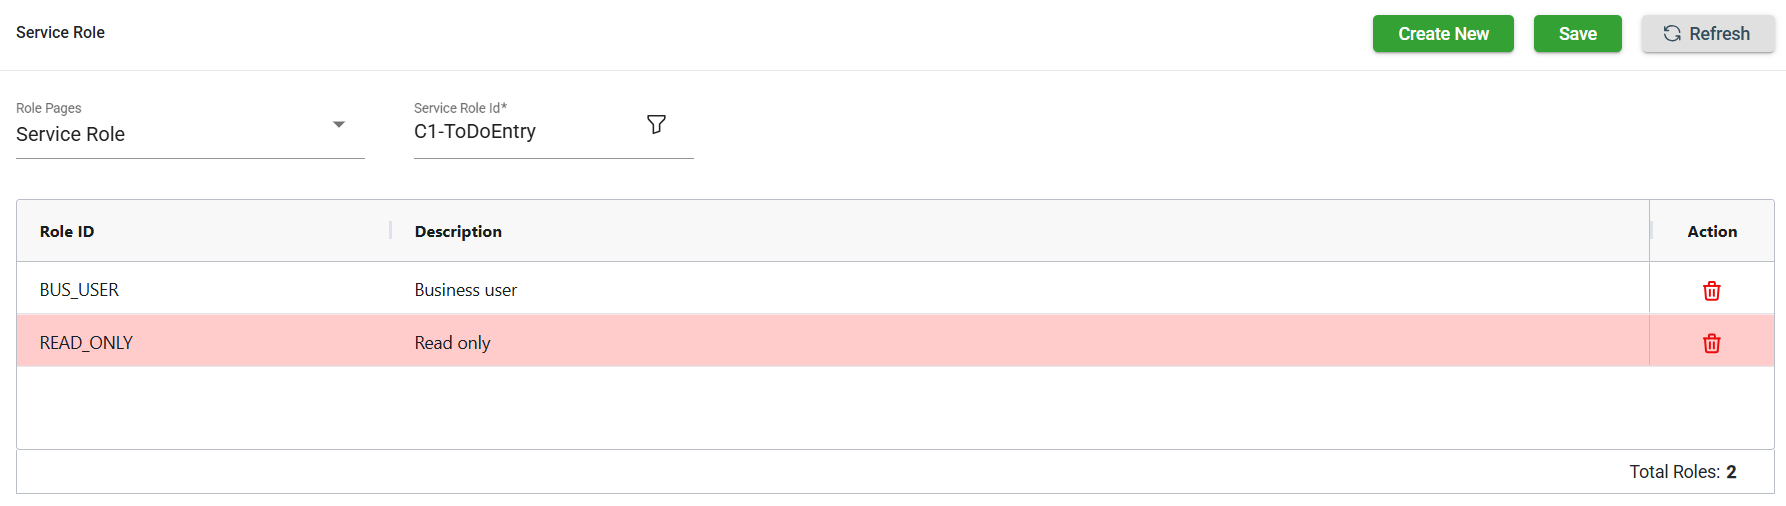
-
Click Save. Once saved, the role in the red highlight will be deleted.